 Instrumentiverse
Introduction to DAW Optimization in 2026
In the fast-evolving world of music production, achieving flawless audio recording starts with perfect DAW (Digital Audio Workstation) settings. Whether you're using Ableton Live, Logic Pro, or FL Studio, optimizing your setup ensures crystal-clear captures of vocals, instruments, and even full live bands. This 2026 guide dives deep into interface selection, latency reduction, input routing, specialized recording techniques, troubleshooting, and plugin integration for immediately mix-ready tracks.
With advancements in USB-C audio interfaces, AI-assisted monitoring, and low-latency drivers, producers can now record pro-level audio from home studios. Let's break it down step-by-step to elevate your recordings.
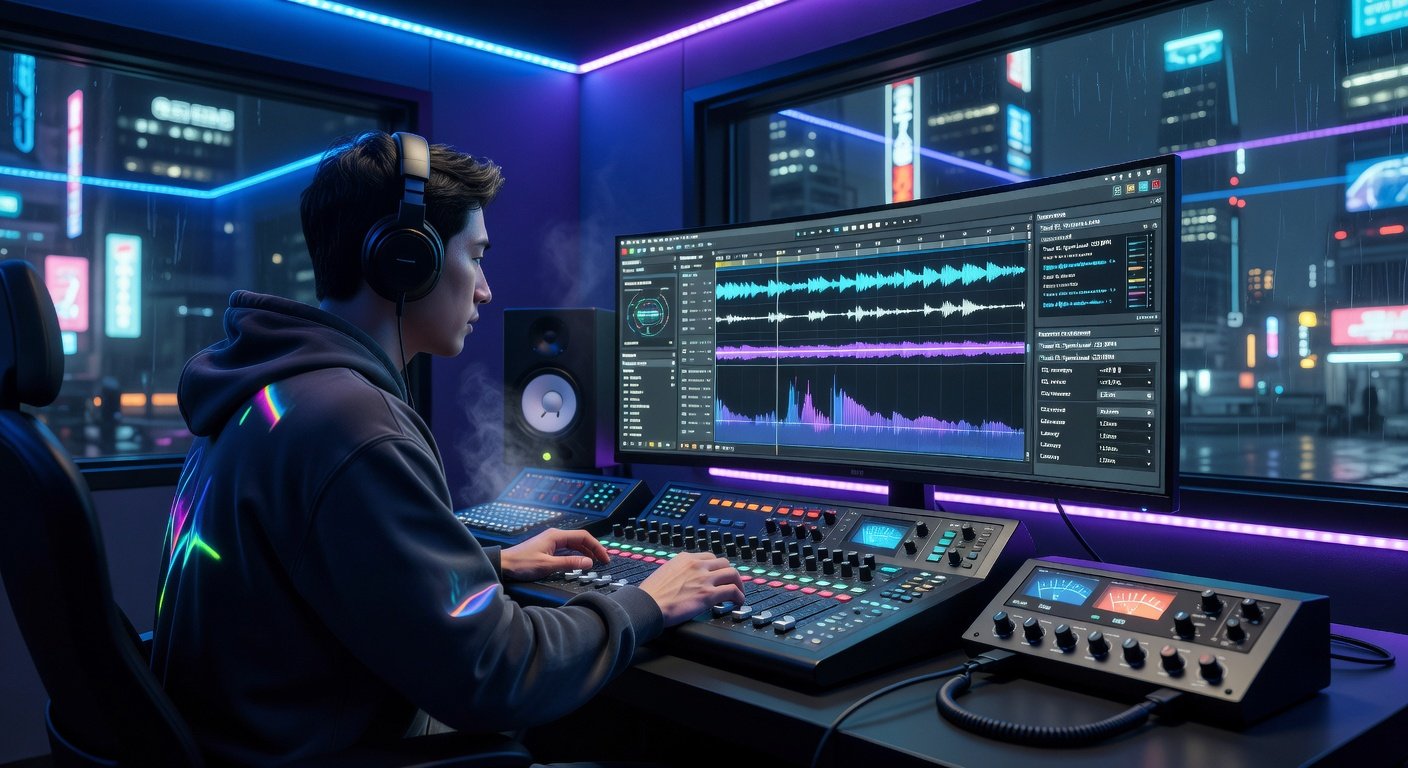
Selecting the Perfect Audio Interface
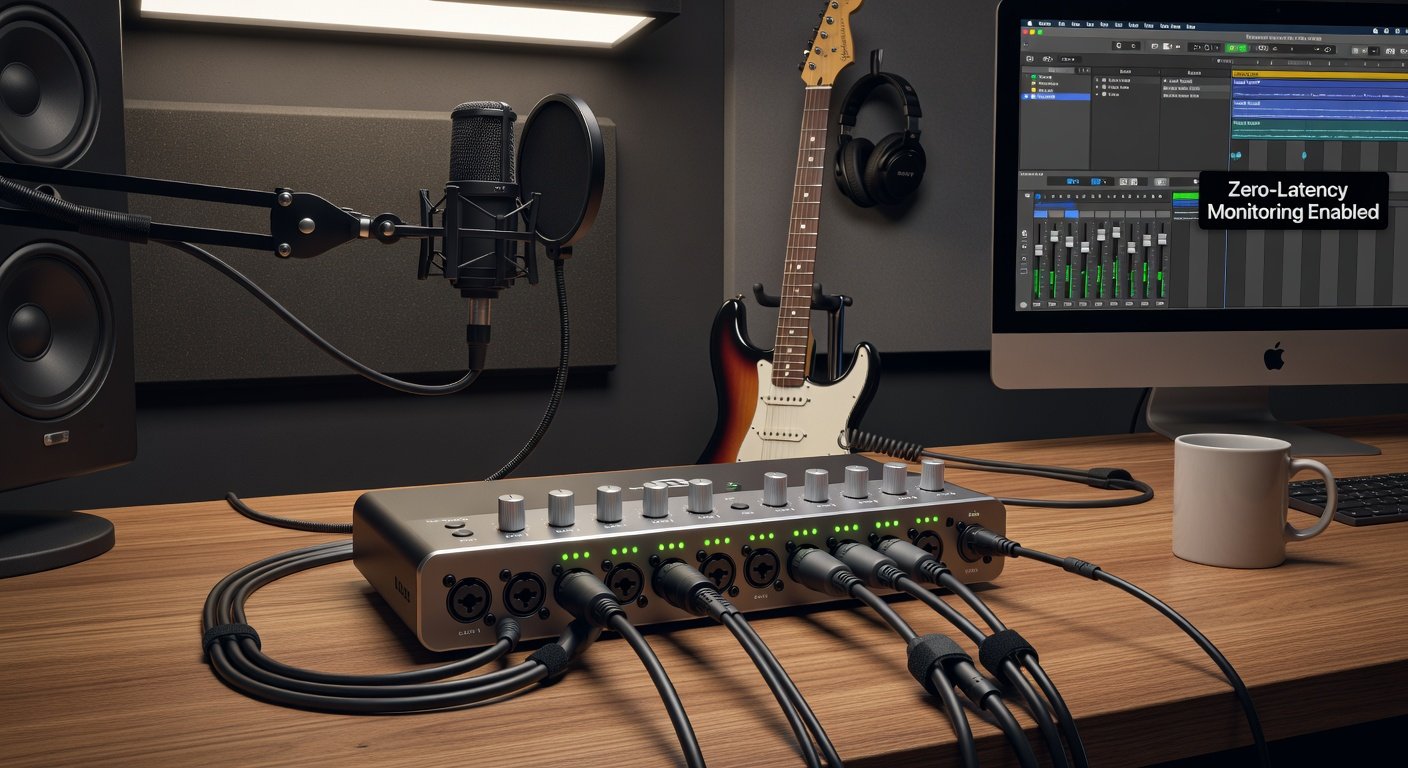
Your audio interface is the backbone of any DAW setup. In 2026, prioritize interfaces with at least 8 inputs for versatility, Thunderbolt or USB 4 connectivity for speed, and built-in DSP for zero-latency monitoring.
- Key Features to Look For:
- Sample rates up to 192kHz/24-bit for high-res audio.
- Preamp quality with +70dB gain for dynamic mics.
- ADAT expansion for multi-mic setups.
- Phantom power on all channels.
Popular choices include Focusrite Scarlett series or Universal Audio Apollo models. Always match your interface to your DAW—check compatibility on the manufacturer's site, like Focusrite's official page.
Pro Tip: Enable Direct Monitor mode on your interface to bypass DAW latency during tracking.
Slashing Latency to Zero
Latency—the delay between input and output—kills performances. Aim for under 5ms round-trip latency (RTL).
- Buffer Size: Set to 64 or 128 samples in your DAW's audio preferences. Lower for tracking, higher for mixing.
- Driver Choice: Use ASIO on Windows or Core Audio on Mac. For universal compatibility, download ASIO4ALL.
- Sample Rate: Stick to 48kHz for most projects—balances quality and CPU load.
- CPU Optimization: Freeze tracks, disable unused plugins, and close background apps.
In Ableton Live, access these via Preferences > Audio. Test RTL with your DAW's built-in meter or free tools like RTL Utility.
Mastering Input Routing
Proper routing prevents phase issues and bleed. In your DAW:
- Create a new audio track per input.
- Arm for recording and select the correct interface input (e.g., Input 1 for vocals).
- Group inputs for bands: Bus vocals to Bus 1-4, drums to 5-8.
- Use sends for parallel processing—send to reverb aux without printing effects.
For multi-channel interfaces, enable aggregate devices on Mac (Audio MIDI Setup) or ASIO multi-client on Windows. This routes multiple apps seamlessly.
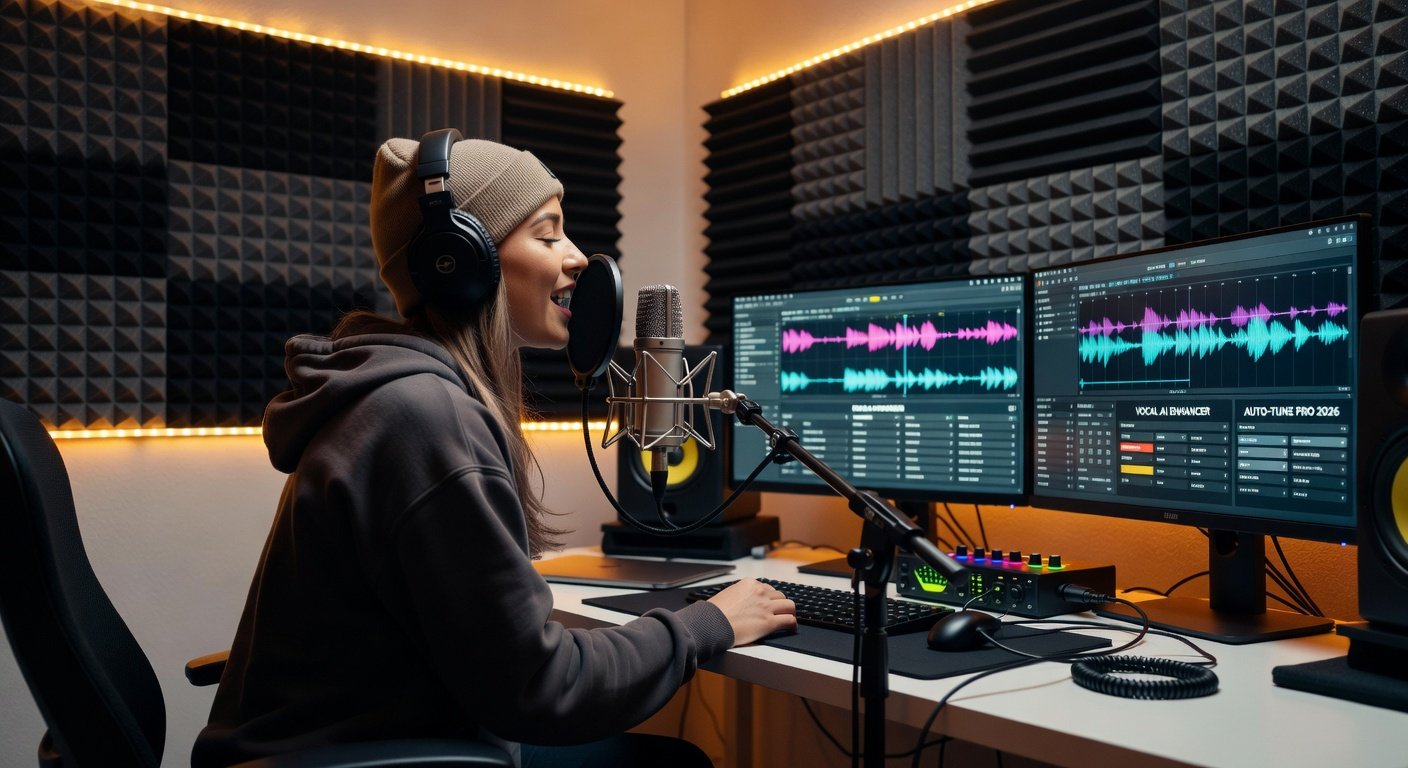
Capturing Pro-Level Vocals
Vocal recording demands pristine gain staging. Position your mic 6-12 inches from the singer, use a pop filter, and treat the room with bass traps.
- Set input gain to peak at -12dBFS.
- Enable Auto Input Leveling if available (Logic Pro feature).
- Record dry—add compression/EQ in post.
- Double-track harmonies on stereo pairs.
Integrate with plugins like Waves CLA Vocals for real-time tuning. Reference Waves Audio for plugin bundles optimized for 2026 DAWs.
Recording Instruments with Clarity
Guitars, keys, and bass each need tailored setups:
Guitars
DI box into two channels: one direct, one mic'd cab. Phase-align in DAW with inversion if needed.
Keyboards
Stereo outs to Inputs 3-4. MIDI sync for virtual instruments.
Acoustic Instruments
XY or ORTF mic techniques for guitars/drums. Close-mic with room mics blended.
Always monitor with headphones to catch bleed early.
Handling Live Band Sessions
Recording bands requires 16+ inputs. Use a stagebox with your interface.
- Drum Miking: Kick (inside/out), snare top/bottom, OHs in XY.
- Monitor Mixes: Create 4-8 aux sends per musician via interface software.
- Overdubbing: Punch in isolated parts post-group take.
Sync with timecode or MIDI clock for multi-room setups. Check Steinberg's resources for Nuendo tips on advanced routing: Steinberg.net.
Troubleshooting Common Recording Issues
Problems happen—here's how to fix them:
| Issue | Solution |
|---|---|
| Crackling/Pops | Increase buffer size; update drivers. |
| No Input Signal | Check phantom power, cable, gain staging. |
| High Latency | Lower buffer; disable Wi-Fi. |
| Phase Cancellation | Zoom waveform; flip polarity. |
| Clipping | Pad input by -10dB; use limiter. |
For driver woes, reboot in safe mode and reinstall. Test with a loopback cable.
Integrating Modern Plugins for Mix-Ready Tracks
2026 plugins like iZotope Neutron 5 and FabFilter Pro-Q 4 offer AI gain staging and unmasking.
- Insert on master bus: Multiband compressor + limiter.
- Use dynamic EQ on channels for surgical fixes.
- Serial processing: De-esser > Compressor > Saturation.
- Render stems at -14 LUFS for streaming.
These tools print polished tracks straight from recording. Experiment in your DAW's plugin chain.
Conclusion: Your Path to Pro Recordings
Optimizing DAW settings in 2026 unlocks studio-quality audio at home. From interface picks to plugin magic, implement these steps for vocals that soar, instruments that shine, and bands that bang. Practice consistently, and your tracks will be mix-ready from take one. Start tweaking today—what's your go-to DAW?
No comments yet. Be the first!