 Instrumentiverse
How to Make a Full Beat in a DAW: Beginner Guide
Creating your first full beat in a Digital Audio Workstation (DAW) is an exciting entry into music production. Whether you're aiming for hip-hop, EDM, or pop, this hands-on guide walks beginners through the process using modern 2026 tools like generative MIDI plugins. We'll cover DAW setup, drum programming, melody layering, arrangement, free resources, and export best practices. No prior experience needed—just follow these visual, step-by-step instructions.
1. Setting Up Your DAW
Start with a free, beginner-friendly DAW. In 2026, options like LMMS (Linux MultiMedia Studio) or BandLab's web-based studio are perfect for newcomers. They're cross-platform, resource-light, and packed with built-in instruments.
- Download and install LMMS (completely free and open-source).
- Launch the DAW. You'll see a grid-based timeline (piano roll for melodies, beat editor for drums) and a mixer on the side.
- Set your project tempo: Click the BPM counter (top center) and set to 90-140 BPM for most beats. Visualize a grid where each row is a bar, divided into 16th notes—small squares light up as you add hits.
- Enable metronome (triangle play button) for timing. Adjust buffer size in settings (Audio tab) to avoid latency—aim for 256 samples.
Pro tip: Use headphones for accurate monitoring. Your screen should show a clean interface: timeline at bottom, instrument plugins on left.
2. Drum Programming: Build the Foundation
Drums drive the beat. Use the Beat+Bassline Editor in LMMS or similar drum racks.
- Open a new drum track: Drag 'Beat/Bassline Editor' from the left panel to the timeline.
- Load drum samples: Right-click the editor, add samples like kick (deep thump), snare (crisp snap), hi-hat (sizzle). Free packs come built-in or download from sites like Freesound.org.
- Program a basic pattern: Click grid squares for hits. Example (4-bar loop):
- Kick: Steps 1, 5, 9, 13 (strong downbeats).
- Snare: Steps 5, 13 (backbeats—visualize red claps on off-beats).
- Hi-hat: Every other 8th note (alternating open/closed for swing).
- Add velocity: Right-click steps, drag sliders up for punchy hits (80-100 velocity), down for ghost notes (40-60). This creates dynamics—your grid now pulses with varying heights.
- Quantize: Select all, hit 'Q' to snap to grid. Add swing (20%) via editor menu for groove.
Play it back: Loop the 4 bars. It should feel bouncy, like a classic boom-bap or trap rhythm.
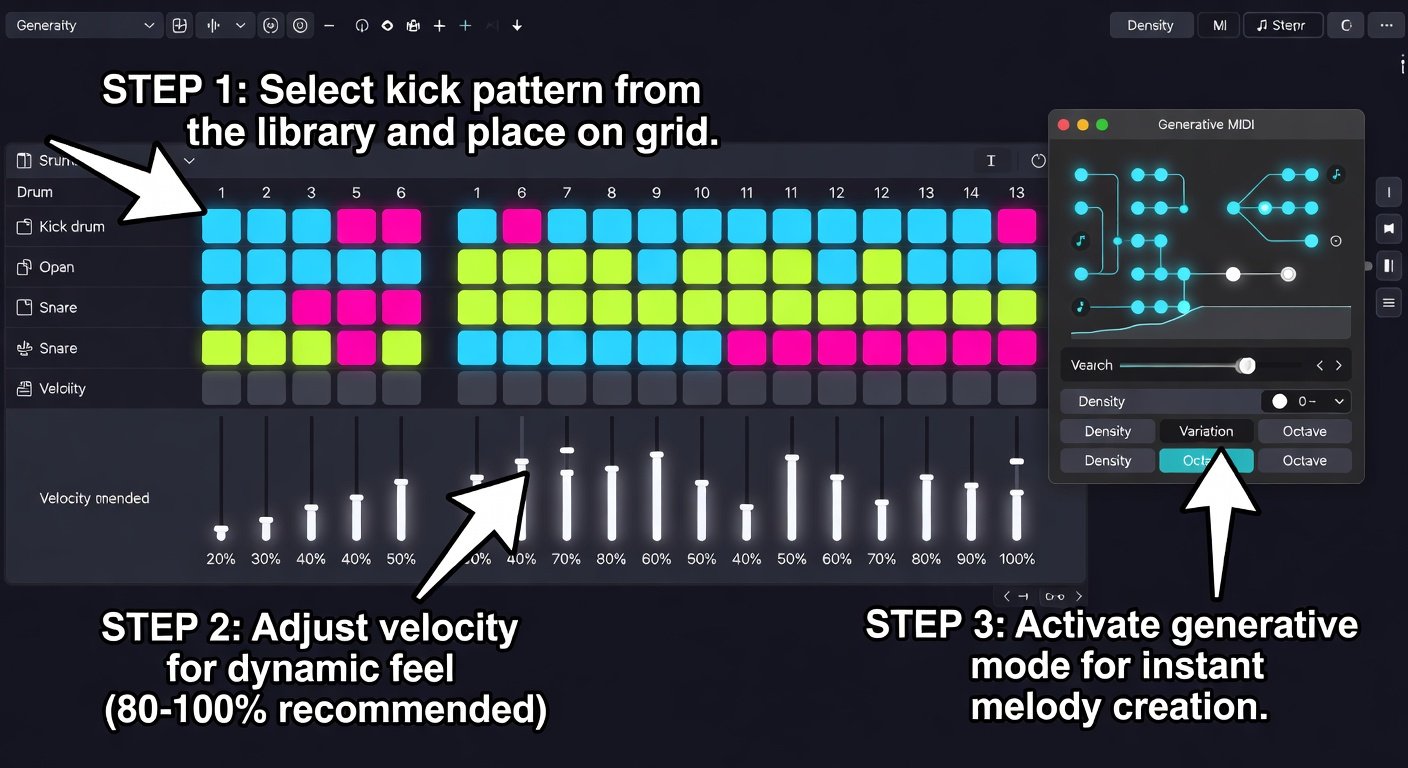
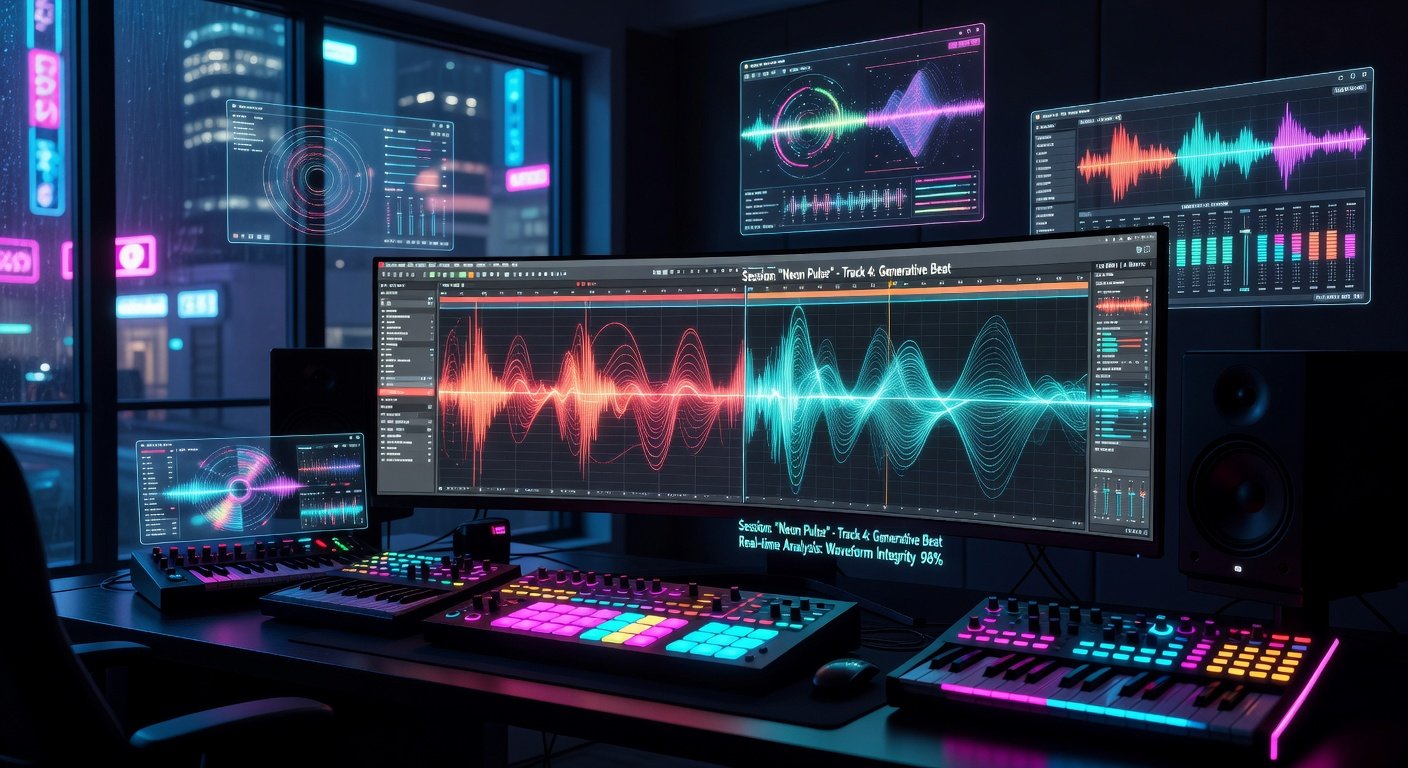
3. Melody Layering with Generative MIDI Plugins
Layer melodies using 2026's generative MIDI tools—they auto-create patterns based on scales and mood.
- Add a synth track: Insert 'Triple Oscillator' or VST like Helm (free). For generative magic, use plugins like Magenta Studio extensions or LMMS's built-in arpeggiators upgraded in 2026 versions.
- Generate MIDI: Open Piano Roll (Song Editor). Right-click, select 'Generate Pattern' or use a plugin like 'AI Melody Gen' (free trials abound). Input: C minor scale, 120 BPM, 'uplifting' mood.
- Edit visually: Piano roll shows notes as bars on a keyboard grid. Drag to shorten, copy-paste variations. Layer 2-3: High lead (saw wave, fast arps), mid pad (sine wave, sustained chords), bass (square wave, root notes following kick).
- Sidechain compression: Route kick to compressor on bass/melody tracks. Threshold -20dB, ratio 4:1—ducks volumes on kick hits for pump effect.
Tip: Free generative tools? Check community forks of Google's Magenta for DAW integration. Your melody grid now sparkles with evolving phrases.
4. Arrangement: Structure Your Beat
Turn loops into a song: Intro, verse, chorus, outro.
- Extend timeline to 32-64 bars. Duplicate drum loop across all.
- Build sections:
- Intro (bars 1-8): Drums only, fade in hi-hats.
- Verse (9-24): Add bass + sparse melody.
- Chorus (25-40): Full layers, double-time hi-hats.
- Breakdown (41-48): Strip to pads + effects.
- Outro (49-end): Fade drums.
- Automate: Right-click parameters (volume, filter cutoff). Draw curves—e.g., high-pass filter opens in chorus for energy build.
- Mix basics: EQ drums (boost kick 60Hz, snare 200Hz), pan melodies left/right, master limiter at -6dB.
Visual cue: Timeline colors sections differently for easy navigation.
5. Free Resources and 2026 Tool Recommendations
Level up with these:
- DAWs: LMMS, Cakewalk by BandLab (free Windows).
- Plugins: Vital (free wavetable synth), Spitfire LABS (free samples).
- Generative: Updated Magenta.js for browser DAWs.
- Packs: 99Sounds.org for loops.
Communities: Reddit r/WeAreTheMusicMakers for feedback.
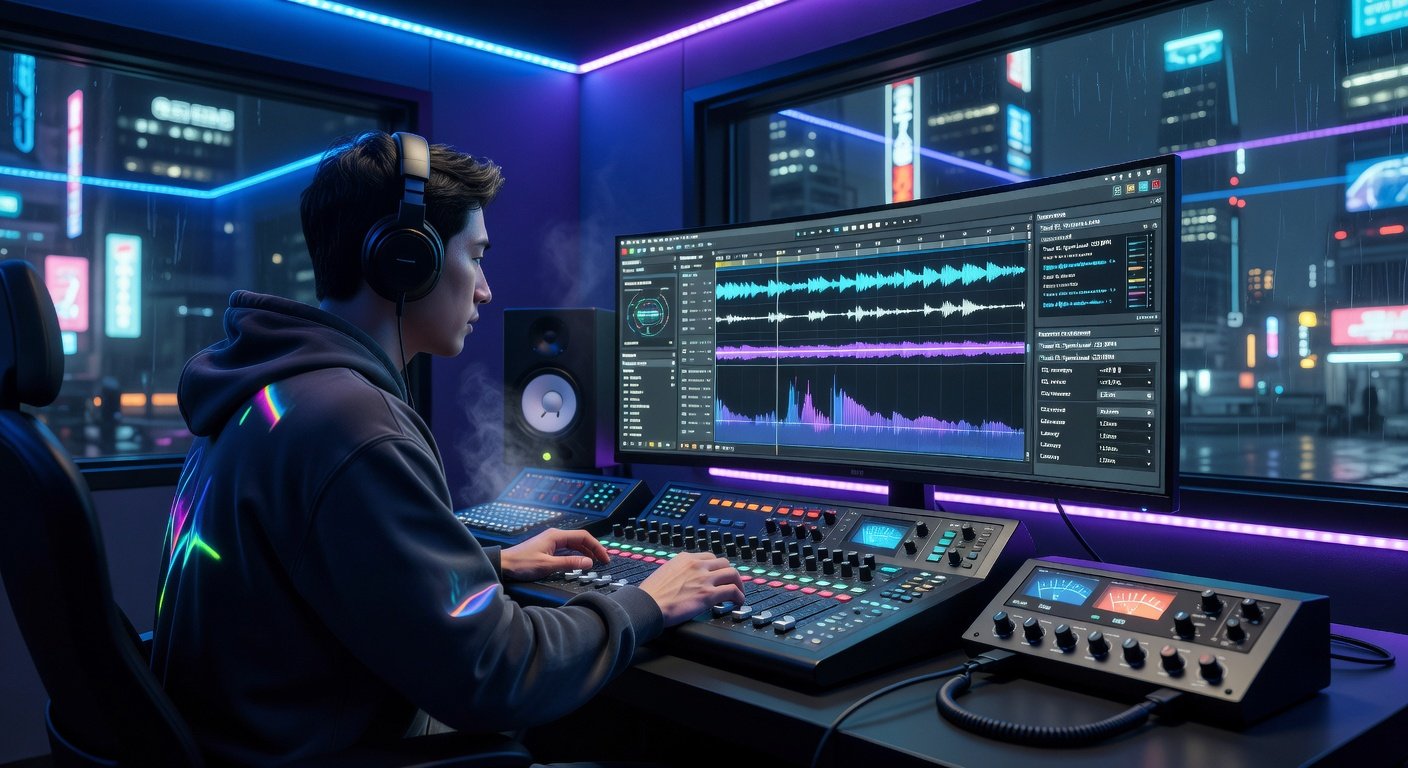
6. Export Best Practices for Sharing
Polish and share seamlessly.
- Bounce to audio: File > Export > WAV, 24-bit/48kHz, normalize off.
- Master lightly: Add EQ (cut mud below 30Hz), multiband compression, limiter (ceiling -0.3dB).
- Formats: MP3 320kbps for SoundCloud/YouTube, WAV for collabs.
- Metadata: Embed title/artist via export tags.
- Share: Upload to Bandcamp, BeatStars, or TikTok—tag #BeatMaking2026.
Avoid clipping: Peak at -1dB. Test on phone speakers.
Final Tips for Success
Practice daily—remix your beats. Experiment with effects like reverb on snares, distortion on leads. In 2026, AI plugins make iteration fast, but your ear is king. Share your first beat in comments!
This guide equips you to produce pro-sounding beats. Happy producing!

No comments yet. Be the first!