 Instrumentiverse
Introduction to Granular Synthesis in Modern Beat Making
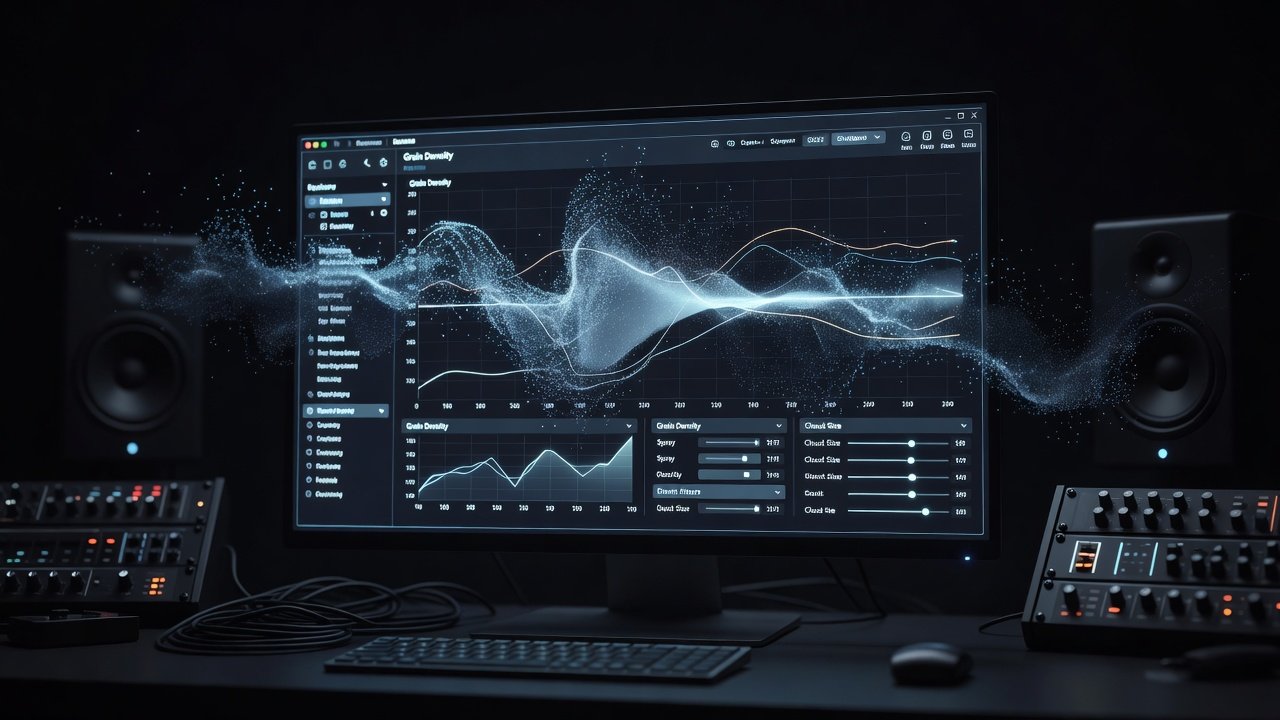
Granular synthesis breaks audio samples into tiny grains and reassembles them to create evolving textures, pads, and rhythmic elements. In 2026, beat makers rely on this method to craft atmospheric layers that sit perfectly under drums and melodies in DAWs like Ableton Live and FL Studio. This approach transforms static loops into dynamic, breathing soundscapes that feel alive and unique. Producers no longer treat granular tools as experimental add-ons; they have become core creative instruments for building tension, space, and movement in hip-hop, lo-fi, ambient trap, and experimental electronic beats.
Unlike traditional sampling, granular processing lets you stretch time, pitch, and density independently. Producers use it to generate subtle movement in hi-hats, deep evolving bass textures, or wide ambient washes that support the main groove. The technique shines when you need harmonic complexity without adding new notes or when you want percussion to feel like it is constantly morphing rather than repeating.
Comparing Built-in Granular Tools Across Three Popular DAWs
Each major DAW offers distinct granular engines suited to different production styles. Ableton Live includes Grain Delay and the Granulator II Max for Live device, which excel at real-time manipulation and modulation. These tools integrate seamlessly with Ableton’s clip launcher and automation lanes, making them ideal for live performers who want to tweak grain position and density on the fly. FL Studio features the Granulizer plugin with straightforward grain size and spray controls ideal for quick percussion texturing; its step sequencer makes it easy to trigger granular slices rhythmically. Bitwig Studio provides the Polymer synthesizer with granular modes plus the Grid for modular patching, offering deep routing options for complex modulation that can respond to multiple macros simultaneously.
Ableton shines in live performance integration and visual feedback, while FL Studio’s workflow speeds up sample chopping and pattern creation. Bitwig stands out for its modulation system that rivals dedicated modular setups, allowing you to modulate almost every parameter with LFOs, envelopes, or even audio-rate signals. Choosing depends on whether you prioritize speed, live tweaking, or intricate routing. For official documentation and updates on these tools, visit the manufacturer sites: Ableton, Image-Line, and Bitwig.
Setting Up Your First Granular Patch
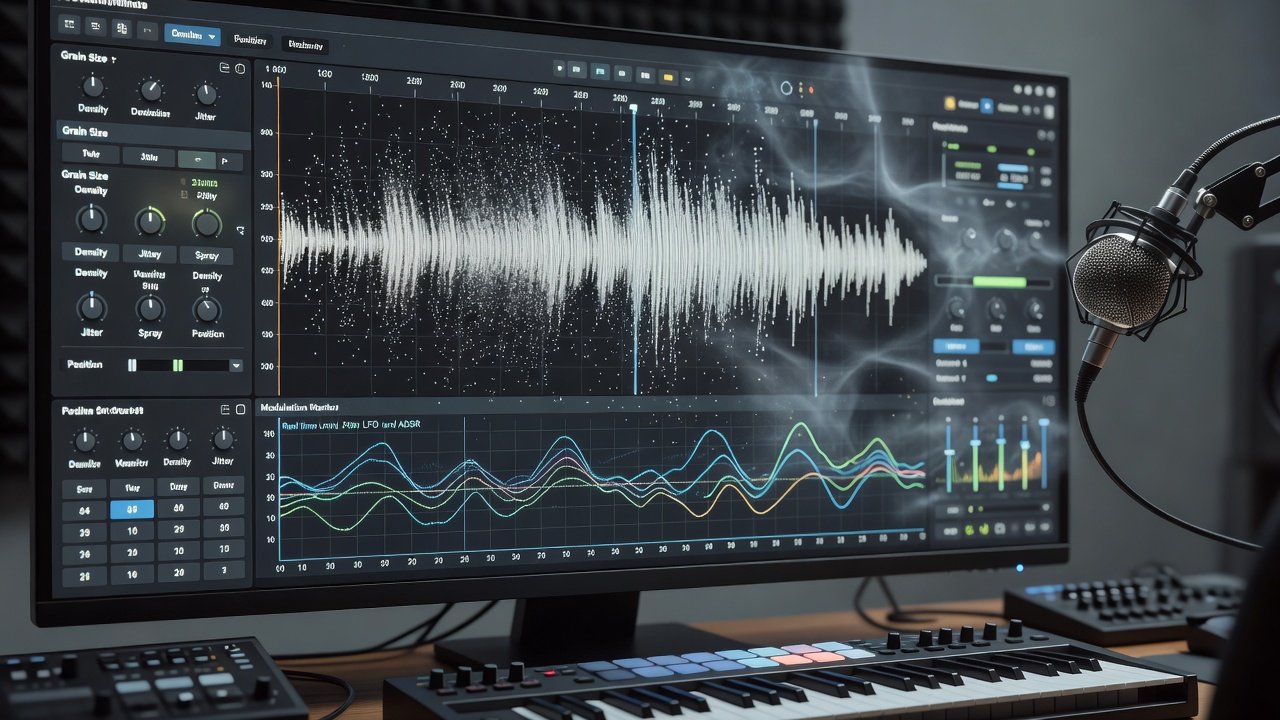
Begin by importing a short, textural sample such as a reversed cymbal, vocal breath, or field recording. Load the sample into your chosen granular engine and disable any built-in looping until you have tuned the core parameters. Set the grain size to 40 ms initially, then experiment with values between 15 ms and 120 ms while listening for the sweet spot where the texture becomes smooth yet retains character. Increase the number of simultaneous grains to between 6 and 16 depending on CPU headroom. Position the playback head near the middle of the sample and add a small amount of randomization (5–12 %) so the grains do not repeat identically.
Step-by-Step Parameter Tweaks for Atmospheric Layers
Start with a simple vocal chop or pad sample. Load it into your DAW’s granular tool and set grain size between 20-80 ms for smooth textures. Increase density to 8-12 grains per second to create lush pads without muddiness. Adjust playback position randomly with a small spray or jitter value around 5-15% to introduce organic variation. Lower the pitch by 12-24 semitones and enable time-stretching to maintain clarity at slow tempos typical in atmospheric beats. Fine-tune the windowing function—use a Hann or Blackman window for softer edges and fewer clicks. Experiment with grain overlap percentages between 40 % and 70 % to balance CPU usage and sonic smoothness.
Envelope Shaping Techniques
Use ADSR envelopes to sculpt each grain’s amplitude. Set a slow attack of 150 ms and release of 800 ms for dreamy swells. Shorten decay to 300 ms when creating textured percussion hits that need punch yet fade naturally into reverb tails. Modulate the envelope amount via an LFO synced to 1/4 or 1/8 notes. This creates pulsing movement that locks to your beat’s grid while keeping the granular layer evolving. Add a secondary envelope targeting grain pitch for gentle detuning that mimics analog drift.
Modulation Examples That Transform Simple Samples
Route an LFO to grain position for subtle scanning across the sample. Combine this with velocity-sensitive modulation on grain density to make layers respond dynamically to MIDI input. In Ableton, map the same LFO to both filter cutoff and grain size for harmonic movement that feels cohesive. In FL Studio, use the envelope controller in Granulizer to automate pitch drift over eight bars. This technique turns a one-shot drum into an atmospheric riser that builds tension before the drop. Try routing aftertouch or mod wheel to grain spray for expressive performance control during recording sessions.
Practical Workflows for Layering Over Drums and Melodies
1. Create a dedicated return track for your granular effect and send 30-40% of the drum bus to it.
2. Process the granular output with a low-pass filter at 800 Hz and gentle saturation to glue it into the mix.
3. Duplicate the layer, pitch one instance down an octave, and pan the copies 30% left and right for stereo width.
4. Automate grain density during the chorus to increase intensity without adding new elements.
5. Apply a slow-moving filter automation on the granular return so the texture opens up during breakdowns.
6. Sidechain the granular layer lightly to the kick drum using a compressor with a 4:1 ratio and fast release to maintain rhythmic clarity.
7. Blend a dry version of the original sample at low volume underneath the processed grains for hybrid realism.
These steps produce evolving soundscapes that support rather than compete with your main melody and kick pattern.
Tips for Avoiding Common Artifacts in 2026 Productions
Keep grain overlap above 50% to prevent clicks and pops. Use high-quality interpolation modes when available to reduce aliasing at extreme pitch shifts. Apply a multiband compressor after the granular plugin to tame any harsh resonances that emerge in the 2-5 kHz range. Reference your mix on multiple systems and adjust grain size if the texture becomes too static or warbly. Monitor CPU load and freeze tracks when grain counts exceed 20 per instance. Always check phase correlation when widening stereo granular layers to avoid mono incompatibility on club systems.
Short FAQ on Integrating Granular Effects with Mixing
How loud should granular layers sit in the mix?
Keep atmospheric layers 12-18 dB below the main drums so they add depth without masking transients.
Should I use mono or stereo granular instances?
Start in mono for low-end elements and widen only the mid and high layers to maintain phase coherence on club systems.
Can granular synthesis replace traditional reverb?
Yes, when grain density and size are tuned carefully it creates a more musical, non-linear space than algorithmic reverbs.
What sample types work best for textured percussion?
Short, noisy sources such as rimshots, shakers, and vinyl crackle respond especially well because their inherent randomness blends naturally with grain randomization.
How do I keep CPU usage manageable on long sessions?
Render granular layers to audio once the sound design is finalized, then use the rendered file as a new sample source for further processing.
Mastering these techniques gives beat makers a powerful toolkit for distinctive 2026 productions that stand out in a crowded market. Experiment daily with small parameter changes and you will quickly develop an intuitive feel for how grains interact with rhythm and space.
No comments yet. Be the first!