 Instrumentiverse
Introduction to Hardware Integration in Modern DAWs
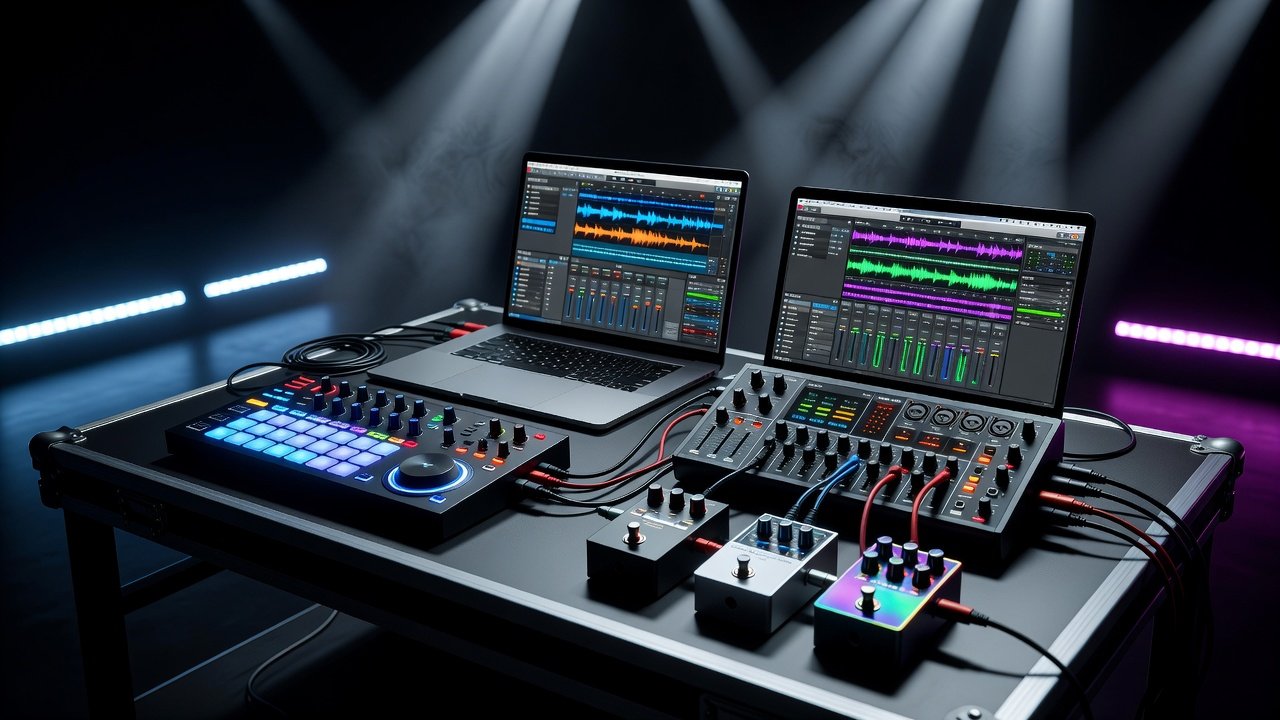
Transitioning from studio production to live performances requires careful hardware integration. Producers in 2026 rely on MIDI controllers, audio interfaces, and effects pedals to create dynamic, stage-ready beat-making setups. This guide explores seamless connections across Ableton Live and FL Studio, focusing on low-latency configurations and real-time sound manipulation. Successful live sets depend on reliable hardware-software communication that allows spontaneous creativity without technical hiccups.
Live performances demand reliable syncing between hardware and software. Whether performing in small clubs or large festivals, the right integration ensures fluid workflows. Many artists begin by testing basic connections at home before scaling to full productions. Understanding signal flow from controller to interface to DAW helps prevent common errors during high-pressure moments on stage.
Essential Hardware Components for Live DAW Setups
Start with core devices: MIDI controllers for note input and parameter control, audio interfaces for low-latency monitoring, and effects pedals for analog sound processing. These elements combine to expand creative possibilities beyond software-only productions. MIDI controllers range from simple pad-based units to full keyboard workstations that support aftertouch and multiple zones.
Audio interfaces serve as the central hub, converting analog signals from pedals into digital data the DAW can process. Effects pedals add unique character through physical knobs and switches that respond instantly. Budget options like entry-level MIDI keyboards provide basic functionality, while professional gear offers advanced features such as velocity-sensitive pads and assignable knobs. Comparisons show that pro setups reduce setup time and improve expressiveness during live sets. Consider cable management and power requirements when building a portable rig that travels well.
Low-Latency Configurations for Ableton Live and FL Studio
Latency issues can disrupt performances. Configure your audio interface with ASIO drivers in both DAWs to achieve round-trip latency under 10ms. In Ableton Live, adjust buffer sizes in preferences and enable "Reduce Latency When Monitoring." FL Studio users should optimize the audio settings panel and use the ASIO panel for similar results. Always test with actual performance material rather than simple sine waves.
Step-by-step example for Ableton Live: Connect your interface via USB, select it in DAW preferences, set sample rate to 48kHz, then lower buffer size gradually while monitoring CPU load. Add a MIDI controller next by mapping controls through the MIDI preferences menu. Test real-time manipulation by assigning filter cutoff to a knob and playing a drum rack. For FL Studio, open the audio settings, choose the interface, enable ASIO mode, and map MIDI through the options menu before assigning controls to mixer channels or plugins.
Common pitfalls include mismatched sample rates between hardware and software, which cause clicks and pops. Always match rates at 48kHz for live environments. Another frequent issue is driver conflicts on Windows systems; updating to the latest ASIO drivers from the interface manufacturer resolves most problems.
Real-Time Sound Manipulation Techniques
Effects pedals integrate via audio interfaces for hybrid processing. Route DAW tracks through pedals for live filtering or distortion, then return the signal for further digital effects. This creates unique textures during beat making that software emulation alone cannot replicate. Producers often chain multiple pedals such as delays and reverbs to build evolving atmospheres while triggering new loops.
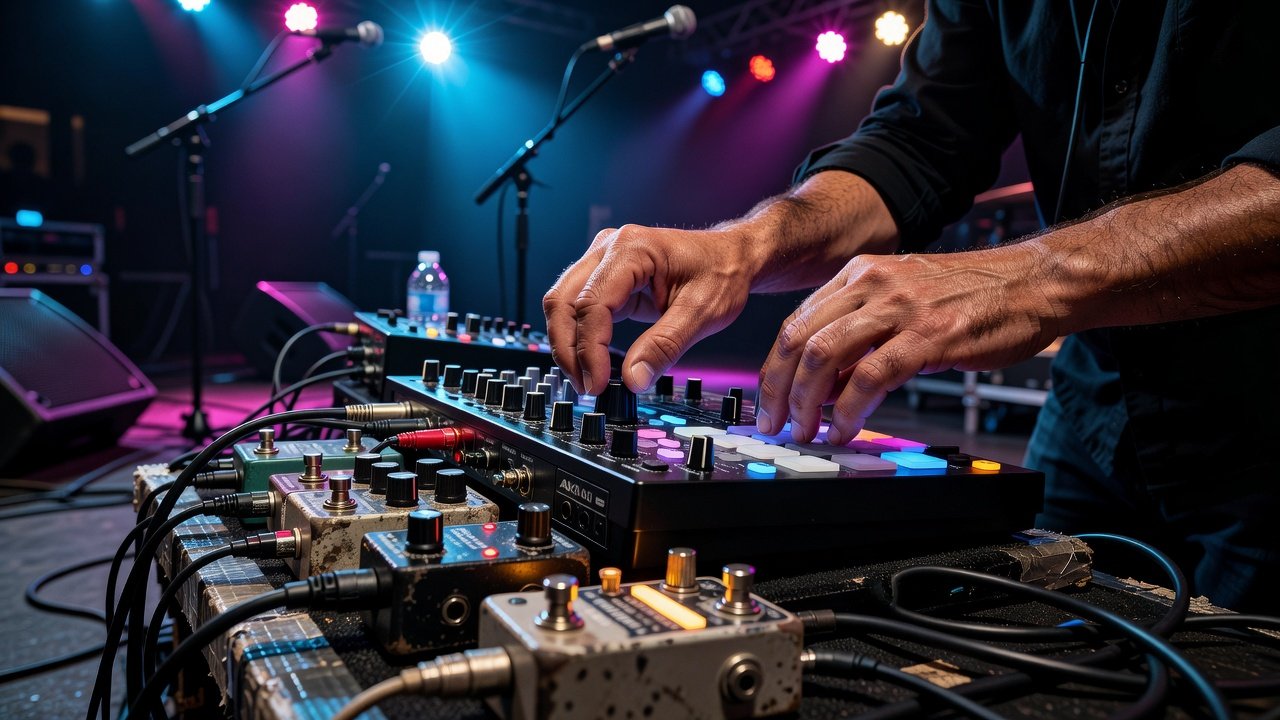
Use MIDI controllers to trigger clips in Ableton or patterns in FL Studio while tweaking parameters live. Techniques include assigning macros for multi-parameter control and using expression pedals for dynamic swells. Experiment with aftertouch on supported controllers to modulate effects intensity based on key pressure. Real-world example: Map a sustain pedal to engage a looper in the DAW while simultaneously adjusting an external reverb pedal for spatial depth.
Hardware-Software Syncing Tips Across Platforms
Syncing relies on MIDI clock and Ableton Link for Ableton Live, allowing multiple devices to stay in time. FL Studio supports similar integration through its own link features and third-party tools. Map controller buttons to transport controls for starting and stopping sequences on stage. For complex setups, use a central MIDI merger to combine signals from several controllers without conflicts.
Learn more at Ableton for advanced Link tutorials. FL Studio users can explore documentation at Image-Line. Additional MIDI standards are outlined at MIDI.org. For touring in 2026, prepare backup configurations and test all connections in a simulated live environment to identify weak points before departure.
Budget vs Pro Gear Comparisons
Budget MIDI controllers suffice for beginners but lack durability under stage conditions. Pro models from established brands provide better build quality and deeper integration with DAW automation. Audio interfaces follow the same pattern: entry-level units handle basic I/O, while pro versions support multiple inputs for complex pedal chains and higher quality converters that preserve sound fidelity.
Choose based on your performance scale. Small venues benefit from compact budget setups that are easy to carry. Festival stages require robust pro gear with redundant connections. Consider factors like weight, port count, and software bundle when deciding between tiers.
Practical Workflows for Studio-to-Stage Transition
Follow these numbered steps for reliable results: 1. Create a dedicated performance template in your DAW with pre-mapped controls. 2. Organize clips or patterns by song section using color coding. 3. Incorporate effects pedals for signature sounds that stand out live. 4. Rehearse full performances with hardware to refine timing and transitions. 5. Document cable layouts and settings for quick troubleshooting on the road.
These steps ensure smooth transitions from studio production to live execution. Practice cueing the next section while manipulating effects to maintain audience engagement.
Troubleshooting Common Issues in Live Environments
Unexpected dropouts often stem from overheating interfaces or loose USB connections. Carry spare cables and a powered USB hub for stability. If MIDI notes stick, check for conflicting controller assignments in the DAW. For audio crackling, increase buffer size temporarily during soundcheck then optimize later. Always arrive early to venues to run full system tests including pedal signal paths.
Conclusion
Effective hardware integration transforms DAW performances into engaging experiences. By mastering low-latency setups, syncing, and manipulation techniques in Ableton Live and FL Studio, producers deliver professional results on stage across any venue size.
FAQ: Optimizing for 2026 Touring Scenarios
How do I handle power issues on tour? Use battery-powered interfaces and portable power banks rated for extended sets, plus surge protectors for venue outlets.
What is the best way to protect gear during travel? Invest in padded cases, label all cables for quick assembly, and carry duplicates of essential adapters.
Can I integrate multiple controllers simultaneously? Yes, both DAWs support multi-device MIDI setups with proper mapping and a MIDI interface hub.
How do I minimize feedback with effects pedals live? Position pedals after the interface output and use noise gates in the DAW chain.
What backup strategies work best for festivals? Prepare a simplified template version and test it on a secondary laptop before each show.
No comments yet. Be the first!