 Instrumentiverse
Introduction to Advanced Layering Techniques
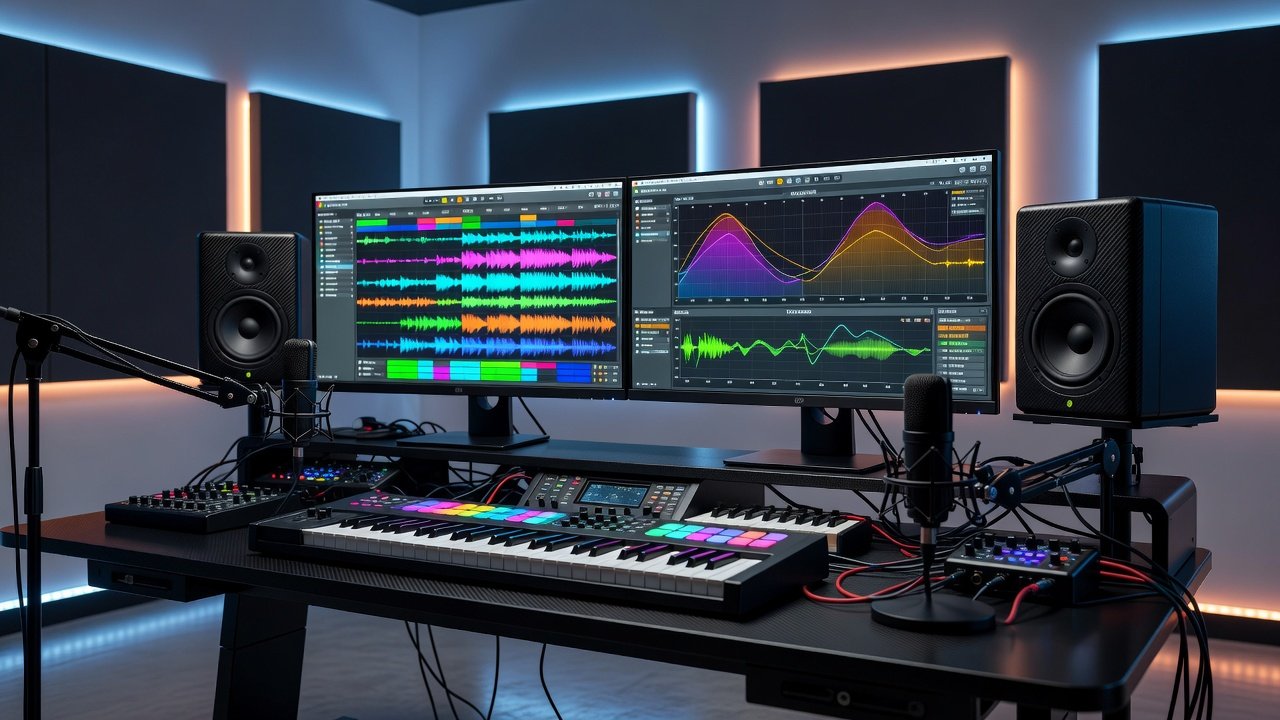
In 2026, hip-hop and electronic producers demand beats that feel immersive and translate perfectly across club systems, headphones, and car stereos. Advanced layering goes beyond simple stacking by treating each element as part of a three-dimensional sonic space. Producers must consider not only frequency content but also stereo positioning, phase relationships, and dynamic movement to create beats that captivate listeners on first play. This article explores practical strategies using Ableton Live and FL Studio, focusing on EQ carving, panning automation, frequency slotting, and subtle effects processing with concrete examples tailored for dense arrangements.
Effective layering creates depth while maintaining clarity. The modern producer workflow involves iterative building, where each new layer is introduced only after the previous ones are sculpted. This prevents the common issue of muddy mixes that plague many home productions. By the end of this guide, you will have actionable steps to elevate your kicks, snares, and synths.
Understanding Sound Layering in Modern DAWs
Sound layering involves combining multiple audio sources to form a single composite sound that is richer than any individual component. In hip-hop, this might mean blending a deep 808 with a punchy acoustic kick sample. In electronic music, it could involve stacking analog-modeled synths with digital wavetable layers. Both Ableton Live and FL Studio offer robust tools for this, including group tracks, mixer routing, and automation lanes that allow precise control over each layer's contribution.
Begin by importing or generating your base sounds. In Ableton, use the browser to load samples directly into Simpler or Sampler instruments. In FL Studio, drag samples into the Channel Rack and assign them to separate mixer tracks for individual processing. The key is to treat layers as modular building blocks that can be adjusted independently before final summing.
EQ Carving for Clean Frequency Separation
EQ carving removes overlapping frequencies between layers to prevent masking. Start by soloing your foundational layer, such as a sub-bass kick. Apply a high-pass filter around 40-60 Hz in Ableton’s EQ Eight or FL Studio’s Parametric EQ 2 to eliminate unnecessary rumble. Then, carve narrow notches in mid layers at 200-500 Hz where the kick body lives, using Q values between 2.5 and 4.0 for surgical cuts.
For snares, cut 1-2 kHz on the main body layer and boost the same range subtly on a top layer by 2-3 dB. This technique ensures each element occupies its own frequency slot. Example workflow in FL Studio: load three snare layers into the Channel Rack, route them to a mixer bus, and apply targeted EQ on the individual channels before the bus. In Ableton, use the EQ Eight in mid/side mode to carve only the side information on atmospheric layers, preserving the centered punch of the kick. Always reference your mix at low volumes to confirm that carved frequencies remain audible.
Panning Automation for Movement and Width
Static panning feels flat in modern productions. Use automation to create evolving stereo images that draw the listener into the beat. In Ableton, draw automation lanes for the Utility device’s stereo width and pan parameters across 4-8 bar phrases, creating subtle left-right shifts during hi-hat patterns. In FL Studio, automate the Fruity Stereo Enhancer width knob or mixer pan controls with bezier curves for smooth transitions.
Apply gentle movement to hi-hat layers or synth stabs during breakdowns while keeping low-end elements strictly centered for mono compatibility. A practical tip is to automate panning only on layers above 800 Hz to avoid phase issues in the bass range. This creates an immersive field without sacrificing translation on mono club systems. 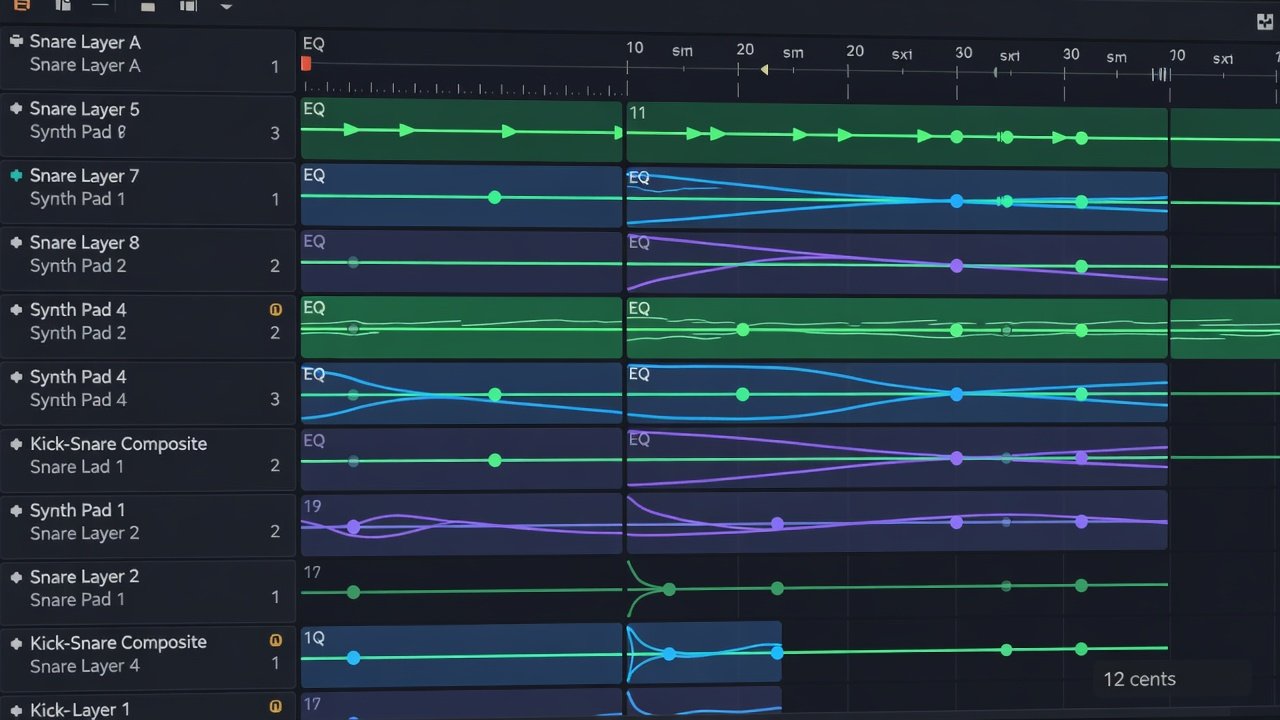
Frequency Slotting and Subtle Effects Processing
Frequency slotting assigns specific ranges to each layer: sub (20-80 Hz), low-mid (80-250 Hz), mid (250-2 kHz), and air (8 kHz+). Use multiband compressors like Ableton’s Multiband Dynamics or FL’s Maximus to glue layers while preserving dynamics. For effects, add subtle saturation via Ableton’s Saturator on one layer only and a short-plate reverb on another with 0.8-second decay and 15% wet mix.
Avoid heavy processing that blurs transients. Instead, experiment with mid-side processing on synth layers to widen the sides without affecting the center. In FL Studio, the Maximus multiband maximizer can be set with separate thresholds per band to control how each frequency slot contributes to the overall loudness.
Building Fuller Kicks Step by Step
For kicks, combine three to five layers: a sine sub for low-end weight, a mid punch sample for body, a high click for attack, and a noise tail for sustain. In Ableton, load each into separate Simpler instances inside a Drum Rack, then process with individual EQ and compression before grouping to an Audio Track. Apply parallel compression on the group using a 4:1 ratio and fast attack. In FL Studio, route kick layers to separate mixer channels, sidechain the sub layer to the main kick using Maximus, and automate volume envelopes for tight decay. Test the combined kick on a spectrum analyzer to confirm even energy distribution across octaves.
Building Fuller Snares and Synths
Snares benefit from a body sample, rim shot, and white noise layer with different decay envelopes. EQ the body to emphasize 200 Hz and 2 kHz while cutting mud at 400 Hz. Synths gain immersion through detuned oscillators layered with filtered versions. Automate filter cutoff on one layer only, sweeping from 1 kHz to 4 kHz over eight bars. In Ableton, use the Wavetable instrument with multiple voices detuned by 8-12 cents. In FL Studio, layer Sytrus or Harmor patches and use the mixer to apply distinct reverb sends to each.
Common Layering Mistakes to Avoid
- Overlapping low-mids without carving, leading to boxy tones
- Excessive stereo widening on bass elements that collapses in mono
- Using too many layers without phase alignment checks via utility plugins
- Ignoring mono compatibility and discovering issues only during mastering
- Over-processing with effects that mask clarity and reduce impact
- Forgetting to level-match layers before EQ, which skews perceived balance
Maintaining Clarity in Dense Beats
Keep arrangements sparse by muting unnecessary layers during verses. Use sidechain compression triggered by the kick to duck competing elements by 3-6 dB. Reference tracks from artists like Metro Boomin or Four Tet for balance inspiration. Group related layers early and apply bus processing sparingly to glue without squashing dynamics.
Testing Layers in Different Monitoring Environments
Always A/B test on headphones, studio monitors, and consumer speakers. Export stems and check in a car or phone speaker. Adjust levels and EQ based on real-world playback. Use a portable Bluetooth speaker for quick validation and compare against commercial releases at matched volumes. This final step ensures your layered beats remain immersive and professional regardless of playback system.
FAQ
How many layers are ideal for a kick? Three to five layers typically suffice when each occupies a distinct frequency range and is processed individually before grouping.
Can these techniques work in other DAWs? Yes, the principles of frequency slotting and automation apply universally, though specific tools differ across platforms.
What plugins help most with layering? Stock tools in Ableton and FL Studio are powerful; supplement with precise EQ when needed. Visit Ableton, Image-Line, and Sound on Sound for official tutorials and in-depth production guides.
No comments yet. Be the first!