 Instrumentiverse
Introduction to DAW Live Performance Setups
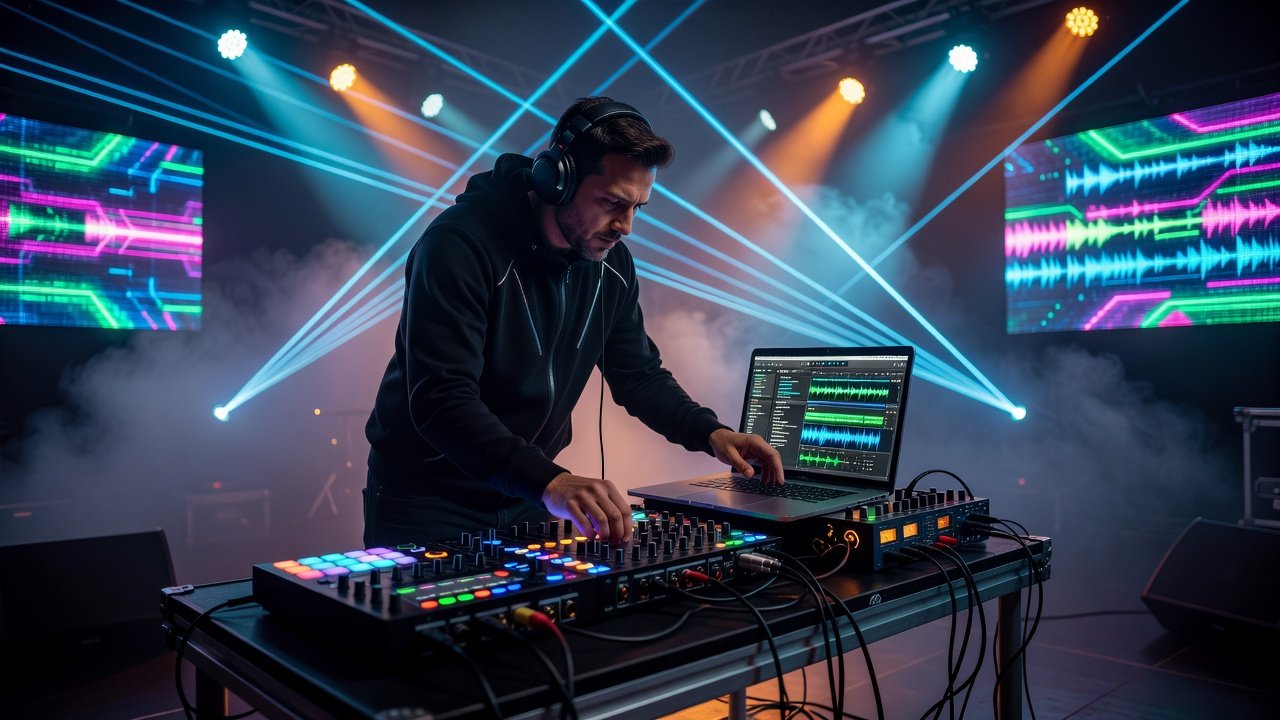
Transitioning from studio music production to live performances requires careful planning with digital audio workstations (DAWs). In 2026, producers need reliable configurations that handle real-time processing while maintaining creative flexibility. This comprehensive guide walks through selecting compatible tools, configuring low-latency playback, and building dynamic live sets. Live DAW performances allow for improvisation, audience interaction, and unique adaptations of studio tracks. Whether using Ableton Live, FL Studio, or Logic Pro, the key is seamless integration of software and hardware that supports spontaneous changes without technical interruptions.
Many producers start in the studio with unlimited time for editing, but live environments demand instant decisions. Understanding how to optimize your DAW for stage use can transform a standard laptop setup into a powerful performance instrument. This article provides practical steps, real-world examples, and comparisons to help you build a robust system.
Selecting Compatible DAWs and Hardware
Choosing the right DAW is foundational. Popular options include Ableton Live for its clip-based workflow ideal for live looping, Ableton, and FL Studio for beat makers seeking pattern-based control. Logic Pro offers strong MIDI capabilities for Mac users. Each DAW has distinct strengths: Ableton excels at non-linear arrangements, while FL Studio shines in rapid beat manipulation during performances.
Hardware essentials include MIDI controllers like the Akai MPK series or Novation Launchpad for tactile control, and audio interfaces such as Focusrite Scarlett or Universal Audio Apollo for stable I/O. Ensure your interface supports ASIO or Core Audio drivers for minimal latency. Consider factors like portability, number of inputs needed for external synths, and compatibility with your computer’s operating system. For example, a producer performing electronic sets might prioritize a controller with many pads, while a band setup could require multiple audio outputs for separate monitoring.
Step-by-Step Configuration for Low-Latency Playback
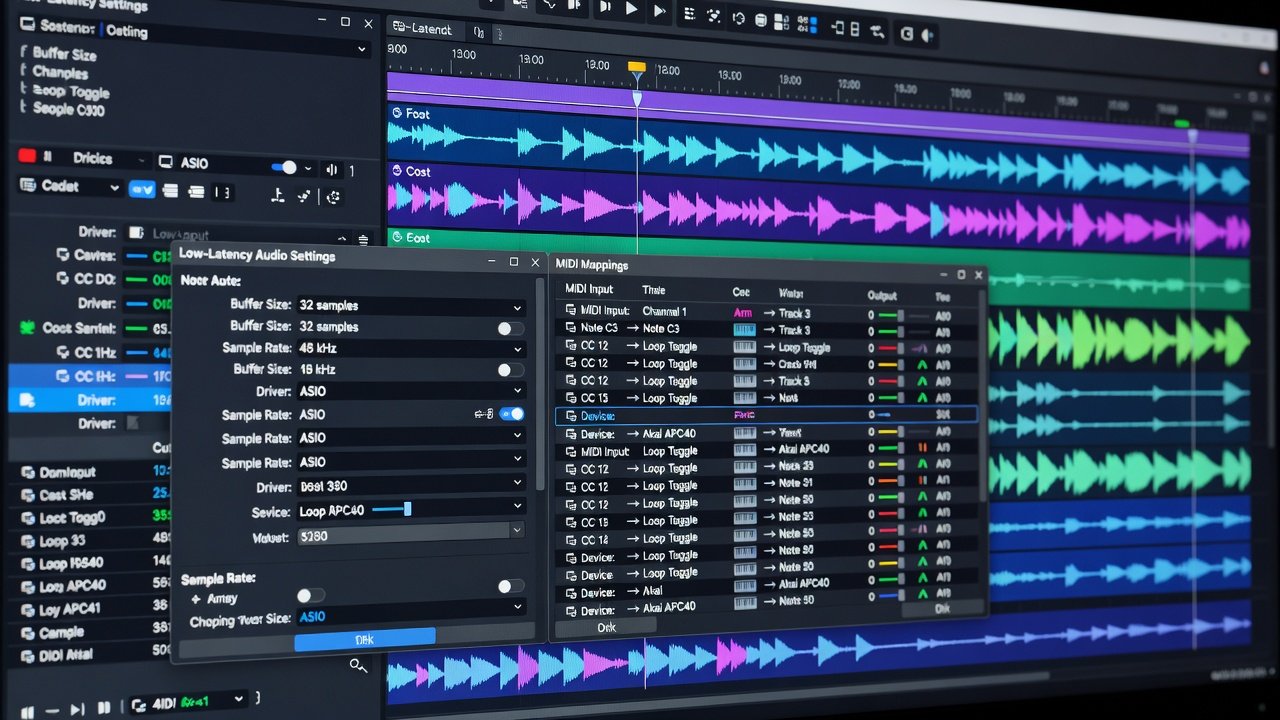
Start by setting your DAW's audio buffer size to 128 samples or lower in preferences. Test with a metronome to confirm no crackling. Enable multi-core processing and freeze tracks where possible. Update all drivers and plugins to their latest versions before a show, as outdated software often causes glitches. Next, configure MIDI routing so controllers map directly to parameters. Use MIDI learn functions to assign knobs for real-time adjustments during sets. Create a dedicated performance template with pre-routed tracks, effects sends, and master bus processing to save time on stage.
Always run a soundcheck with your full setup. Monitor CPU usage and close unnecessary applications. If using Windows, optimize power settings for high performance. Mac users should disable automatic updates during live events. These steps ensure smooth playback even when layering multiple virtual instruments and effects.
Integrating Effects Chains and Real-Time Adjustments
Build effects chains with plugins that support real-time modulation. For example, route a vocal chain through reverb, delay, and distortion, then automate via MIDI. Real-time beat making involves mapping pads to drum racks and using performance macros for instant variations. Experiment with sidechain compression to create pumping effects that respond to kick drums, adding energy to builds and drops. Assign multiple parameters to a single knob for complex sound morphing without overwhelming your hands during a set.
Practical tip: Group similar tracks into racks or folders so one MIDI controller can control entire sections. Test chains at performance volume levels, since plugin behavior can change with gain staging. This approach keeps your live sound evolving without stopping the music.
Syncing with External Gear for Dynamic Sets
Sync external synths or drum machines via MIDI clock or Ableton Link. This creates layered performances where hardware responds to DAW tempo changes. Use a central clock source, typically your DAW, and ensure all devices receive the same BPM information. For wireless setups, explore Bluetooth MIDI adapters, but test reliability beforehand as latency can vary.
Practical Examples of Live Looping Setups
Consider a setup with four audio tracks: drums, bass, melody, and vocals. Use session view in Ableton to launch loops, then overdub new elements mid-performance. Record a 4-bar phrase, layer harmonies, and trigger effects on the fly. Another example involves a beat maker starting with a simple kick-snare pattern, then gradually adding hi-hats and melodic loops while adjusting filter cutoffs live. For more complex arrangements, pre-load scene launches that trigger multiple loops simultaneously, allowing quick shifts between song sections.
Comparison of Popular DAW Live Modes
- Ableton Live: Excels in clip launching and warping for flexible tempo matching. Its session view supports non-linear performances and easy looping.
- FL Studio: Strong playlist arrangement with pattern triggering suited to electronic sets. The step sequencer allows quick beat edits on stage.
- Logic Pro: Robust for linear arrangements with strong live looping via its looping features and excellent integration with Apple hardware.
When comparing, consider your workflow: clip-based DAWs suit improvisational styles, while pattern-based ones favor structured electronic music.
Troubleshooting Common Issues
Common problems include audio dropouts—resolve by increasing buffer size temporarily or closing background apps. MIDI lag often stems from faulty cables; test with direct connections. For sync issues, verify clock settings across devices. Overheating laptops can throttle performance, so use cooling pads at outdoor gigs. Plugin crashes are minimized by running in sandboxed modes where available and maintaining a minimal plugin list for live use.
Mistakes to Avoid in Live DAW Performances
One frequent mistake is overloading the session with too many tracks, leading to high CPU load. Another is skipping full rehearsals with the exact hardware. Always back up your project files and export stems as a safety net. Neglecting cable management can cause mid-set disconnections, so label and secure all connections in advance.
Preparing Your Setlist and Practice Routine
Organize your setlist into logical sections with smooth transitions between songs. Practice transitioning between scenes or patterns until muscle memory takes over. Record practice sessions and review them for timing issues or weak moments. Incorporate audience interaction elements, such as live sampling from the crowd, to make each performance unique.
Conclusion
With proper setup, DAWs become powerful live performance tools. Practice transitions and test full sets in advance to ensure reliability on stage. The combination of thoughtful hardware choices, optimized settings, and creative effects use will elevate your live music production experience.
FAQ
What is the best DAW for beginners in live performance? Ableton Live is often recommended due to its intuitive session view and extensive community resources.
How do I reduce latency on a laptop? Use an external audio interface and optimize buffer settings while monitoring system resources.
Can I use free plugins in live setups? Yes, but prioritize stable, low-CPU options to avoid crashes during performances.
What MIDI controller works best with multiple DAWs? Universal controllers like the Novation Launchkey support major platforms through flexible mapping.
How important is a dedicated performance template? Extremely important, as it saves setup time and reduces errors under pressure.
Should I bring backup hardware to gigs? Yes, carrying spare cables and a secondary controller prevents total failure if one piece malfunctions.
No comments yet. Be the first!