 Instrumentiverse
Introduction to Creative Effects Chaining in Music Production
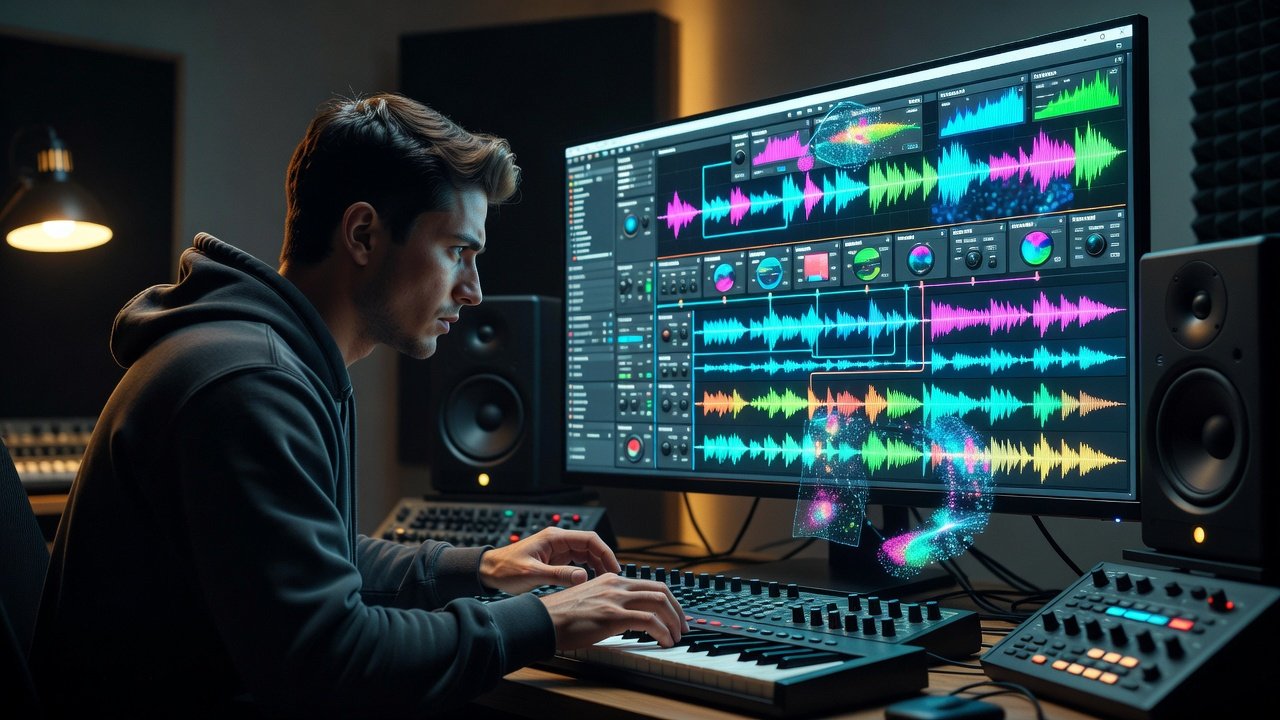
Beat makers constantly seek new sonic textures beyond basic mixing and automation. Building creative effects chains in your DAW transforms ordinary sounds into signature elements that define your style. This approach emphasizes experimentation with core processors like reverb, delay, and distortion to craft immersive beats that stand out in competitive genres. Effects chaining involves routing audio through multiple plugins in sequence or parallel, allowing signals to interact dynamically. When done thoughtfully, chains add depth, movement, and character that standard presets cannot replicate. Producers who master this technique often discover unique textures that elevate their beats from generic loops to professional-level productions.
The goal is not merely to apply effects but to create evolving soundscapes. For instance, a simple kick drum can gain rhythmic complexity when passed through distortion followed by modulated delay. This method encourages thinking beyond linear processing and instead views the signal path as a creative instrument itself. Throughout this guide we explore practical workflows, DAW-specific implementations, and strategies for consistent results.
Selecting Core Effects for Beat-Making Chains
Start with foundational effects that complement each other without overwhelming the source material. Reverb creates space and atmosphere, delay introduces rhythmic echoes, and distortion adds grit or warmth. Choose plugins that offer flexible parameters for modulation and feedback control. Consider how each effect interacts with the frequency spectrum of your beats. Reverb can wash out high frequencies if not damped properly, while delay may introduce unwanted resonance on low-end elements like 808s.
- Reverb: Opt for algorithmic or convolution types that allow pre-delay and damping adjustments to maintain clarity on percussive hits.
- Delay: Use tempo-synced options with ping-pong or multi-tap capabilities so echoes align with your project BPM.
- Distortion: Select models ranging from subtle saturation to aggressive bit-crushing, testing drive levels to avoid clipping.
Layer these in creative orders rather than default signal paths to unlock unexpected results. Additional processors such as filters, phasers, or granular effects can be inserted once the core three are balanced.
Step-by-Step Chaining Workflows
Follow these practical steps to construct effective chains that remain editable and CPU-efficient:
- Load your source audio track, such as a drum loop or synth stab, and duplicate the track for A/B comparison.
- Insert the first effect—often distortion for initial harmonic enhancement—then adjust input gain to keep peaks under -6 dB.
- Route the output to a send or auxiliary track for parallel processing with delay, blending the wet signal at 30-50 percent.
- Add reverb last in the chain to glue elements while preserving clarity; set decay times between 1.5 and 3 seconds for most beat tempos.
- Automate wet/dry mixes and feedback levels to evolve the sound over time, drawing automation curves that peak during breakdowns.
Experiment by reversing the order: place reverb first to generate diffuse tails that delay and distortion then reshape into rhythmic stutters. Document each iteration so successful chains can be saved as templates for future sessions.
DAW-Specific Examples in Ableton Live
Ableton excels at flexible routing through its rack system. Create an effects rack by grouping multiple instances of Echo, Erosion, and Reverb. Use macro controls to adjust chain parameters simultaneously. For instance, map distortion drive and delay time to a single macro for real-time performance tweaks during live jamming. Parallel chains via return tracks let you blend clean and processed signals seamlessly. Ableton documentation highlights rack-based workflows ideal for beat experimentation. Additional techniques include using the Audio Effect Rack’s chain selector to switch between different effect combinations mid-arrangement.
FL Studio Workflow Examples
In FL Studio, leverage the mixer and Patcher for advanced chaining. Load Fruity Delay 3 and Fruity Wave Shaper into a Patcher instance, then route through a send to Fruity Reverb 2. Utilize the channel rack for per-step automation of effect parameters. This setup shines when processing individual drum hits differently within the same pattern, giving each element its own character. Image-Line resources demonstrate how Patcher can host third-party plugins, expanding creative options without leaving the DAW environment.
Routing and Automation Within Chains
Effective routing prevents phase issues and maintains headroom. Use auxiliary tracks for parallel chains and sidechain compression to duck effects in time with the beat. Automation lanes can target specific plugin controls—try automating reverb decay to swell during breakdowns or delay feedback to build tension before drops. Record these movements for organic variation across song sections. In both Ableton and FL Studio, group automation clips so they can be triggered as performance gestures. Consider linking LFO tools to effect parameters for constant subtle movement that keeps loops interesting over long playtimes.
Common Pitfalls to Avoid
Overloading chains with too many effects leads to muddy mixes. Always monitor gain staging between plugins and insert utility tools to trim levels. Ignoring phase relationships when using parallel paths can weaken low-end punch; flip polarity on return tracks to test for improvements. Finally, avoid over-relying on presets; tweak at least one parameter per effect to personalize the result. Another frequent mistake is neglecting to freeze tracks after finalizing a chain, which can cause playback glitches during mixing.
Before-and-After Audio Comparisons
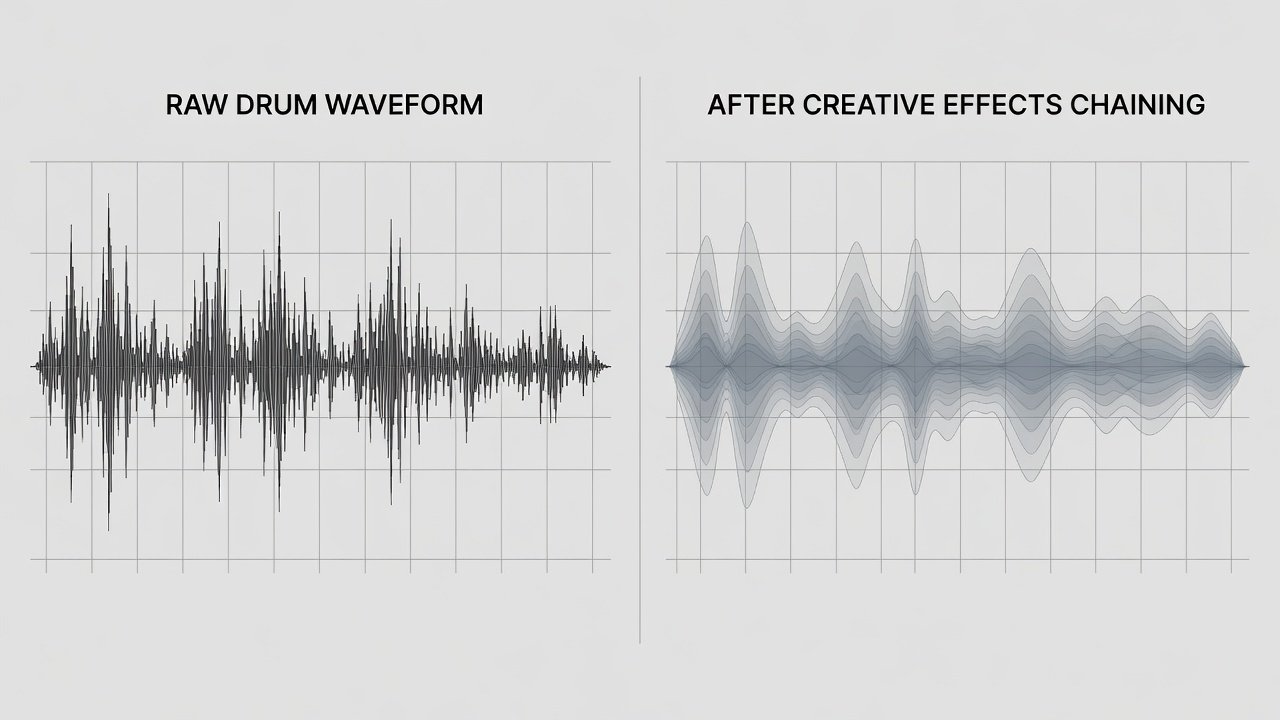
A simple snare hit processed through a basic chain (distortion → delay → reverb) gains width and rhythmic interest. The untreated sound feels flat and static, while the chained version exhibits evolving tails and harmonic richness that cut through dense arrangements. Compare a raw hi-hat loop against the same loop routed through modulated delay and filtered reverb; the processed version reveals new syncopations that inspire fresh groove variations. These audible differences demonstrate why chaining is a core skill for producers aiming to develop signature sounds.
Advanced Experimentation Tips
Once basic chains are comfortable, introduce modulation sources such as envelope followers or step sequencers to control effect parameters. Try inserting a filter before distortion so only specific frequency bands receive grit. Granular plugins placed after delay can stretch echoes into atmospheric pads that complement beat drops. Always A/B test against reference tracks in the same genre to ensure the processed elements translate well on club systems and consumer headphones alike.
Frequently Asked Questions
Are effects chains compatible across different plugin formats?
Most modern DAWs support VST, AU, and AAX formats, but compatibility depends on your host and operating system. Test chains in a dedicated project before committing to a full session. Sound on Sound regularly covers plugin bridging solutions for cross-format workflows.
How do I prevent CPU overload with complex chains?
Freeze or bounce processed tracks once the sound is finalized. Use lightweight plugin alternatives for initial sketching and reserve heavier convolution reverbs for final renders.
Can I use the same chain on multiple instruments?
Yes, but adjust send levels and EQ per source to maintain separation in the final mix. High-pass filtering on return tracks often prevents low-frequency buildup when sharing chains.
What if my DAW lacks advanced routing features?
Most entry-level DAWs still allow basic sends and inserts. Start with serial chains and gradually add parallel processing as you upgrade or learn workarounds such as track bouncing.
Conclusion
Mastering creative effects chains elevates beat making from functional to distinctive. By combining core effects thoughtfully, leveraging DAW routing tools, and iterating through experimentation, producers develop unique sonic signatures. Apply these techniques consistently to discover textures that set your tracks apart and keep listeners engaged from start to finish.

No comments yet. Be the first!