 Instrumentiverse
Introduction to Sound Layering in Modern DAWs
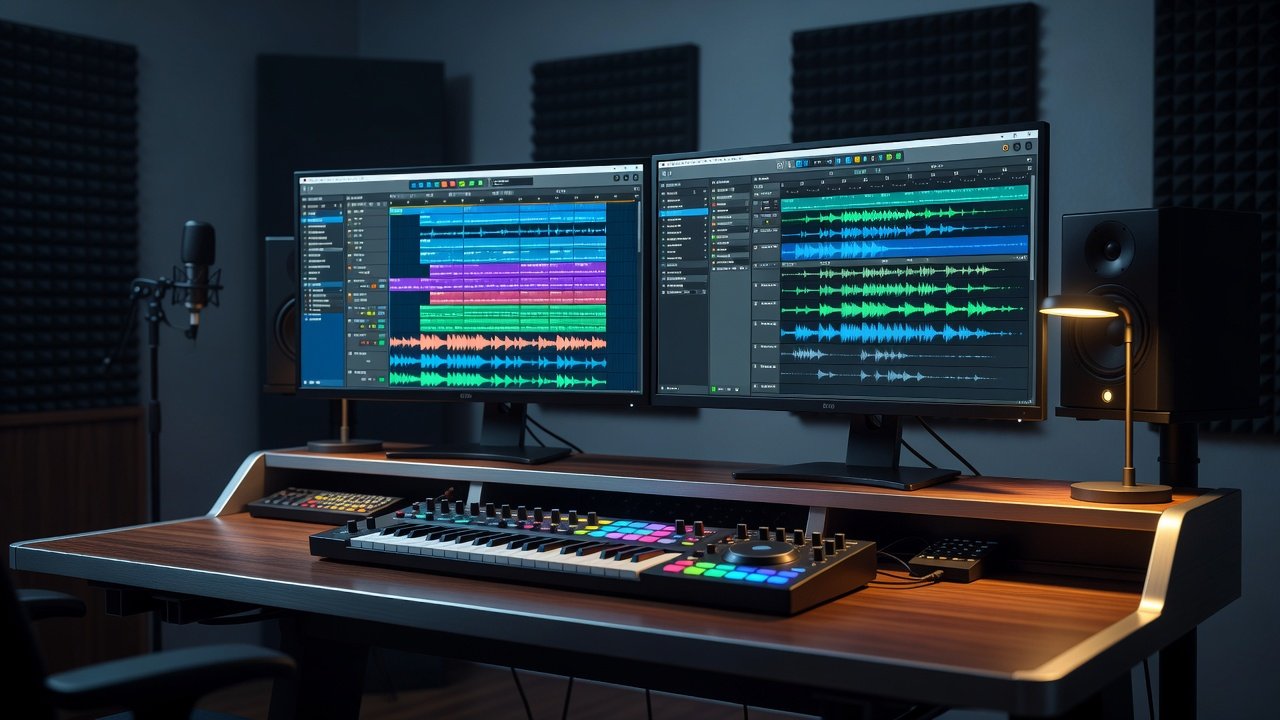
Sound layering remains a cornerstone technique for producers aiming to craft professional, dynamic beats in 2026. By stacking complementary audio elements, you can achieve richer textures, greater depth, and impactful grooves that stand out in mixes. This approach goes far beyond basic stacking, requiring careful selection, processing, and arrangement within popular digital audio workstations like Ableton Live and FL Studio. Producers seeking to elevate their skills will find that strategic layering enhances low-end punch, midrange clarity, and high-end sparkle. Whether crafting trap, hip-hop, or electronic beats, these methods deliver results that translate well across playback systems. Layering also allows for greater creative flexibility when adapting to evolving listener expectations and streaming platform loudness standards.
Understanding the fundamentals of frequency spectrum management is essential before diving into specific DAW workflows. Each layer should serve a distinct purpose, whether providing sub-bass weight, transient attack, or harmonic sustain. Without this foundation, mixes quickly become cluttered and lose their intended energy.
Choosing Complementary Sounds for Effective Layers
Start by selecting sounds that occupy distinct frequency ranges and timbral spaces. For a kick drum, pair a deep sub-bass sine wave with a mid-focused click or transient-heavy sample. Avoid overlapping elements that clash in the low-mids, which can muddy the mix. Consider tonal qualities: a bright hi-hat layer works well over a darker, filtered percussion loop. Test combinations by soloing groups to ensure each layer contributes uniquely without redundancy.
Practical examples include layering a long 808-style sine for sustained low-end with a short, punchy acoustic kick sample tuned to the same root note. In trap beats, add a vinyl crackle layer at low volume for texture without overpowering the main elements. Producers should also experiment with multisampled instruments to introduce natural variation across different velocity layers.
Using EQ and Panning for Clarity
Equalization carves space for each layer. Apply high-pass filters to remove unnecessary low-end from non-bass elements. Use narrow cuts around 200-500 Hz on stacked snares to prevent boxiness. Dynamic EQ plugins can respond to incoming signal levels, ducking problematic frequencies only when they appear. This preserves the natural character of each sound while maintaining overall clarity.
Panning adds width and separation. Position supporting percussion slightly left or right while keeping core elements like kicks and leads centered. This creates a stereo image that feels immersive yet balanced. Try panning layered claps at 20-30 degrees off-center and automating the pan position during build-ups to increase perceived movement in the arrangement.
Applying Effects Like Reverb Strategically
Reverb and delay enhance depth when used sparingly. Send layers to auxiliary tracks with short room reverbs for cohesion, reserving longer tails for atmospheric elements only. Saturation and light distortion on individual layers can add harmonic richness that helps sounds cut through dense arrangements without increasing volume.
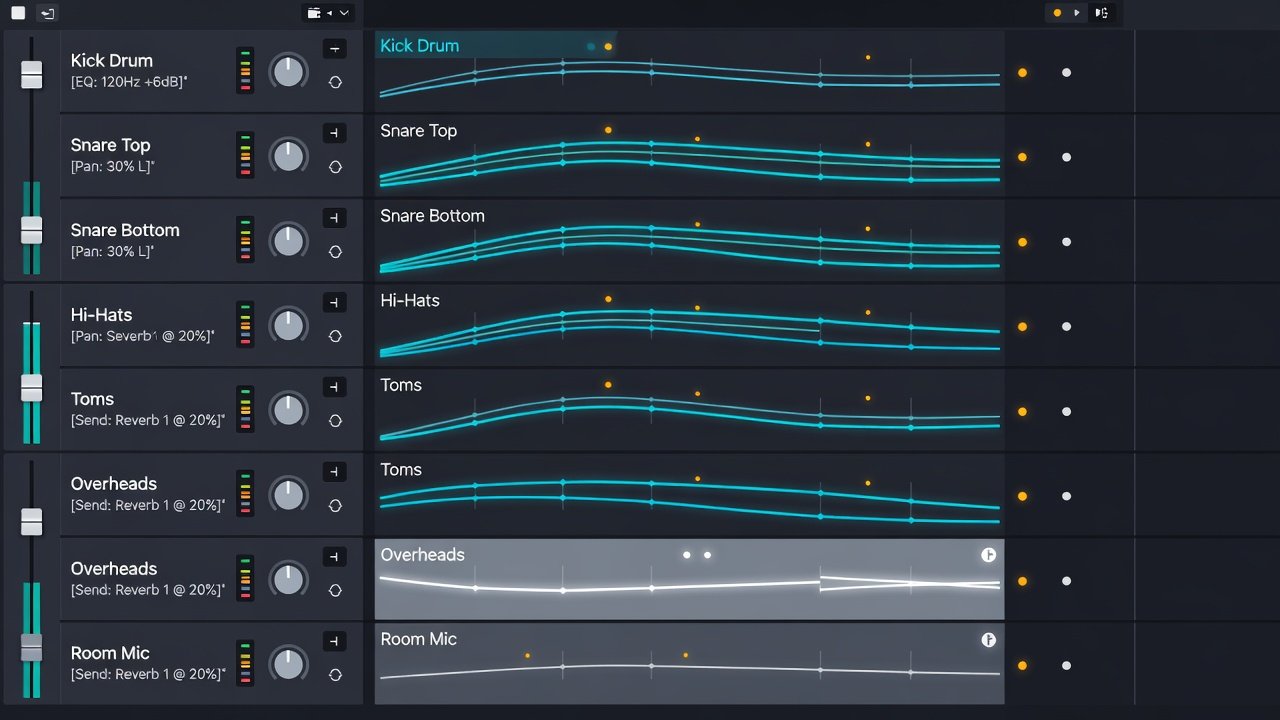
Automation of effect parameters throughout the arrangement prevents static mixes. For instance, gradually increasing reverb decay on a layered clap during breakdowns builds tension effectively. Parallel processing chains with different effect settings on duplicate layers allow for instant A/B comparisons and more nuanced final blends.
Step-by-Step Tutorial in Ableton Live
In Ableton, import your base drum samples into separate audio tracks. Duplicate the kick track and process the copy with EQ Eight to emphasize sub frequencies below 80 Hz. Layer a transient sample on another track and apply Glue Compressor for glue. Use the Utility device for panning adjustments and route effects through return tracks to maintain CPU efficiency in complex sessions. Reference Ableton documentation for advanced routing tips. Add a third layer using a pitched noise sample processed with a low-pass filter to fill the upper mids. Group the three kick layers into a single track and apply sidechain compression triggered by the main bassline. This technique ensures the low-end remains tight while still allowing each layer to contribute its unique character.
Step-by-Step Tutorial in FL Studio
FL Studio users benefit from the Channel Rack and Mixer workflow. Load base sounds into separate channels, then clone them for layering. Apply Fruity Parametric EQ 2 to sculpt frequencies on each clone. Pan layers via the mixer panner knobs and insert Fruity Reverb 2 on send tracks. Group related layers using the Mixer for collective processing. Explore Image-Line resources for plugin-specific layering techniques. Create a dedicated send channel for a parallel saturation chain using Fruity Wave Candy to add warmth to the layered snares. Automate the mix level of this send during the chorus to give the drums extra bite exactly when the arrangement needs it most.
Advanced Techniques for 2026 Workflows
Beyond basic layering, explore mid-side processing to widen the stereo field of upper layers while keeping the center focused on low-end elements. Use multiband compression on grouped layers to control dynamics across specific frequency bands. Phase alignment tools available in both DAWs help correct timing issues that arise when stacking samples from different sources. Experiment with granular synthesis plugins to create evolving textures that complement static drum layers.
Common Mistakes to Avoid
- Over-layering without frequency checks leading to phase cancellation and reduced impact.
- Ignoring phase alignment when stacking similar waveforms, which can weaken the combined sound.
- Applying heavy effects uniformly instead of targeted sends, resulting in washed-out mixes.
- Neglecting gain staging, which causes clipping in dense arrangements and limits headroom for mastering.
- Failing to reference the mix on multiple playback systems, hiding problems that only appear on consumer speakers or headphones.
FAQ: Troubleshooting Layering Issues in 2026 Workflows
Q: How do I fix phase issues in layered kicks? A: Invert polarity on one layer using your DAW's utility plugin and A/B test until the low-end tightens. Consider using a dedicated phase alignment plugin for more precise control.
Q: What if layers sound muddy in the low-mids? A: Use dynamic EQ to duck conflicting frequencies only when they overlap, preserving clarity without static cuts that remove desirable tone.
Q: Can layering work with stock plugins only? A: Yes, both Ableton and FL Studio stock tools suffice for professional results when combined with precise automation and routing. Many producers achieve chart-worthy beats without third-party plugins.
Q: How many layers are too many for a single element? A: Typically three to five layers per drum hit provide enough depth without overwhelming the mix. Always solo the group and check for redundancy before committing.
Conclusion
Implementing these sound layering strategies transforms basic beats into dynamic, professional productions. Consistent practice with Ableton and FL Studio tools, combined with mindful EQ, panning, and effects, yields mixes that captivate listeners. Experiment iteratively to develop a personal workflow suited to evolving 2026 production standards and continue refining your approach as new plugin features emerge.
No comments yet. Be the first!