 Instrumentiverse
Introduction to Dynamic Beat Arrangement in DAWs
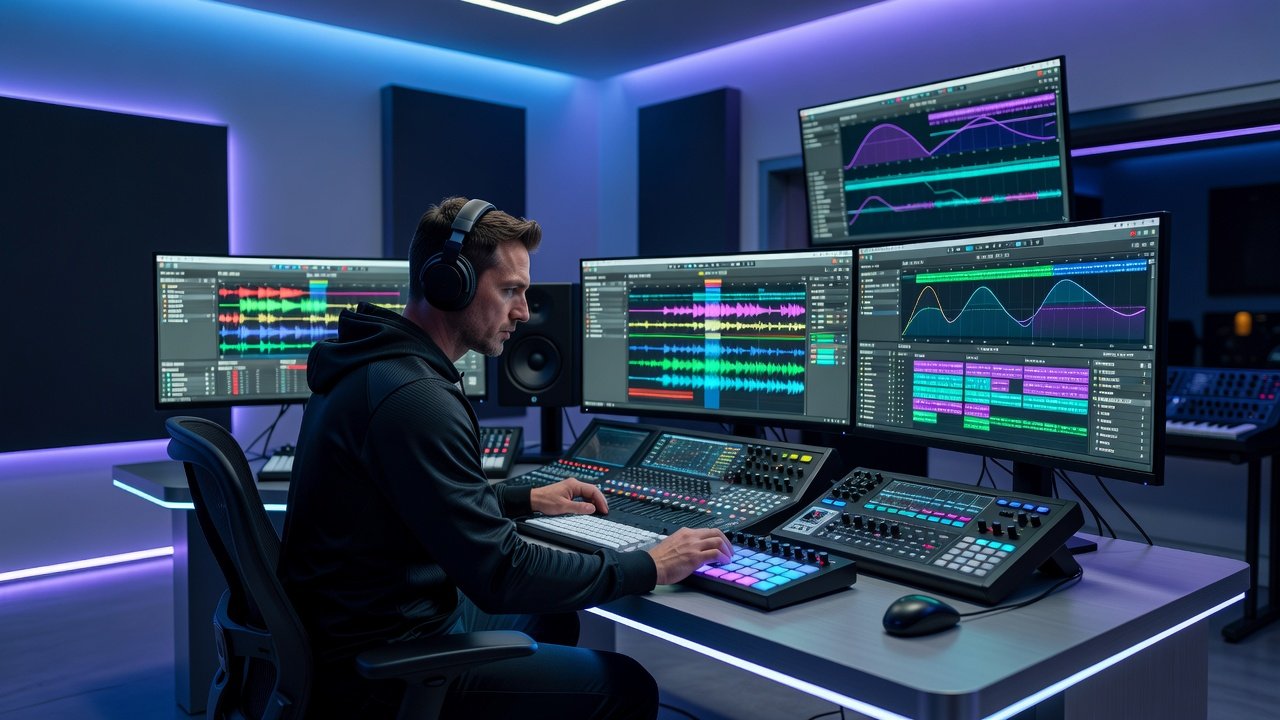
Creating compelling beats goes beyond crafting catchy loops. In 2026, producers rely on advanced arrangement strategies within digital audio workstations like Ableton Live and FL Studio to build full productions that captivate listeners from the first bar to the final fade. This guide covers practical techniques for layering sections, engineering impactful drops, and leveraging automation for seamless transitions, helping beginner-to-intermediate producers avoid common pitfalls while developing professional workflows.
Effective arrangement turns repetitive patterns into evolving stories that hold attention across multiple listens. By focusing on tension and release, you keep audiences hooked. We'll explore step-by-step workflows tailored for modern beat making, including concrete examples that you can apply immediately in your next session.
Building Song Structures: From Loops to Full Tracks
Start with a solid foundation in your chosen DAW. In Ableton Live, use the Session View to experiment with clips before arranging in the Arrangement View for precise timeline control. For FL Studio users, the Playlist serves as the primary tool for sequencing patterns, allowing quick duplication and variation of blocks. Typical structures for beats include an 8- or 16-bar intro, followed by verse, build-up, drop, breakdown, and outro sections that gradually reduce energy.
Layer elements progressively: begin with drums and bass, then introduce melodies and atmospheric effects. This creates natural growth without overwhelming the mix early on. Consider a standard trap beat structure where the intro features only a filtered kick and atmospheric pad, building to full drums by bar 9. In both DAWs, color-code sections for quick visual navigation during mixing and arrangement revisions.
Layering Sections for Tension and Release
Tension builds through thoughtful addition and subtraction of elements. Add hi-hats or synth risers during build-ups, then strip elements back before the drop to create contrast. In Ableton, duplicate clips and automate filter cutoffs to gradually open the sound across an eight-bar phrase. FL Studio's Channel Rack allows quick pattern variations—create a muted version of your main loop for pre-drop tension by disabling specific channels.
Release comes at the drop with full instrumentation hitting hard. Experiment with call-and-response between melodic and percussive elements to maintain energy. A practical example: arrange a four-bar build where percussion density increases every bar, culminating in a snare roll that resolves into the main groove. Add subtle variations like velocity changes on ghost notes to prevent the section from feeling mechanical.
Creating Impactful Drops in Your DAW
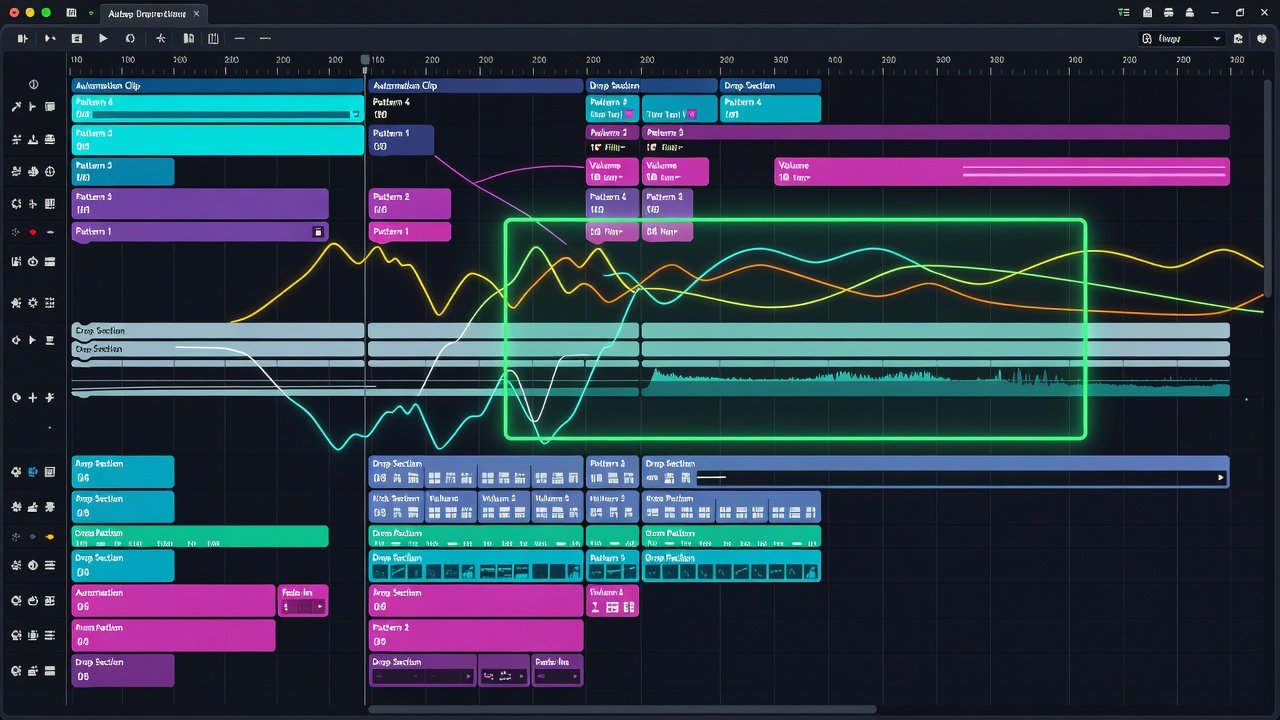
Drops define modern beats, especially in genres like trap or house. Use silence strategically—remove the kick for one bar before the drop to heighten anticipation. In FL Studio, insert a blank pattern and automate volume fades on the master channel over two bars. Ableton producers can employ the Utility plugin for mid/side processing to widen the drop's stereo image while keeping the low end centered.
Layer multiple elements at the drop point: stack a sub-bass with a mid-range bassline and crisp percussion. Test different drop lengths—typically eight to sixteen bars—to match your track's energy. Compare workflows: Ableton's clip launching excels for live arrangement tweaks during performance or iterative sessions, while FL Studio's pattern blocks speed up rapid prototyping of multiple drop variations. Always reference commercial tracks by importing a short stem into your project and matching energy levels without copying directly.
Using Automation for Smooth Transitions
Automation is key to professional-sounding arrangements. Automate parameters like reverb send levels, pitch bends, or filter sweeps to glue sections together. In Ableton Live, draw automation lanes directly on clips for precise control over time. FL Studio offers flexible automation clips that can be linked across multiple channels and edited with bezier curves for natural movement.
For transitions, try these steps in Ableton: 1) Select a riser sound from your sample library. 2) Automate its volume from zero to full over four bars. 3) Simultaneously lower the main loop's high-pass filter cutoff. 4) Add a short delay effect that increases in feedback. Repeat similar processes in FL Studio by right-clicking parameters and creating automation curves. This prevents abrupt changes that break immersion and keeps the listener engaged through every section change.
Avoiding Common Arrangement Pitfalls
Many producers overcrowd arrangements with too many layers, leading to a muddy mix. Keep focus by muting non-essential tracks during verses and only reintroducing them at key moments. Another mistake is static energy—always vary dynamics every eight to sixteen bars with fills or breakdowns. Test your track on multiple systems, including phone speakers and car audio, to ensure transitions translate well across playback environments.
Over-relying on loops without variation leads to boring results. Introduce small changes like velocity adjustments, occasional fills, or reversed samples. Beginners often neglect the outro, ending tracks abruptly; plan a gradual reduction of elements over the final sixteen bars. Reference the official Ableton documentation at Ableton and FL Studio guides at Image-Line for deeper workflow insights and version-specific features.
Genre Adaptation and Advanced Workflow Tips
Adapt these techniques across genres: hip-hop benefits from sparse drops with emphasis on vocal chops, while electronic music thrives on complex automation and evolving textures. For lo-fi, extend atmospheric sections and use gentle low-pass automation. Practice exporting stems and rearranging them in a new project for fresh perspectives that reveal structural weaknesses.
Intermediate producers should incorporate reference tracks early. Load a commercially released beat into a separate track, match the arrangement length of each section, and note where energy shifts occur. This comparative approach accelerates learning without direct copying.
FAQ on DAW Arrangement for Different Genres
- How do I adapt arrangements for lo-fi beats? Focus on subtle automation and longer, atmospheric sections with vinyl crackle layers that evolve slowly over 32 bars.
- What works best for trap drops? Heavy 808 layering and rapid hi-hat rolls during builds create the signature tension that resolves powerfully.
- Can these techniques apply to live performance? Yes, map automation to MIDI controllers in Ableton for real-time control during shows or streaming sessions.
- How long should builds be? Aim for four to eight bars to maintain momentum without losing listener interest in fast-paced genres.
- What's the best way to handle breakdowns? Remove the kick and bass while keeping melodic elements filtered to create space before rebuilding energy.
- How do I prevent repetition in long arrangements? Introduce new percussion variations or melodic counter-lines every 16 bars to refresh the listener's experience.
Mastering these DAW arrangement techniques elevates your beats from basic loops to broadcast-ready productions that stand out in any playlist.
No comments yet. Be the first!