 Instrumentiverse
Introduction to Reference Tracks in Modern Mixing
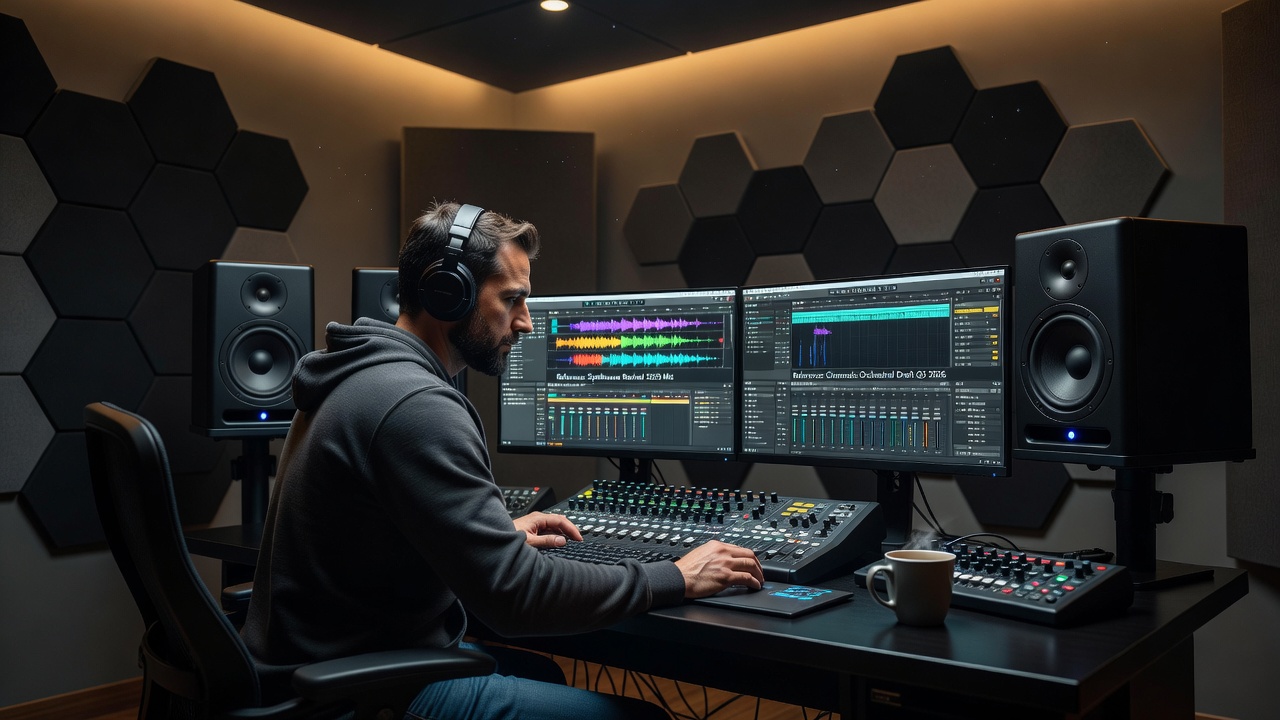
Reference tracks remain one of the most powerful tools for intermediate producers aiming to reach pro-level results in their DAW mixes. By comparing your work against commercially released tracks, you gain objective benchmarks for balance, clarity, stereo width, and dynamic control. In 2026, with evolving plugin technology and streaming loudness standards, this practice is more relevant than ever for genres ranging from hip-hop to electronic music.
This guide walks through selecting the right references, setting up efficient A/B workflows, matching EQ and compression, and avoiding common pitfalls such as loudness bias. Step-by-step tutorials for Ableton Live and FL Studio are included, along with real-world examples drawn from current production trends.
Choosing the Right Reference Tracks
Start by selecting three to five tracks that represent the sonic goals for your project. Focus on commercially successful songs in your exact sub-genre released within the past two years. Pay attention to overall tonal balance, low-end tightness, vocal presence, and high-frequency sparkle. Avoid using your own previous mixes as references, as this can reinforce existing biases.
Organize references in a dedicated folder and label them clearly by artist and song. This preparation saves time during mixing sessions and keeps your workflow focused on creative decisions rather than file management.
Importing and Preparing References in Your DAW
Once references are chosen, import them into your session at the correct sample rate and bit depth. Create a separate track labeled “Reference” and route it through a dedicated bus so you can apply quick level matching without affecting the main mix bus.
Many producers insert a loudness meter on the reference track to monitor integrated LUFS values. This helps prevent the common mistake of comparing your quieter mix against a louder reference.
A/B Comparison Workflows
Effective A/B listening requires instant switching between your mix and the reference. In most DAWs, assign a keyboard shortcut or MIDI controller button to mute and unmute the reference track. Limit each comparison pass to 30–60 seconds to maintain critical listening focus.
Listen first on full-range studio monitors, then switch to headphones and a small Bluetooth speaker. This multi-environment check reveals translation issues that may not appear on your primary monitors.
EQ Matching Techniques
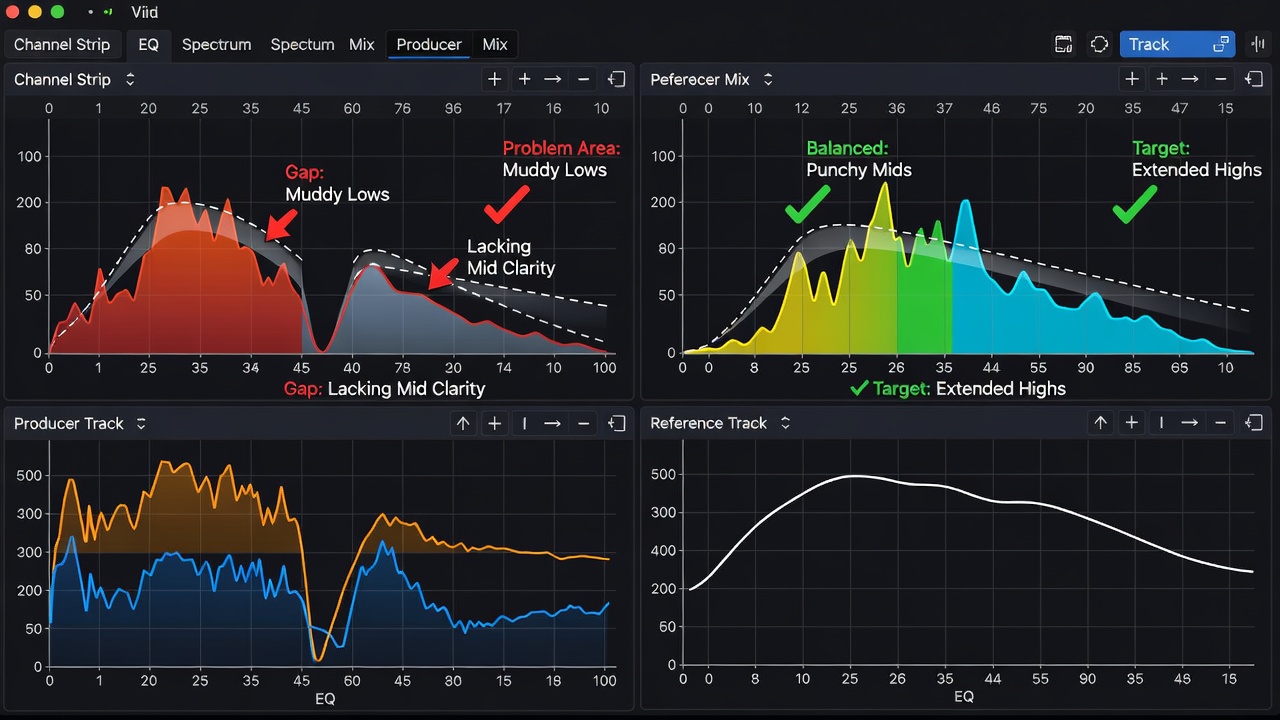
Use spectrum analyzers to visually compare frequency curves. Place an analyzer on both your mix bus and the reference track, then note areas where your mix is lacking energy or where mud accumulates. Apply gentle subtractive EQ cuts in problem areas rather than boosting to match the reference curve exactly.
Real-world example: In modern trap productions, references often show a pronounced dip around 300–500 Hz. Replicating this dip while preserving vocal clarity creates the polished, radio-ready sound popular in 2026 releases.
Compression and Dynamics Matching
Matching compression involves more than copying ratio and threshold settings. Listen for how the reference controls transients in the kick and snare while maintaining groove. Use parallel compression or multiband techniques when the reference exhibits tighter low-end control than your mix.
Compare attack and release times by toggling between tracks rapidly. Adjust your compressor so that the perceived movement and sustain align closely with the reference without squashing musical expression.
DAW-Specific Tutorials
Ableton Live Workflow
In Ableton Live 12, drag your reference file onto a new audio track. Use the “Utility” device to quickly flip phase or adjust gain for level-matched comparisons. Create a rack containing both your mix bus and reference track, then map a macro knob to the mute parameters of each chain. This setup enables seamless one-button switching.
For detailed documentation on routing and device chains, visit Ableton’s official site.
FL Studio Workflow
FL Studio users can load references into the Playlist as audio clips on a dedicated mixer track. Assign the track to a free mixer slot and use the “Switch” plugin or Fruity Balance for instant level matching. Map a controller button to the track’s mute state inside the Mixer for rapid A/B toggling.
Further information on mixer routing is available at Image-Line’s website.
Avoiding Common Pitfalls
- Loudness bias: Always level-match references before critical listening.
- Over-reliance on one reference: Rotate through multiple tracks to avoid tunnel vision.
- Ignoring genre conventions: A reference from a different genre can mislead tonal decisions.
- Skipping mono checks: Confirm your mix translates in mono just as the reference does.
Integrating Reference Tracks with Beat Making
Many producers now reference tracks during the beat-making stage itself. Load a reference loop into your sampler or playlist early, then build drums and bass around its groove and frequency profile. This proactive approach reduces later corrective mixing work.
2026 Plugin Recommendations
Current plugin suites that excel at reference-based mixing include advanced metering tools with built-in reference libraries and machine-learning EQ matchers. These tools streamline the comparison process while preserving artistic intent.
Conclusion
Mastering reference track workflows elevates mixing decisions from guesswork to informed, repeatable processes. By combining careful selection, level-matched A/B listening, and targeted EQ and compression adjustments, intermediate producers can consistently achieve professional clarity and balance across popular DAWs.
FAQ
How do reference tracks integrate with beat making?
Load references during arrangement to guide drum patterns, bass weight, and overall energy from the start.
Which 2026 plugins are best for reference matching?
Look for metering plugins with reference libraries and intelligent EQ matching features that analyze commercial tracks in real time.
Can I use streaming-service versions as references?
Yes, but normalize them to the same LUFS level as your mix to avoid loudness bias during comparisons.

No comments yet. Be the first!