 Instrumentiverse
Introduction: Why Custom Drum Kits Matter in 2026
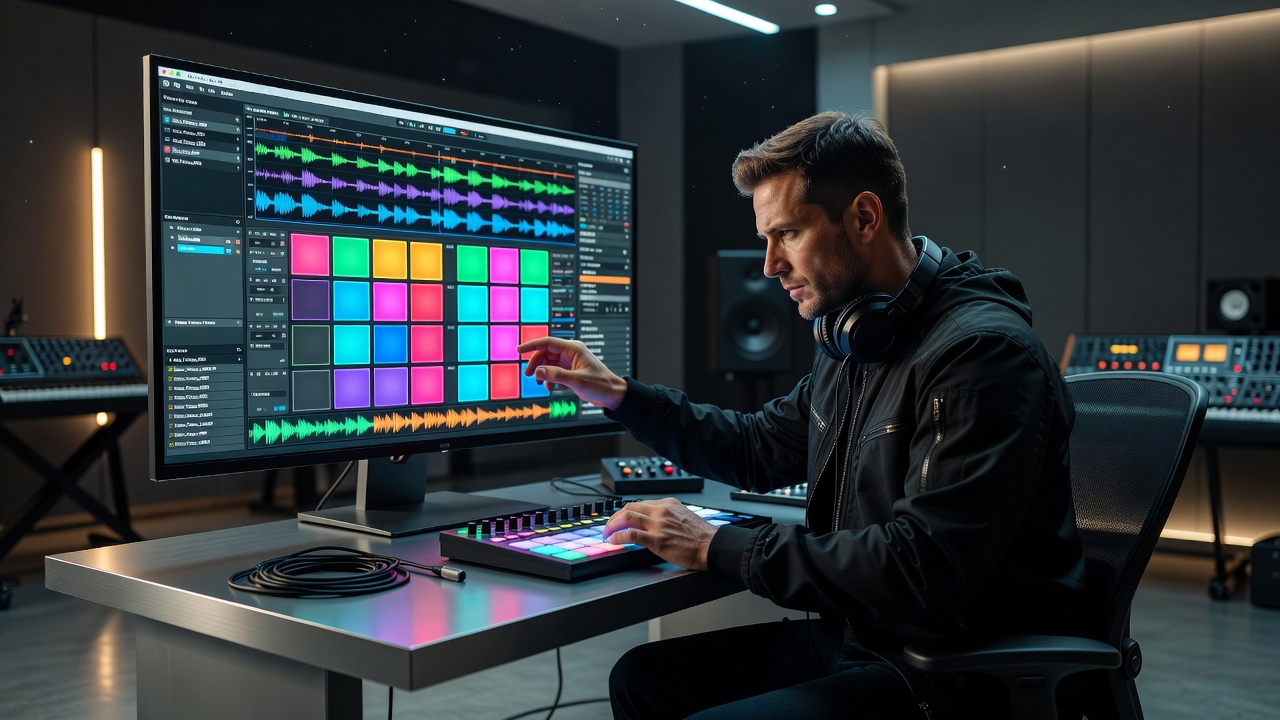
Beat makers face intense competition in the evolving music production landscape, where generic presets from stock libraries often fail to capture attention. Building custom drum kits directly in your DAW allows producers to develop signature sounds that reflect personal creativity and stand out in 2026 beat-making scenes. This comprehensive guide explores every stage of the process, from sourcing and importing samples to advanced layering, signal processing chains, and final exports. Whether you work in Ableton Live, FL Studio, or Logic Pro, these techniques emphasize originality over reliance on pre-made kits.
Custom kits not only improve sonic uniqueness but also streamline workflow once saved as reusable templates. Producers who invest time in this approach consistently report more distinctive tracks that resonate with listeners seeking fresh beats.
Sourcing High-Quality Samples for Originality
Begin by moving beyond commercial sample packs toward truly personal sources. Record your own drum hits using acoustic instruments, household objects like pots and pans, or outdoor field recordings captured with a portable microphone. Public domain archives from libraries or creative commons repositories provide starting points that can be heavily modified. Organize samples into categories such as kicks, snares, closed hats, open hats, claps, and auxiliary percussion, ensuring each group contains variations in pitch, decay, and texture.
Focus on recordings with natural dynamics rather than perfectly polished sounds. This raw material becomes the foundation for kits that feel alive and distinctive in modern productions.
Importing Samples into Your DAW
Importing requires attention to mapping and velocity response. In Ableton Live, drag individual WAV files into a Drum Rack and assign them across MIDI notes C1 through B2. Use the built-in sampler device to adjust start points and loop settings for each pad. FL Studio users benefit from loading samples into the Channel Rack or the more advanced Slicex plugin for slicing longer recordings. Logic Pro's Quick Sampler excels at rapid drag-and-drop import with automatic transient detection.
Always batch-import multiple files at once and immediately test velocity sensitivity by playing at varying intensities. This step ensures the kit responds musically from the first session. Refer to official documentation on Ableton and FL Studio for platform-specific shortcuts that speed up the process.
Layering Techniques for Depth and Punch
Layering transforms thin samples into powerful, three-dimensional drum sounds. A common approach pairs a clean sine-wave sub-layer with a recorded kick to add low-end weight without muddiness. For snares, combine a sharp transient layer with a mid-range body sound and a subtle noise layer for air. Pitch-shift secondary layers by one or two semitones to introduce harmonic movement that prevents static repetition.
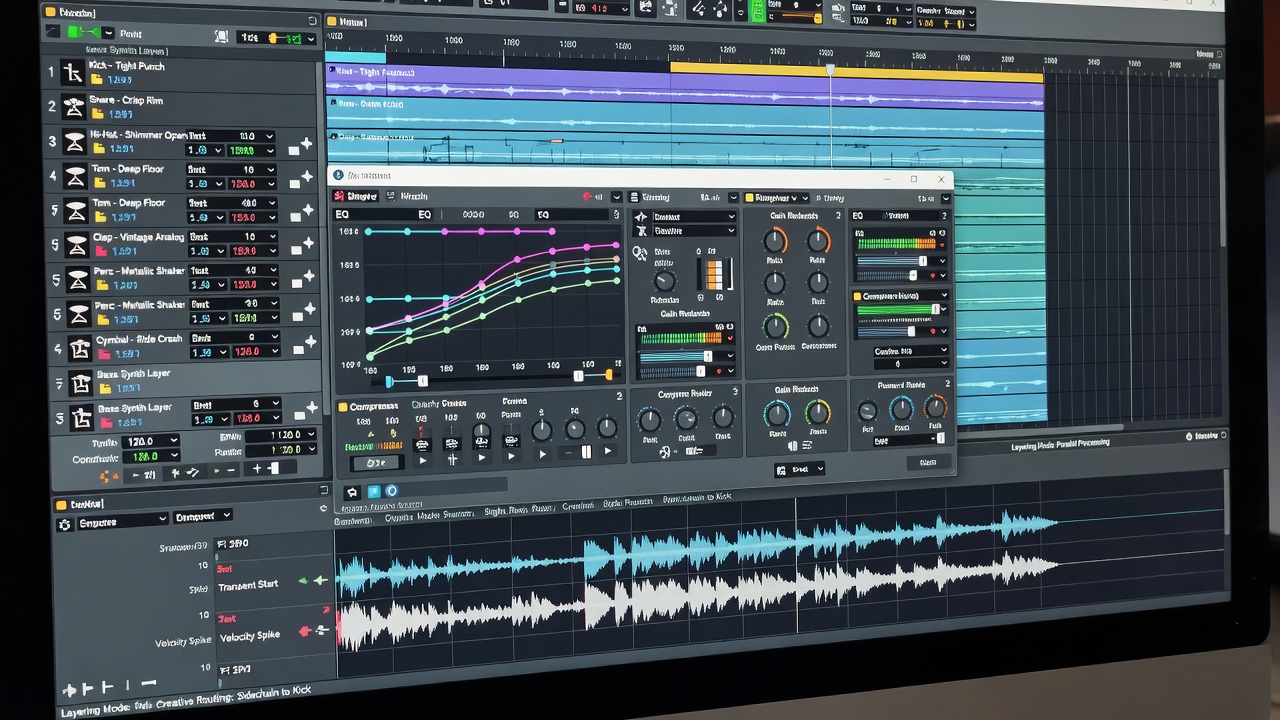
Before-and-after listening reveals dramatic improvements: a single kick may sound flat, while a three-layer version delivers punch, body, and sustain simultaneously. Always monitor phase relationships using correlation meters to prevent destructive cancellation between layers. These methods help producers craft drums that cut through dense mixes typical of 2026 productions.
Applying Processing Chains in Popular DAWs
Signal processing brings custom kits to professional standards. Begin each chain with subtractive EQ to remove unwanted low rumble, followed by dynamic compression to control peaks and add sustain. Saturation or light distortion introduces harmonic richness without overwhelming the source.
In Ableton Live, route each pad through EQ Eight and the Glue Compressor, then add a Saturator instance for character. FL Studio producers often use Maximus for multiband dynamics and Fruity Wave Candy for visual feedback during shaping. Logic Pro offers excellent stock tools including the Channel EQ, Compressor, and Exciter plugins that integrate seamlessly with Drum Kit Designer. Save completed chains as user presets so they load instantly in future sessions.
Experiment with parallel processing routes for additional depth, such as sending a snare layer to a dedicated reverb bus while keeping the dry signal upfront. This technique creates space and realism that generic presets rarely achieve.
DAW-Specific Efficiency Tips
Each DAW offers unique features that accelerate custom kit building:
- Ableton Live users should assign macros to key parameters like layer volume and filter cutoff for real-time performance control.
- FL Studio's FPC plugin supports advanced velocity mapping and automatic layer switching based on MIDI input strength.
- Logic Pro's Drum Kit Designer provides visual pad editing and quick sample swapping that reduces menu navigation time.
Monitor CPU usage closely when stacking multiple layers and effects. Freeze or bounce processed tracks early to maintain smooth playback during creative sessions.
Exporting Ready-to-Use Kits
Once satisfied with the sound, export each drum element as individual 24-bit WAV files at the project's sample rate. Include a MIDI mapping chart and any custom preset files so the kit loads correctly across different sessions or shared with collaborators. Test the exported kit in a fresh project to confirm velocity response and routing remain intact.
Properly organized kits become long-term assets that speed up future beat creation significantly.
Common Pitfalls and How to Avoid Them
Phase cancellation remains one of the most frequent issues when layering multiple samples. Always flip polarity on one layer and re-check with a phase meter before committing. High CPU loads occur when too many instances of heavy plugins run simultaneously; mitigate this by rendering processed audio or using auxiliary sends instead of duplicating effects.
Another frequent mistake involves inconsistent velocity ranges across pads, leading to uneven playback. Standardize velocity curves during the import stage to maintain musicality.
FAQ
How do I fix phase cancellation in layered drums?
Invert the polarity of one layer or apply micro-delay adjustments until the correlation meter reads near zero. Re-listen on multiple playback systems to confirm the fix translates.
What causes high CPU usage with custom kits?
Multiple plugin instances and unoptimized sample rates are primary culprits. Freeze tracks after processing and consolidate layers into single audio files where possible.
Can custom kits be shared between different DAWs?
Yes, by exporting standard WAV files and MIDI mappings. Most DAWs can import these formats, though some plugin-specific settings may need recreation.
Conclusion
Creating custom drum kits inside your DAW elevates beat making from generic to distinctive. By following these detailed sourcing, layering, processing, and export steps, producers develop a personal sonic identity that resonates in 2026's competitive scene. Apply the techniques consistently and refine them through repeated practice to achieve truly standout results.
No comments yet. Be the first!