 Instrumentiverse
Introduction to Live Looping in DAWs
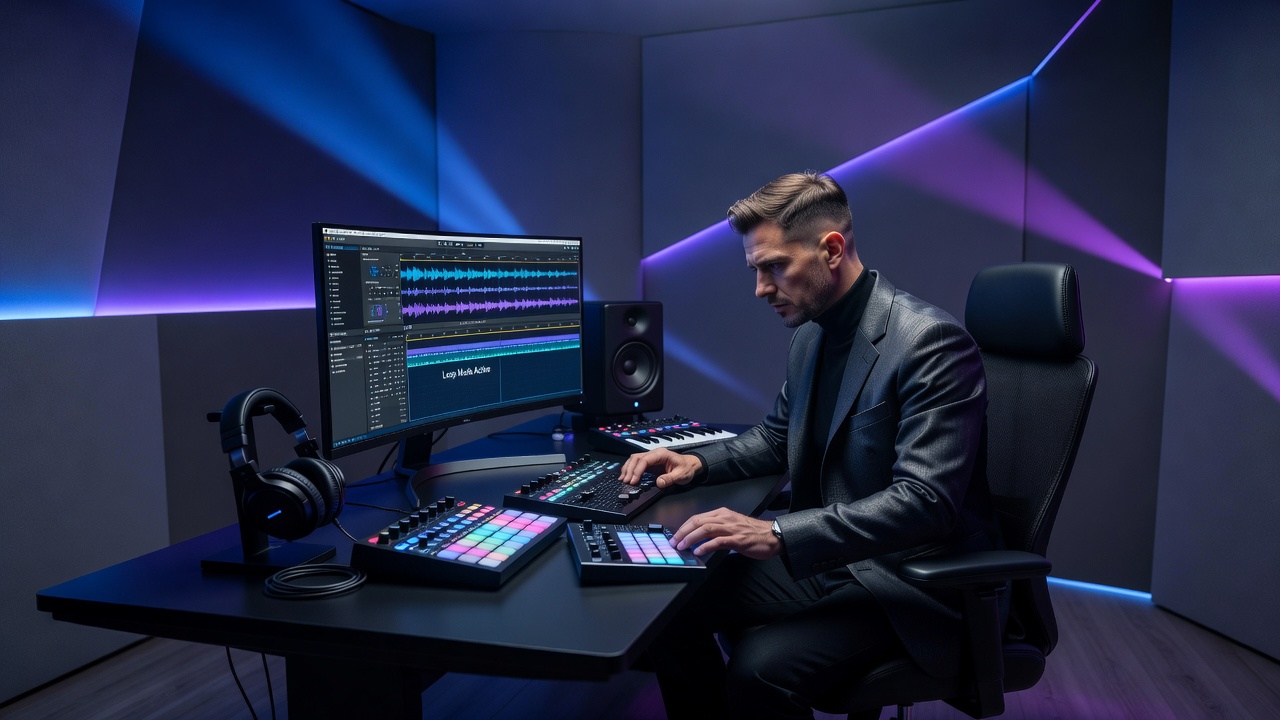
Live looping has become a cornerstone of dynamic music production, allowing producers to build complex arrangements in real time while infusing studio tracks with the raw energy of live performance. In 2026, major DAWs have refined their looping tools for seamless integration into both studio and performance workflows. This guide explores how to harness these features for beat making and music production, progressing from beginner setups to advanced techniques. Producers seeking to move beyond static arrangements will find practical steps for hardware integration, MIDI and audio layering, real-time effects, and troubleshooting common synchronization challenges that arise during live sessions.
Understanding Live Looping Fundamentals
Live looping involves recording audio or MIDI phrases that repeat continuously, enabling layering and real-time manipulation. Unlike static loops, live looping captures the energy of performance. Producers use it to create evolving beats, textures, and full tracks on the fly. The technique relies on precise timing, often locked to the DAW's master tempo, and benefits from visual feedback in modern interfaces that highlight loop boundaries and upcoming triggers.
Essential Hardware and Software Setup Steps
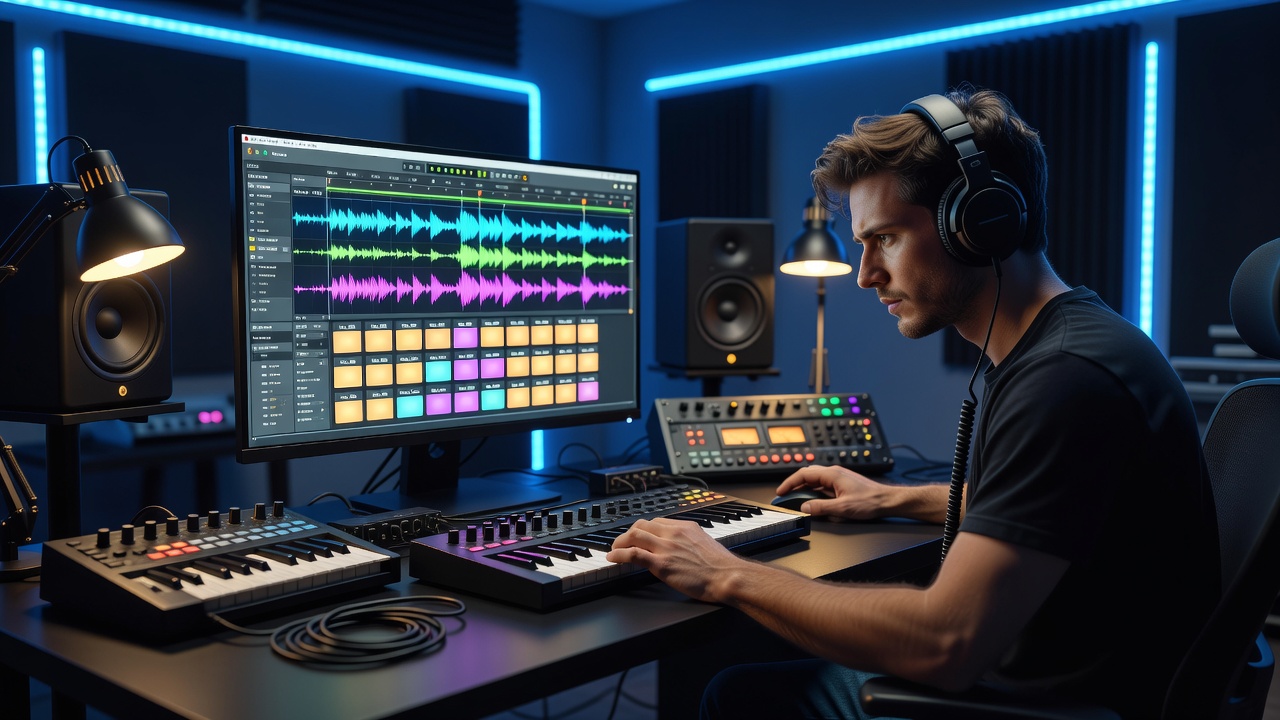
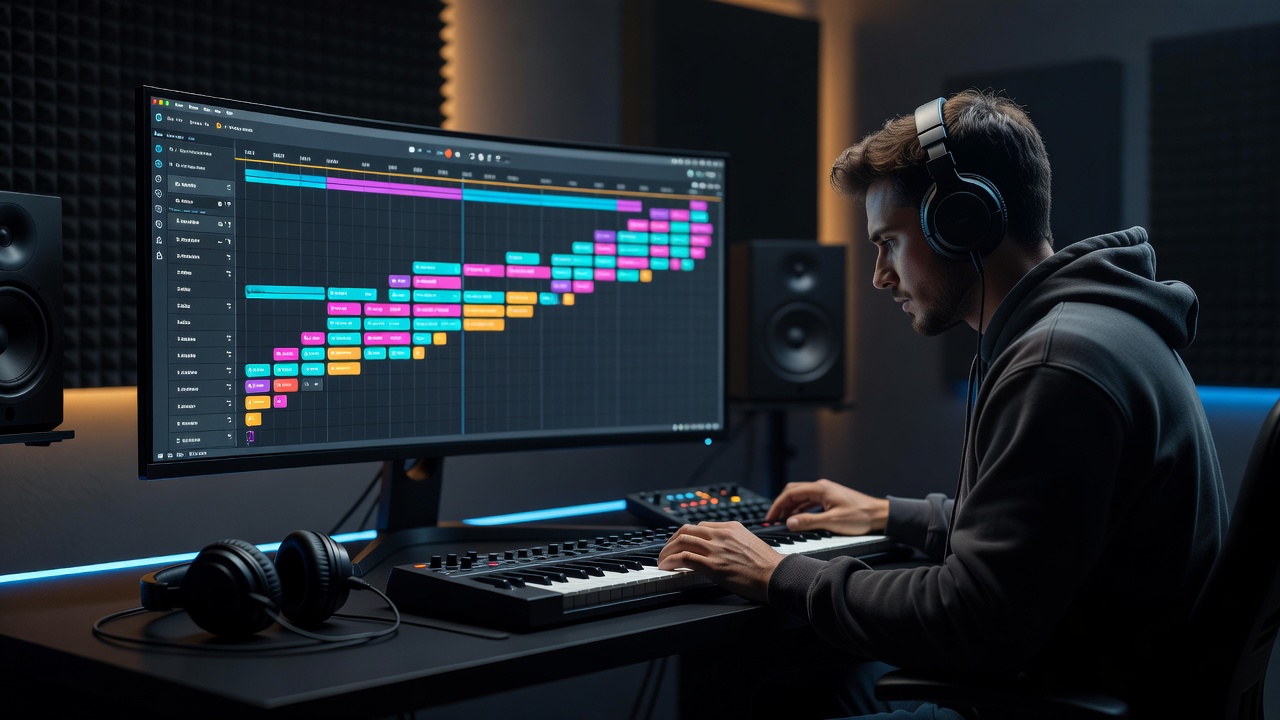
Start with a reliable DAW such as Ableton Live, Logic Pro, or FL Studio. Connect a MIDI controller with pads or a dedicated looper pedal like the Boss RC series for tactile control. Ensure your audio interface supports low-latency monitoring. In 2026 updates, these DAWs introduced improved buffer management for reduced latency during recording. Begin by installing the latest versions and calibrating your system: set sample rate to 48kHz and buffer size to 128 samples for optimal response. Test synchronization between hardware and software clocks by playing a click track through both. For hardware, route your MIDI controller to dedicated loop trigger pads and assign them within the DAW's preferences menu. Software setup includes creating a dedicated session template with pre-routed audio tracks for loops, MIDI tracks for virtual instruments, and return tracks for effects. Verify that your interface's direct monitoring is enabled to bypass software latency when first testing recordings. Many producers also incorporate a dedicated looper pedal connected via USB or audio inputs for hands-free operation during performances. This foundational setup prevents interruptions and allows focus on creative layering rather than technical adjustments.
Layering Techniques with MIDI and Audio Clips
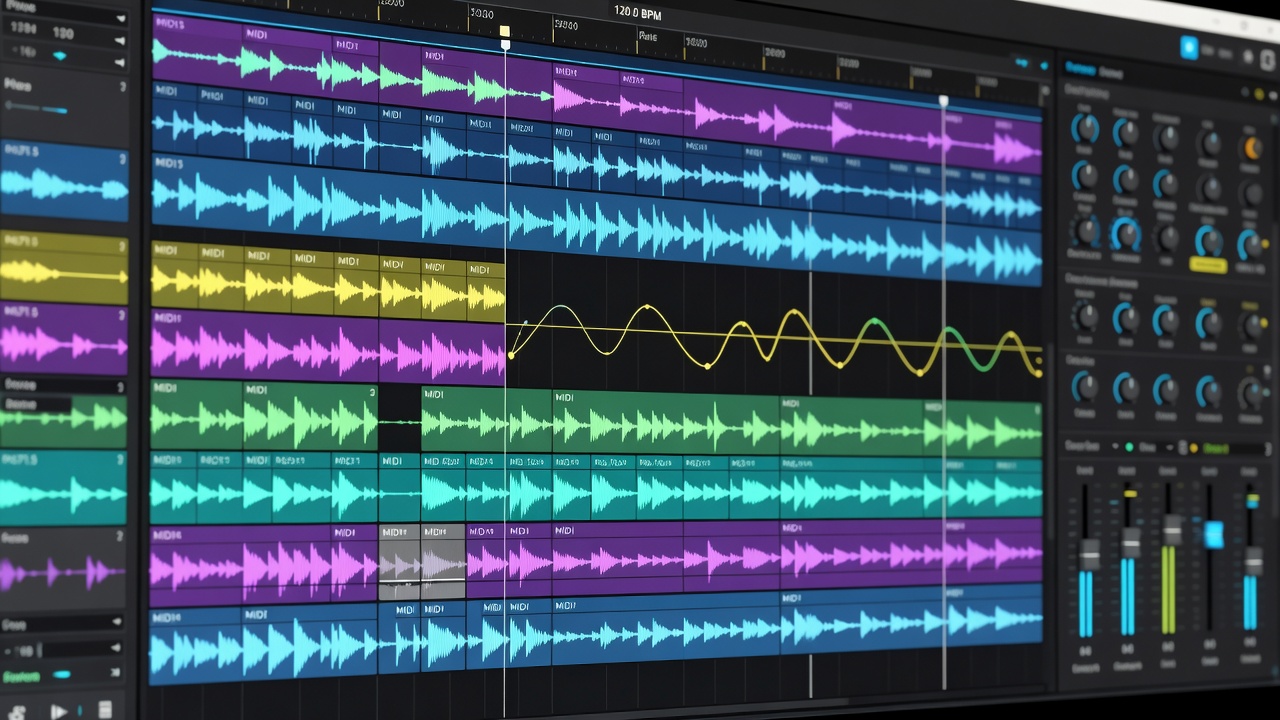
Begin by recording a foundational beat on audio or MIDI. Duplicate the clip and layer harmonies or percussion. Use quantize functions to align loops automatically. For advanced users, employ clip envelopes to automate volume swells or filter sweeps across layers. Practical examples include starting with a four-bar drum loop recorded from a hardware drum machine, then overlaying a MIDI bass line quantized to sixteenth notes. Next, add atmospheric audio textures recorded from field samples that run at half the tempo for contrast. In Ableton, use the clip view to launch layers at different points in the arrangement for evolving builds. Experiment with polyrhythmic loops by recording one layer at 4/4 and another at 3/4, allowing natural phase shifts that create interesting rhythmic tension. Route all layers through a group bus to apply collective processing like compression or EQ. This approach keeps individual loops editable while maintaining cohesive mix control.
- Record base rhythm first using a simple kick-snare pattern
- Add melodic MIDI loops on separate tracks with varying velocities
- Stack audio textures with varying lengths for polyrhythms
- Route layers through group buses for unified processing and automation
- Apply per-clip transposition to experiment with harmonic movement without new recordings
Real-Time Effects Processing Examples
Apply effects like delay, reverb, and distortion live. In Ableton, map macro controls to effect parameters for instant tweaks. For instance, automate a low-pass filter on a looping synth line to build tension before a drop. Combine with sidechain compression to keep loops dynamic. Another example involves routing a vocal loop through a granular delay plugin where feedback and grain size are controlled via MIDI knobs, creating evolving textures that shift with each repetition. In Logic Pro, the new 2026 stock plugins allow real-time modulation of reverb decay synced to loop length. Producers can also insert multi-band distortion on percussion loops, adjusting drive amounts on the fly to add grit during climactic sections. These techniques transform simple loops into expressive, performance-ready elements.
2026 DAW Updates for Smoother Looping Experiences
Recent updates across platforms include enhanced clip launching with visual feedback and AI-assisted loop detection. These changes make synchronization more intuitive, especially when blending multiple time signatures. Ableton Live 2026 features improved follow actions that can trigger loop variations based on performance intensity detected through incoming MIDI velocity. Logic Pro added better integration with external clock sources, reducing drift in long sessions. FL Studio introduced visual waveform overlays that highlight loop start points during recording. These refinements allow producers to focus on musical expression instead of constant manual corrections.
Common Pitfalls and Fixes
Latency issues often arise from mismatched buffer settings—fix by enabling direct monitoring on your interface. Synchronization problems between loops can be resolved by using the DAW's global tempo master. Always save session templates with pre-configured loop tracks to avoid setup delays. Additional pitfalls include clip drift caused by varying sample rates across imported audio; standardize everything to the session rate before recording. Overloading the CPU with too many simultaneous effects can cause dropouts—mitigate this by freezing non-active loop tracks. MIDI note overlap from repeated launches is another frequent issue; use note-off commands or dedicated mute automation to clean up performances.
Beginner to Advanced Progression
Beginners should master single-loop recording before adding effects. Start with one audio track, record a four-bar phrase, and practice launching and stopping it cleanly. Intermediate producers experiment with multi-track layering by adding a second MIDI instrument and automating simple filter movements. Advanced users integrate external hardware like drum machines for hybrid setups and explore probabilistic looping algorithms introduced in 2026 versions, where loops can randomly mutate based on probability settings. At each stage, record practice sessions and review timing accuracy to build muscle memory for live scenarios.
Practical Workflow Example
Consider building a full track live: record a kick-snare foundation, layer a hi-hat loop with slight timing offsets, add a bassline via MIDI, then introduce a synth pad that evolves through automated effects. Trigger variations using scene launch functions in Ableton or equivalent arrangement markers in other DAWs. This workflow demonstrates how live looping bridges studio precision with performance spontaneity.
FAQ: Addressing Latency and Synchronization Issues
How do I reduce latency in live looping? Lower your audio buffer size and use ASIO drivers on Windows or Core Audio on Mac. Monitor through your interface rather than the DAW.
What causes loop synchronization drift? Clock mismatches between devices; use a central master clock or MIDI timecode to lock everything together.
Can I loop in any DAW? Most modern DAWs support it, but dedicated clip-based environments like Ableton excel for live work. Check Ableton for tutorials.
Are there free resources for learning? Visit Native Instruments for workflow guides and community forums.
How do I handle multiple time signatures? Use DAW features that allow per-track tempo multipliers or separate loop lengths to maintain sync while creating polyrhythmic interest.
Conclusion
Mastering live looping transforms static productions into vibrant, energetic tracks. Apply these techniques consistently and experiment with 2026 DAW features to elevate your music production workflow.
No comments yet. Be the first!