 Instrumentiverse
Introduction to Advanced Sound Design in Modern DAWs
Intermediate and advanced beat makers frequently encounter creative limitations when depending exclusively on factory presets and stock sounds. Advanced sound design techniques unlock the ability to generate truly original textures that elevate beats above generic productions. This comprehensive guide examines granular synthesis, sophisticated layering approaches, and innovative custom sampling methods across leading DAWs, delivering detailed workflows, concrete examples, and decision-making insights for producers seeking distinctive sonic identities.
Effective sound design requires understanding how individual parameters interact within a digital audio workstation environment. Producers who invest time mastering these methods report significantly higher originality in their tracks, leading to stronger audience engagement and professional opportunities. We will break down each technique with practical steps, compare implementations in Ableton Live and FL Studio, review real 2026 production examples, and conclude with troubleshooting guidance.
Granular Synthesis for Textural Innovation
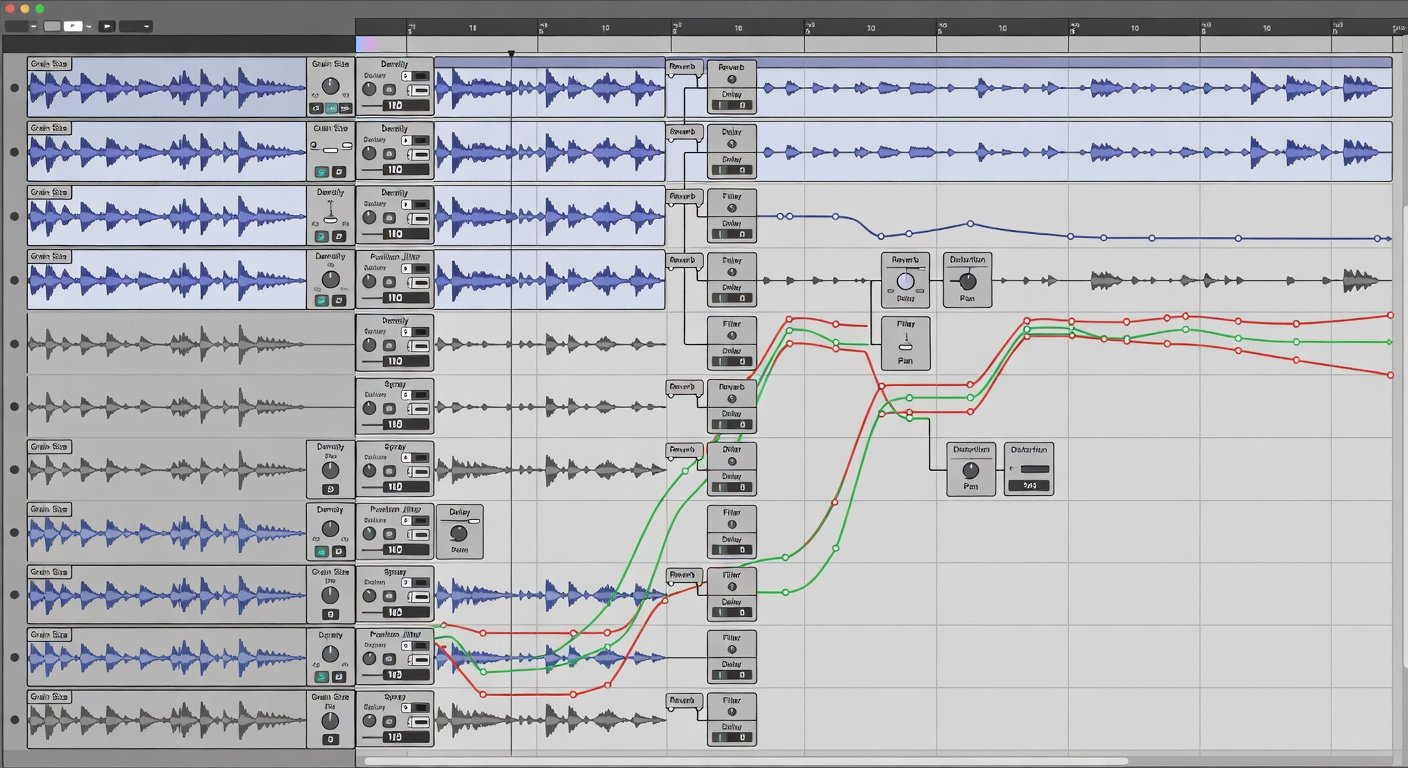
Granular synthesis divides audio into microscopic grains typically ranging from 1 to 100 milliseconds and reconstructs them through various playback algorithms. This process enables everything from dense atmospheric pads to rhythmic stuttering effects and evolving drones that add unique character to beats. In Ableton Live, the Granulator II Max for Live device provides extensive control over grain density, position randomization, and envelope shaping.
Detailed Step-by-Step Workflow in Ableton
- Load a source audio file such as a vocal phrase or environmental recording into Simpler or Sampler.
- Insert Granulator II on a separate track and route audio via send or direct input.
- Set grain size between 15 and 40 milliseconds for smooth textures or shorter for glitch aesthetics.
- Modulate the spray parameter with an LFO at low rates to introduce subtle movement without chaos.
- Automate playback position while adjusting pitch transposition in small increments for harmonic interest.
- Apply post-processing with reverb and delay to integrate the granular layer into the full mix.
FL Studio producers achieve comparable results using the native Granulizer plugin combined with Fruity Wave Traveller for position scanning. Additional depth comes from routing through Harmor for further resynthesis. Experiment with source material like reversed cymbals or spoken word to discover unexpected timbres that differentiate your beats.
Layering Techniques for Depth and Complexity
Layering remains one of the most powerful methods for constructing full, professional-sounding beats. The goal involves blending complementary elements across frequency ranges while preserving clarity and impact. Begin with foundational low-end elements, introduce midrange definition, and finish with high-frequency air and transient detail.
Advanced Layering Strategies and Examples
- Combine a clean sine-wave sub bass with a saturated analog-style kick sample, offsetting timing by 5-10 milliseconds to avoid phase cancellation.
- Layer three snare variations: one acoustic recording, one processed with heavy compression, and one featuring added noise for crisp attack.
- Use parallel distortion chains where one path remains clean and another receives aggressive saturation, then blend using volume automation.
- Apply frequency-specific processing such as multiband compression on the mid layer to control dynamics without affecting the low end.
- Incorporate micro-timing variations and slight pitch shifts across layers to create natural width and movement.
These methods produce beats that translate well across different listening environments. Always reference mixes on multiple systems including headphones, car speakers, and club monitors during the layering process.
Custom Sampling Strategies and Processing Chains
Custom sampling extends far beyond simply dragging loops into a project. It encompasses capturing unique sources, editing them creatively, and applying multi-stage processing to develop entirely new instruments or textures. Record household items, field environments, or even electromagnetic interference using portable recorders, then import into your DAW for transformation.
Effective processing chains often include pitch correction, granular time-stretching, filtering, and modulation effects. In Ableton, Sampler provides deep modulation matrices while FL Studio's DirectWave supports extensive multisampling and velocity layering. Try recording metallic objects struck at different intensities and mapping them across a keyboard for hybrid percussion kits that feel both organic and electronic.
Plugin Comparisons Across Ableton and FL Studio
Ableton Live offers superior visual feedback and seamless integration with Max for Live devices, making granular and modulation tasks intuitive for sound designers. Its clip-based workflow encourages rapid experimentation. FL Studio excels with its pattern-oriented approach and powerful stock synthesizers like Harmor and Sytrus that support advanced resynthesis. Both platforms handle third-party plugins effectively, though Ableton generally provides more flexible routing options for complex signal chains. Visit Ableton and Image-Line for current documentation and updates on native tools.
Real-World Case Studies from 2026 Productions
Several notable 2026 releases demonstrated these techniques in action. One experimental hip-hop album featured extensive granular processing of chopped vocal samples to generate hypnotic, shifting backdrops that evolved throughout each track. Another electronic beat project used custom field recordings of urban environments layered with synthesized elements to create immersive, textured instrumentals. A third producer combined FL Studio's Granulizer with multiple parallel processing lanes to craft distinctive snare replacements that became signature sounds in their catalog. These examples highlight how methodical application of advanced methods yields commercially and artistically successful results.
Common Mistakes to Avoid and Optimization Tips
Many producers over-process layers, resulting in muddy mixes. Always monitor frequency overlap with spectrum analyzers and carve space using subtractive EQ. Another frequent issue involves neglecting gain staging, which leads to digital distortion. Maintain headroom throughout your signal path. Finally, avoid over-reliance on presets even within advanced plugins; instead, start from initialized states and build sounds from the ground up for maximum originality.
Conclusion
Mastering granular synthesis, layering, and custom sampling transforms the way producers approach beat creation. Consistent practice with these methods across Ableton and FL Studio will yield increasingly distinctive results that set your music apart.
FAQ
How do I prevent phasing problems during complex layering?
Apply small timing offsets, invert phase on select layers when necessary, and use mid-side processing to maintain stereo balance.
Which DAW offers better tools for beginners exploring granular synthesis?
Ableton Live provides clearer visual interfaces and more immediate feedback, though both platforms support deep experimentation once fundamentals are understood.
What causes artifacts in custom sampling and how are they fixed?
Artifacts often stem from mismatched sample rates or aggressive time-stretching. Normalize files, match project sample rates, and use high-quality algorithms for stretching.
Can these techniques work without expensive third-party plugins?
Yes, both Ableton and FL Studio include capable native devices sufficient for professional-level sound design when used creatively.
How long does it typically take to develop a unique sound palette?
Most producers notice significant improvement after focused sessions spanning several weeks, with ongoing refinement leading to signature styles over months.
No comments yet. Be the first!