 Instrumentiverse
Introduction to Drum Kit Tuning in 2026
Drum tuning transforms how your kit sounds and feels under your sticks. Many beginners overlook this essential skill and wonder why their playing lacks clarity or punch. In 2026, with widely available smartphone apps and simple mechanical tools, achieving balanced tones is more accessible than ever. Proper tuning improves attack, sustain, and resonance while reducing unwanted overtones that can muddy recordings or live mixes. Whether you practice in a bedroom, garage, or small studio, learning to tune each component of your kit empowers you to match your sound to specific musical goals without purchasing premium equipment. This guide provides in-depth, actionable instructions covering every drum and cymbal, plus practical examples drawn from real home setups.
Understanding the relationship between head tension and acoustic response forms the foundation. Each drum has two heads: the batter side you strike and the resonant side that amplifies vibrations. Adjusting one affects the other, so systematic approaches prevent frustration and deliver consistent results across sessions.
Essential Tools and Preparation
Gather a standard drum key, which costs very little and fits most tension rods. Supplement it with a free tuning app such as Drum Tuner or iDrumTune that displays frequency readings when you tap near the edge of a head. These apps help visualise even tension across lugs. Additional helpful items include a soft cloth for wiping shells, a notepad for logging settings, and optional muffling materials like tape or small pillows. Prepare your space by removing rugs or closing doors to minimise external noise interference. Always work in even lighting so you can see rod positions clearly. Before starting, loosen all rods slightly on both heads of every drum to reset tension evenly and avoid stress on the bearing edges.
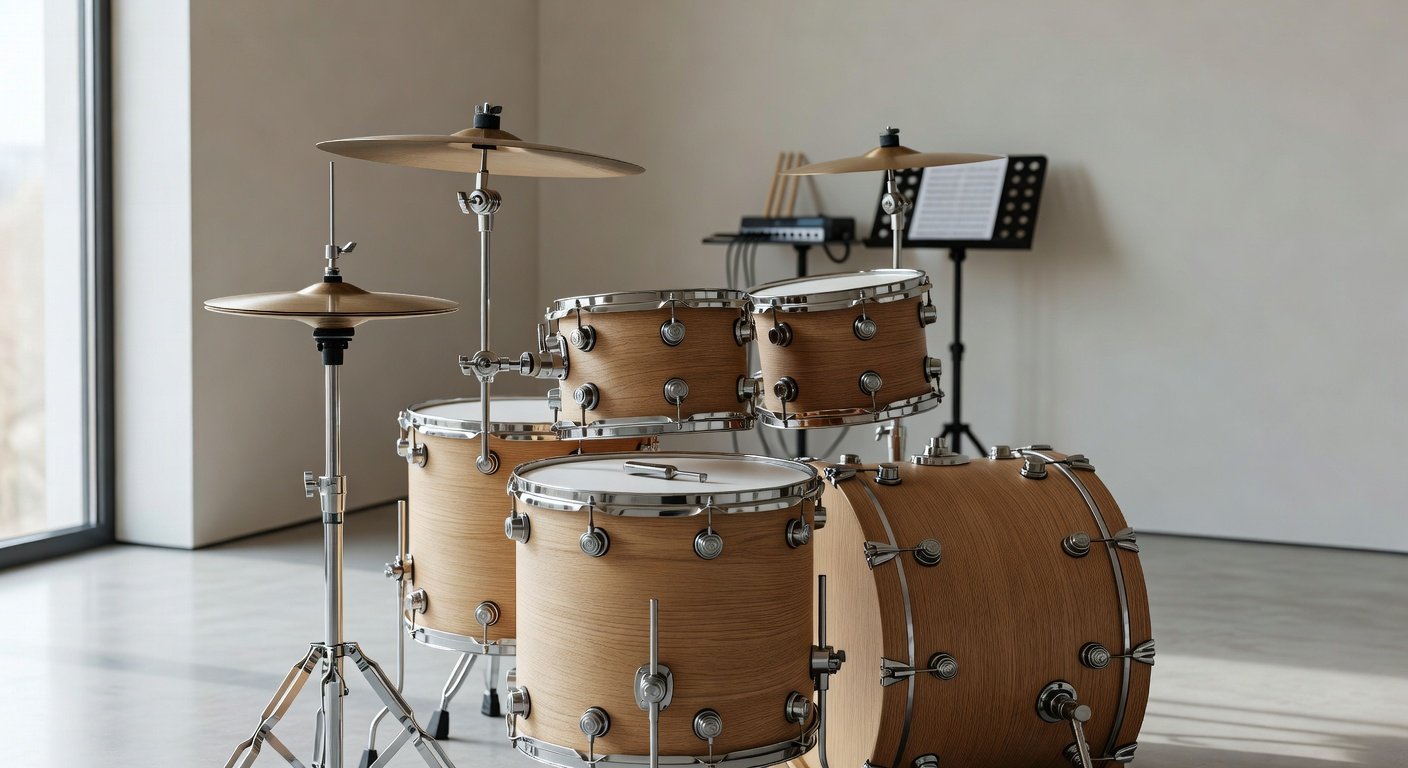
Tuning the Bass Drum Step by Step
Begin with the bass drum because its low frequencies set the foundation for the entire kit. Remove the front head and inspect the shell for debris. Install a fresh resonant head and finger-tighten all rods in a crisscross star pattern. Use the drum key to advance each rod one-eighth turn at a time while tapping the head near the rod with a finger or drumstick. Listen for a consistent low pitch around 60 to 80 Hz. Once the resonant head rings evenly, reinstall the batter head following the same incremental tightening method. For added control, place a small blanket or dedicated pillow inside touching both heads lightly. Test with a beater strike and adjust until you achieve a focused thump without excessive boom. Repeat the full process twice to verify stability, as heads settle after initial tensioning.
Tuning the Snare Drum with Precision
The snare drum demands careful attention to both heads and the wire assembly. Start by tuning the resonant head to a medium tension that produces a short, crisp ring without excessive vibration. Tighten rods in small increments and test by striking near the center. Next, flip the drum and tune the batter head slightly higher for sharp attack. Experiment with snare wire tension using the throw-off lever; too tight creates a choked sound while too loose produces rattle. Add a small piece of tape or an O-ring on the batter head if overtones persist. Record short phrases before and after adjustments to compare clarity and response.

Tuning the Toms for Musical Intervals
Toms benefit from being tuned to complementary pitches that create pleasing intervals across the kit. For a typical four-tom setup, tune the largest floor tom to a low E or F, then move upward by thirds or fourths for smaller toms. Begin with the resonant head slightly looser than the batter head to promote warmth and body. Tap near each lug and adjust until the fundamental note matches across opposite rods. Practical example: a 16-inch floor tom tuned to produce a clear F note at the center will blend well with a 13-inch rack tom tuned to A. After initial tuning, play simple fills and listen for even decay. If one tom sustains longer than others, loosen its resonant head by a quarter turn and recheck. This method ensures the toms speak as a cohesive voice rather than isolated instruments.
Handling Cymbals and Hardware Adjustments
Cymbals themselves do not require tension tuning, yet their mounting hardware greatly influences sound. Position felt washers correctly above and below each cymbal to prevent metal-to-metal contact that creates harsh overtones. Adjust stand heights and angles so crashes land at comfortable striking zones. For hi-hats, balance the clutch tension to allow smooth opening and closing without sticking. Check all wing nuts and memory locks monthly to maintain stability during energetic playing.
Resonance Head Adjustments Explained
Resonant heads control how long a drum rings and which overtones dominate. Lower tension on the resonant head adds body and warmth ideal for ballads or jazz brushes, while higher tension yields focused attack suited to loud rock settings. A useful technique involves tuning the resonant head first to establish the core pitch, then matching the batter head to it before making small differential adjustments. Many drummers keep resonant tension five to fifteen percent lower than batter tension for balanced sustain. Test changes by playing single strokes and listening for unwanted ringing that can be tamed with light muffling.
Comparing Tensions Across Genres
Rock drummers often favour higher overall tension to achieve cutting attack that cuts through amplified guitars. For example, a rock snare might sit at higher lug tension producing a cracking backbeat while toms retain enough resonance for powerful fills. Jazz players typically select medium tensions across both heads to encourage natural decay and dynamic nuance suitable for acoustic settings. Try lowering all heads by a half turn from a rock baseline and observe how brushes produce softer, airier tones. These comparisons highlight why documenting your preferred settings for different musical contexts saves time during setup changes.
Common Pitfalls and How to Avoid Them
- Over-tightening creates choked, lifeless tones and risks damaging shells; always advance rods gradually and test frequently.
- Skipping the star pattern leads to uneven tension and warped heads; follow a consistent crisscross order every time.
- Neglecting the resonant head results in poor sustain and boxy sound; dedicate equal time to both sides of every drum.
- Ignoring environmental factors such as temperature changes can cause heads to detune overnight; store the kit in stable conditions.
- Using excessive muffling hides poor tuning instead of fixing it; remove dampeners first and retune before adding them back sparingly.
Before-and-After Sound Comparisons
Record a simple groove before any adjustments using your phone microphone. After tuning the bass drum, replay the same pattern and note the improved low-end definition. Continue through snare and toms, capturing short phrases after each drum. The final recording should demonstrate clearer separation between instruments, reduced buzzing, and more musical resonance that inspires confident playing. These audio references become valuable references for future tuning sessions.
Troubleshooting FAQ
Why does my snare produce unwanted buzzing?
Common causes include loose snare wires or sympathetic vibration from nearby toms. Tighten the wires slightly and detune adjacent toms by a quarter turn to resolve the issue quickly.
My toms sound flat and lifeless after tuning. What should I check?
Verify that the resonant head tension is not too high. Loosen it incrementally while striking the center until a fuller tone emerges.
How can I reduce excessive ring on the bass drum?
Adjust internal muffling position or add a small amount of tape to the resonant head edge. Retest with multiple beater strikes before finalising.
What causes uneven sustain across my kit?
Lugs may have settled at different tensions. Loosen all rods slightly and retune using the star pattern with careful listening at each step.
Is it normal for heads to need frequent retuning?
Yes, especially during the first weeks after installation. Check tension before every practice session until the heads stabilise.
2026 Maintenance Schedule for Consistent Performance
Implement a simple calendar-based routine to keep your kit in top condition. Weekly: inspect heads for dents and wipe down hardware. Monthly: perform a full tuning pass and check stand stability. Quarterly: replace worn heads if tone has degraded and lubricate moving parts. Yearly: deep clean shells and evaluate whether any components need professional servicing. Following this schedule prevents small issues from escalating and supports productive 2026 practice routines whether you play daily or several times per week.
Conclusion
Mastering drum kit tuning elevates every aspect of your playing from tone quality to musical expression. By following these detailed steps for each component, comparing genre approaches, and maintaining a regular schedule, you will develop reliable results at home. Consistent practice with these techniques builds both ear training and mechanical confidence. For additional background, consult drum kit fundamentals on Wikipedia and explore Modern Drummer for professional insights and ongoing advice.


No comments yet. Be the first!