 Instrumentiverse
Introduction to Guitar Pedal and Audio Interface Troubleshooting
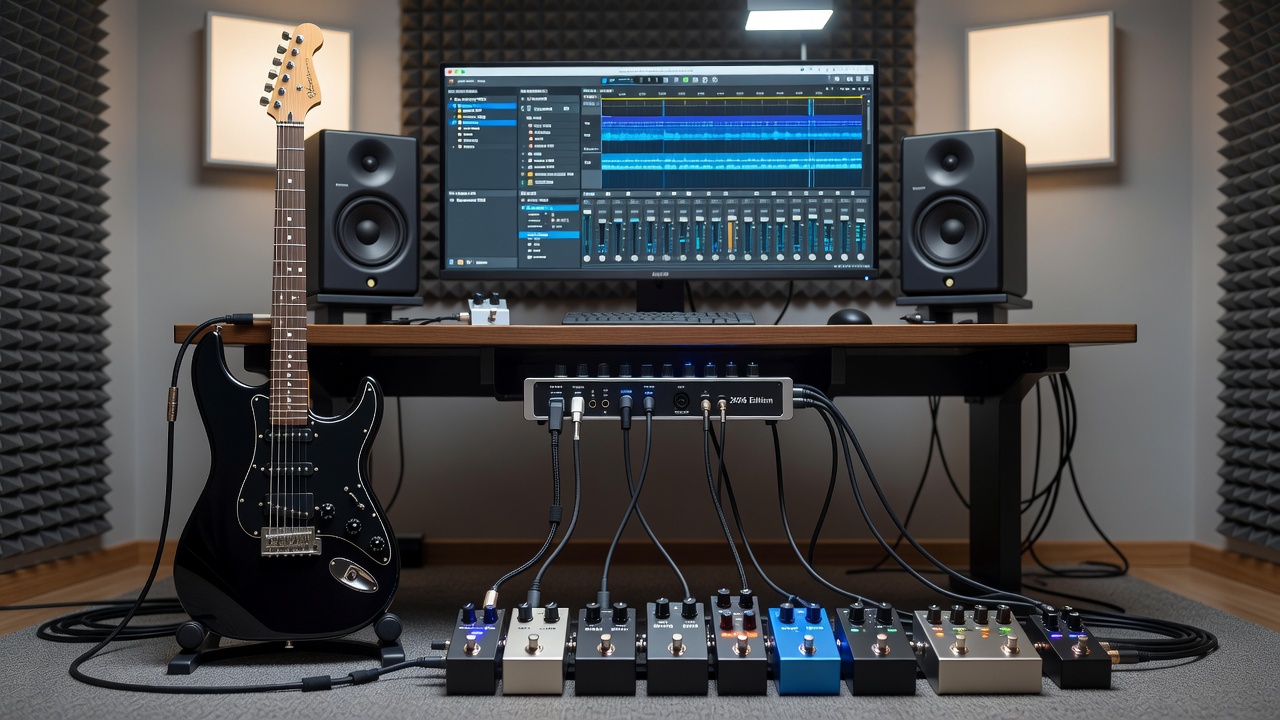
Connecting guitar pedals to audio interfaces in modern home studios often leads to frustrating issues like signal dropouts, high latency, or degraded tone. In 2026 setups involving studio monitors and DAW plugins, these problems are common but solvable with systematic diagnostics. Guitarists frequently encounter challenges when integrating stompboxes into digital recording chains, especially as home production tools become more sophisticated. This guide delivers comprehensive, hands-on solutions tailored for 2026 environments, covering everything from basic cable checks to advanced plugin interactions. Whether you are using a simple USB interface or a high-end Thunderbolt model, understanding the full signal path helps preserve your pedal tone while minimizing technical headaches.
Understanding the Complete Signal Chain
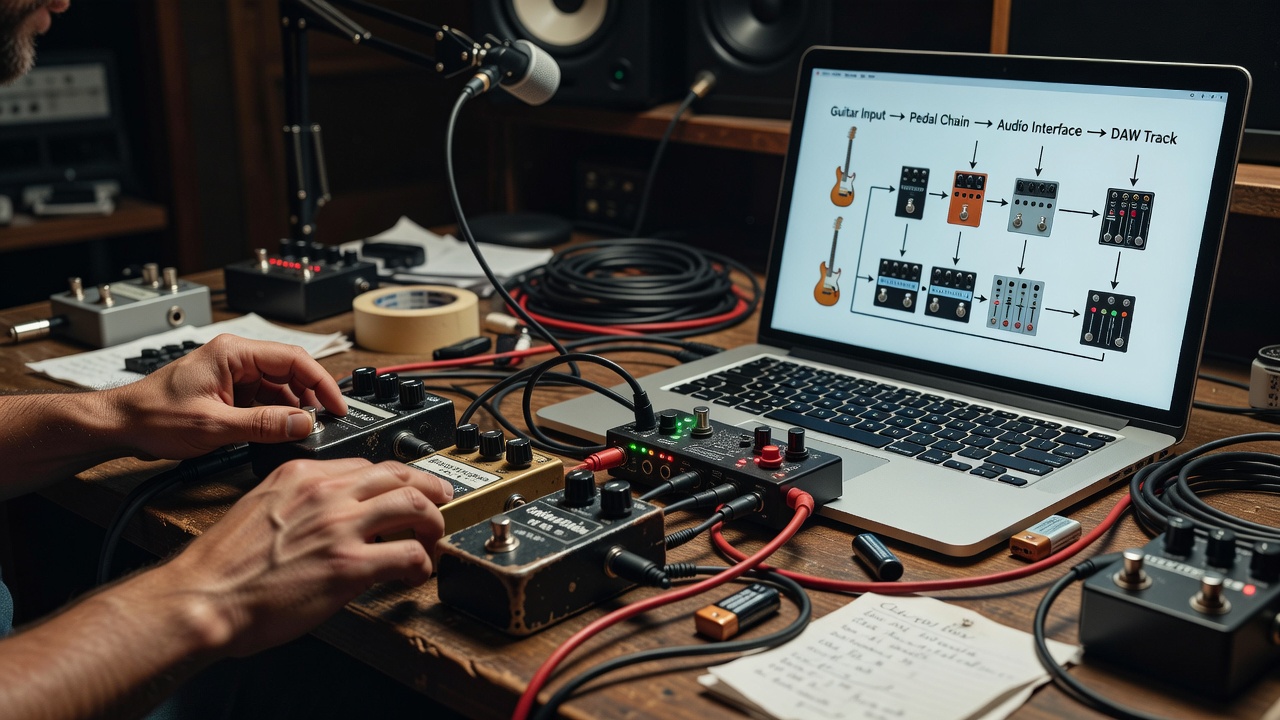
The signal chain begins at your guitar and travels through pedals, cables, the audio interface, and finally into your DAW and studio monitors. Any break in this path can introduce noise, loss of gain, or unwanted coloration. Start troubleshooting by isolating each component. For example, bypass all pedals and plug your guitar straight into the interface input to confirm the core connection works. Impedance mismatches are a frequent culprit with passive guitars and certain overdrive pedals, often requiring a dedicated DI box or active buffer pedal placed early in the chain.
Step-by-Step Signal Chain Diagnostics
- Power cycle your guitar, pedalboard, interface, and computer, then test the direct guitar signal.
- Inspect every cable for wear, using shielded instrument cables for unbalanced runs and balanced TRS cables where possible to reduce hum.
- Adjust interface input gain so the signal peaks around -6 dB to leave headroom for pedal boosts.
- Engage pedals one by one while monitoring the DAW meter to spot where problems appear.
- Check phantom power settings if using active pedals or condenser mics in the same session.
These steps reveal whether the issue lies in hardware, cabling, or software settings. Many users overlook the simple act of reseating connections, which resolves intermittent dropouts in over half of reported cases.
Addressing Latency Issues in 2026 Home Studios
Latency remains a major pain point when pedals interact with audio interfaces and real-time monitoring. High buffer sizes in your DAW create noticeable delays that disrupt playing feel, while outdated drivers can compound the problem. In 2026, most interfaces support low-latency modes, but optimization requires deliberate configuration. Begin by updating to the newest ASIO or Core Audio drivers from the manufacturer. Set your buffer size between 128 and 256 samples at a 48 kHz sample rate for balanced performance during tracking.
Driver Optimization and Monitoring Techniques
- Close CPU-heavy applications and disable Wi-Fi or Bluetooth during recording sessions.
- Activate direct monitoring on the interface hardware to bypass software latency entirely.
- Experiment with sample rates: 44.1 kHz for basic tracking or 96 kHz when higher fidelity is needed for plugin processing.
- Use aggregate devices on macOS or ASIO4ALL on Windows to combine multiple interfaces if expanding your setup.
Active digital pedals such as modelers often introduce their own processing delay, unlike traditional analog overdrives. Test each pedal type separately to determine its contribution to overall system latency.
Calibrating Studio Monitors for Accurate Pedal Tone
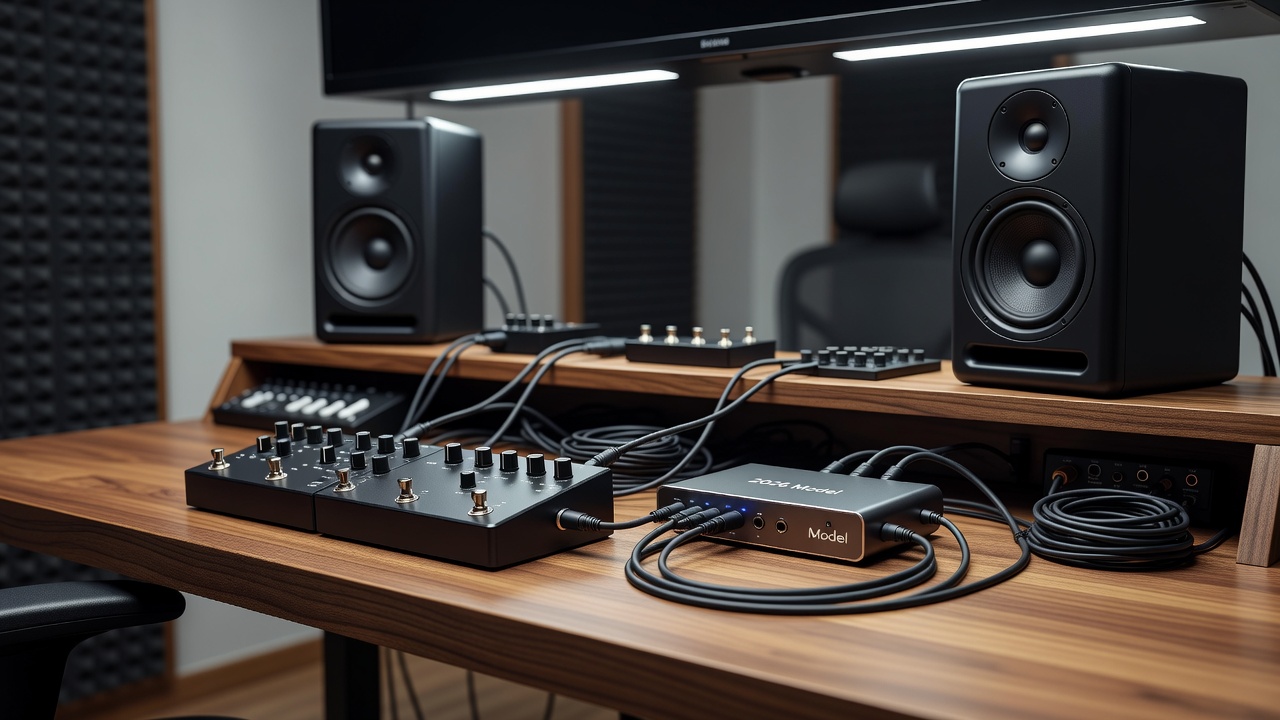
Studio monitors play a critical role in evaluating pedal tone, yet improper calibration can mask or exaggerate problems. Position monitors at ear height in an equilateral triangle with your listening position. Use pink noise and an SPL meter app to match levels between left and right speakers. Room treatment with bass traps and absorption panels further improves accuracy, preventing low-end buildup that makes pedals sound muddy.
Practical Calibration Checklist
Run a reference track through your monitors and compare it to your guitar signal. Adjust monitor volume so peaks sit comfortably without distortion. If your interface includes monitor control software, enable speaker calibration profiles designed for your specific room dimensions. This step ensures that any perceived tone loss truly originates from the pedal or interface rather than speaker placement.
Plugin Bypass Testing and Conflict Resolution
Plugins can conflict with hardware pedals in unexpected ways, especially amp sims and effects that expect a clean DI signal. Always begin with a blank session containing no plugins. Record a short guitar phrase through your pedal chain, then gradually insert plugins while listening for changes in dynamics or frequency response. Bypass each plugin individually using the dedicated bypass button rather than muting tracks.
Real-World Examples with Popular Interface Models
The Focusrite Scarlett series offers straightforward USB connectivity ideal for pedal users, but requires careful gain staging to avoid digital clipping. Universal Audio Apollo interfaces shine with their onboard UAD processing yet demand stable Thunderbolt connections; users should verify cable certification and port compatibility. For budget-conscious setups, the Audient iD4 provides clean preamps that faithfully reproduce pedal nuances without added coloration. In each case, consult the manufacturer manual for firmware updates specific to 2026 driver releases.
Comparing Common Pedal Types and Their Interface Behavior
Overdrive and distortion pedals generally interface cleanly, providing analog warmth that digital models sometimes struggle to replicate. Modulation effects like chorus or flanger benefit from stereo outputs when the interface supports them, but may require wet/dry adjustments inside the DAW. Time-based pedals such as delay and reverb perform best when routed through an effects send/return loop on the interface, preserving the dry signal while allowing plugin processing on the wet return. Compressor pedals demand precise threshold settings to avoid pumping when combined with digital limiters. Always compare the pedal sound both with and without the interface to isolate variables.
Common Mistakes to Avoid
Many guitarists skip firmware updates, leading to persistent driver conflicts. Another frequent error involves running multiple USB devices on the same bus, causing power-related dropouts. Avoid stacking too many gain stages before the interface input, as this leads to unwanted distortion. Finally, neglecting to save DAW templates with optimized buffer settings wastes time on every new project.
Advanced Tips for 2026 Setups
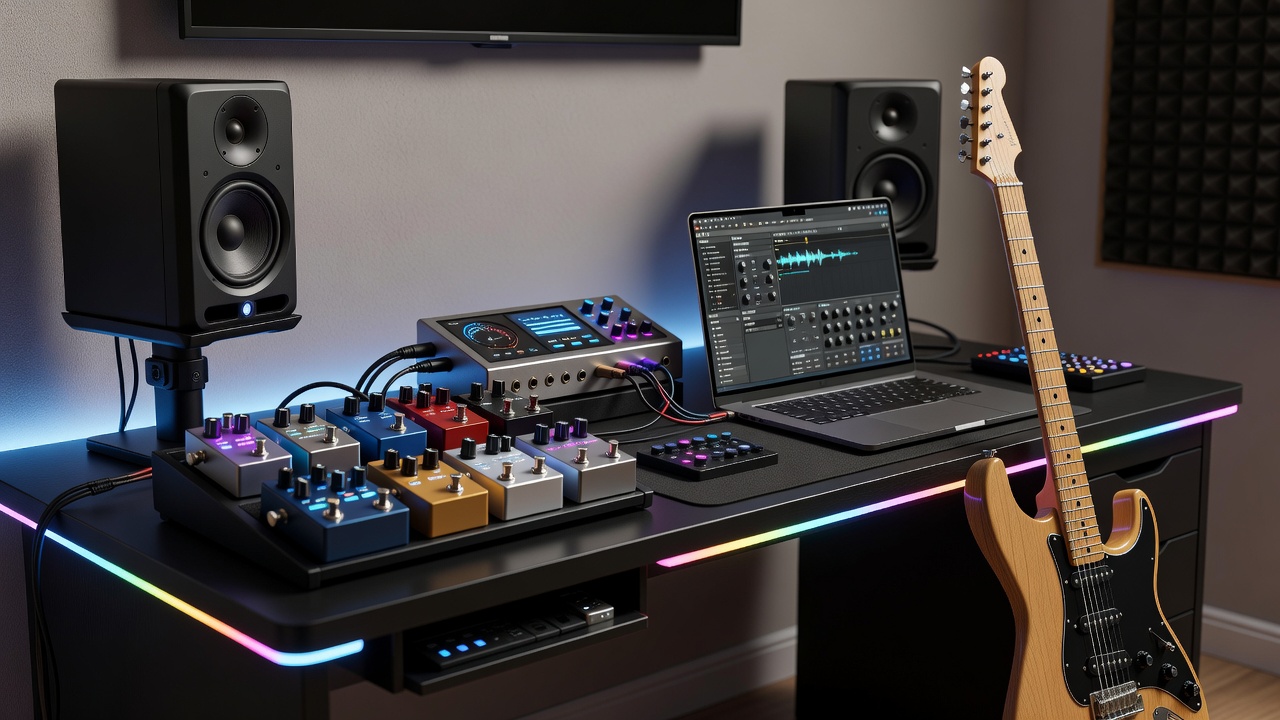
Consider incorporating MIDI-controlled pedal switchers that integrate directly with your DAW for preset recall. Explore cloud-based plugin updates and interface firmware that leverage new low-latency protocols released in early 2026. For complex pedalboards, a dedicated audio interface with multiple inputs allows parallel processing paths, giving greater flexibility during mixing.
Frequently Asked Questions
- How do I resolve plugin crashes when using active pedals? Disable delay compensation in your DAW preferences and test plugins one at a time in a fresh project file.
- Why does my guitar tone sound thin after routing through the interface? Verify phase alignment on stereo pedal outputs and recalibrate monitor levels using reference tracks.
- Can multiple pedals share a single interface input safely? Yes, by chaining them through a pedalboard loop or using a small mixer before the interface input.
- What buffer size works best for live monitoring with pedals? Start at 128 samples and increase only if CPU overload occurs; test with your specific interface model.
- Do I need a separate DI box for every pedal type? Passive guitars and single-coil pickups benefit most; active pedals and buffered bypass designs usually do not require one.
Conclusion
Systematic troubleshooting restores reliable performance for guitarists pairing pedals with audio interfaces. By following the diagnostic steps, optimization techniques, and testing procedures outlined above, you can maintain optimal tone and low-latency operation in evolving 2026 studio environments. Regular maintenance of drivers, cables, and monitor calibration ensures consistent results across sessions.
No comments yet. Be the first!