 Instrumentiverse
Introduction to Professional Pedal Testing in 2026
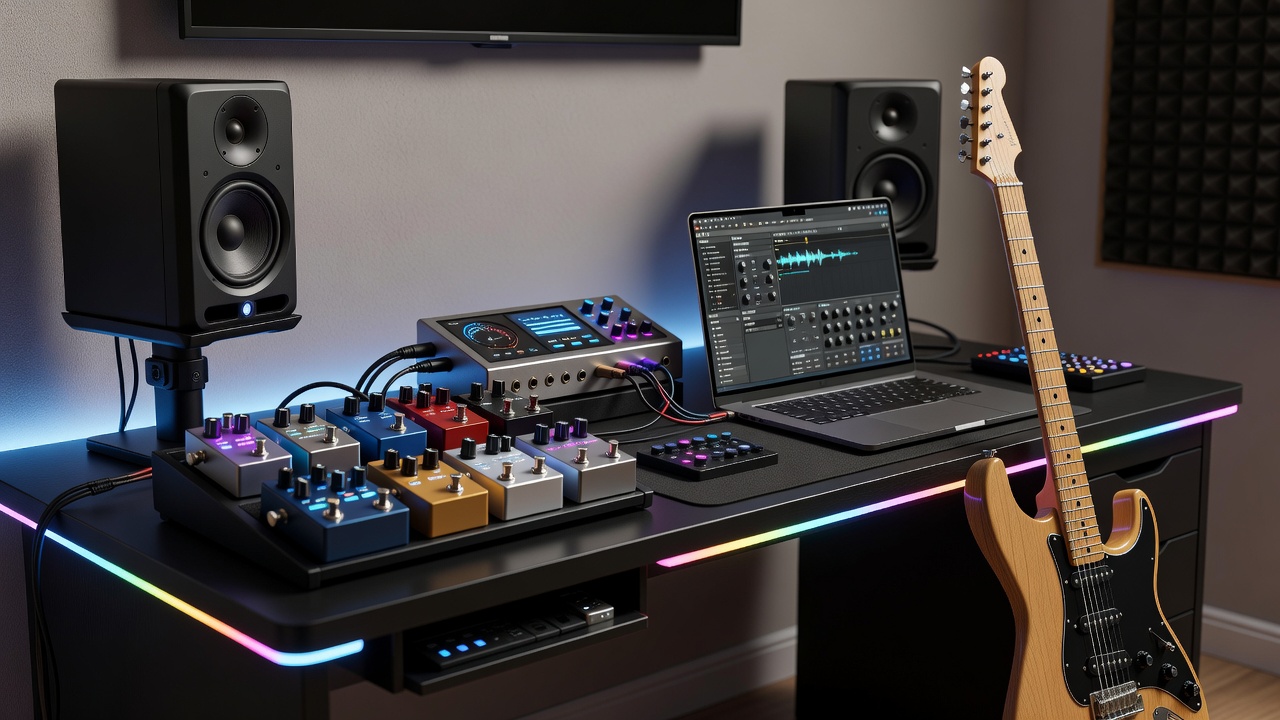
Creating trustworthy gear reviews requires a structured approach that combines hardware and software elements. In 2026, intermediate musicians and reviewers benefit from integrating guitar pedals with audio interfaces, studio monitors, and plugins to achieve accurate tone assessments. This workflow emphasizes setup optimization and reliable comparisons without relying on subjective listening alone. The process begins with a clean signal path and moves through calibrated monitoring to capture real-world performance data. By following these methods, reviewers can produce content that helps readers make informed decisions about gear purchases and setups. Many creators struggle with inconsistent results because they overlook systematic testing, leading to reviews that feel unreliable or biased toward one type of gear.
Over the past year, the integration of plugin modeling has become standard in professional workflows, allowing reviewers to cross-reference physical pedals against digital emulations. This hybrid method provides deeper insights into how a pedal performs across different contexts, from bedroom practice to full studio tracking. The goal is to deliver reviews that stand up to scrutiny while remaining accessible to players who are not full-time engineers.
Choosing and Setting Up Your Testing Gear
Start by selecting a high-quality audio interface with low-latency drivers and multiple inputs. Popular choices include models from established manufacturers that support sample rates up to 192 kHz. Pair it with accurate studio monitors positioned at ear height and forming an equilateral triangle with the listening position. Add a DAW loaded with essential plugins for EQ, compression, and analysis. This foundation supports repeatable tests across different pedals. Room treatment plays a critical role here; even basic absorption panels on first-reflection points can dramatically improve monitoring accuracy.
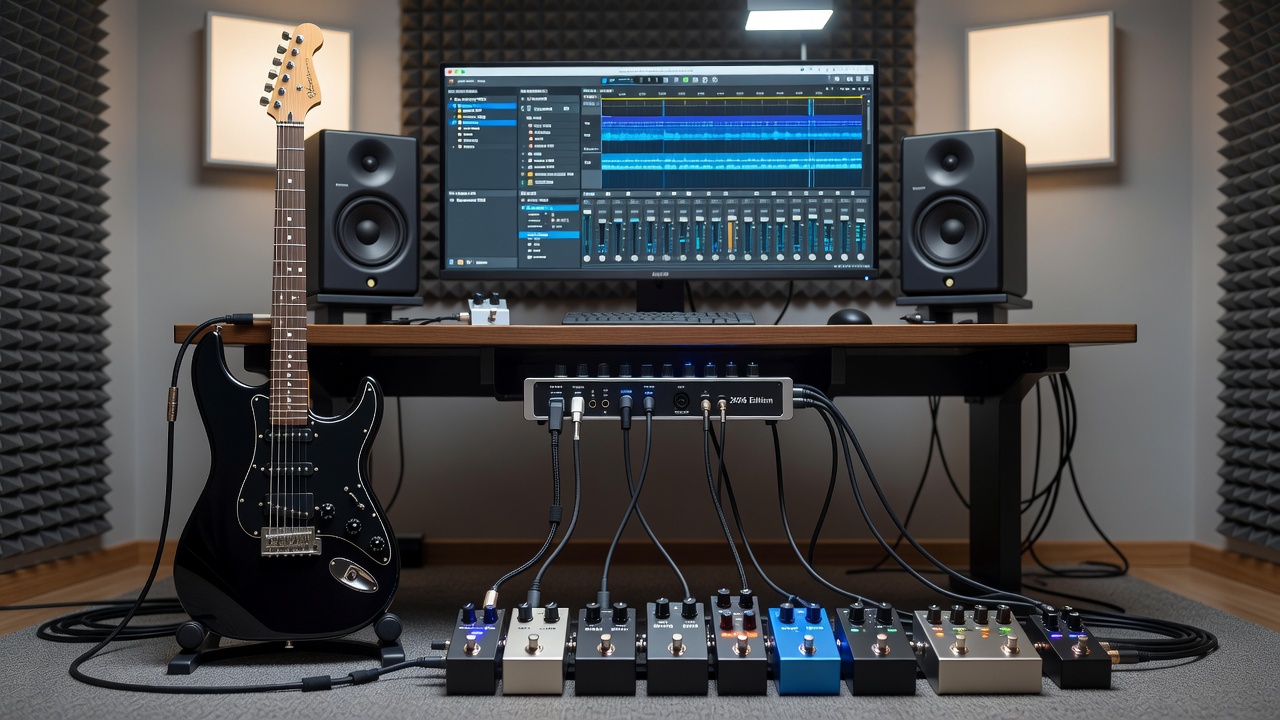
Connect your guitar directly to the interface input, then route the signal through your pedal chain before returning it to the DAW. Use reference tracks to verify monitor response before any testing begins. Always power cycle equipment in the same order each session to maintain consistency in noise floors and impedance matching.
Step-by-Step Testing Protocols
Follow a consistent sequence for every review to eliminate variables. Begin by recording a dry DI track of your playing style at multiple tempos and dynamics. Next, insert the pedal and capture processed audio at several gain settings, noting exact knob positions with photographs. Apply the same plugin chain to both the dry and wet signals for direct comparison. Listen on monitors and headphones, noting frequency balance, dynamics, and stereo imaging. Document settings with screenshots and notes for reproducibility. This protocol ensures every pedal is evaluated under identical conditions.
For modulation pedals, extend the test by sweeping rate and depth parameters while recording short loops. Overdrive and distortion units require testing with both single-coil and humbucker guitars to reveal how pickup output interacts with the pedal’s response curve. Delay pedals benefit from tempo-synced tests using a click track in the DAW.
Signal Chain Comparisons and Real-World Examples
Compare direct pedal output against a modeled version using plugins. For instance, test an overdrive pedal both standalone and blended with saturation plugins. Record short phrases on clean and distorted settings to highlight differences in harmonic content and sustain. A practical example involves running a vintage-style fuzz through an interface, then layering a plugin compressor to tame peaks; the resulting files demonstrate how the hardware reacts differently to compression than its digital counterpart.
Another example uses a digital delay pedal versus an analog-modeled plugin. Capture identical guitar phrases and switch between paths rapidly in the DAW to train your ear for subtle timing and filtering differences. Side-by-side listening reveals nuances that single-path testing often misses. Export WAV files for external analysis tools when needed.
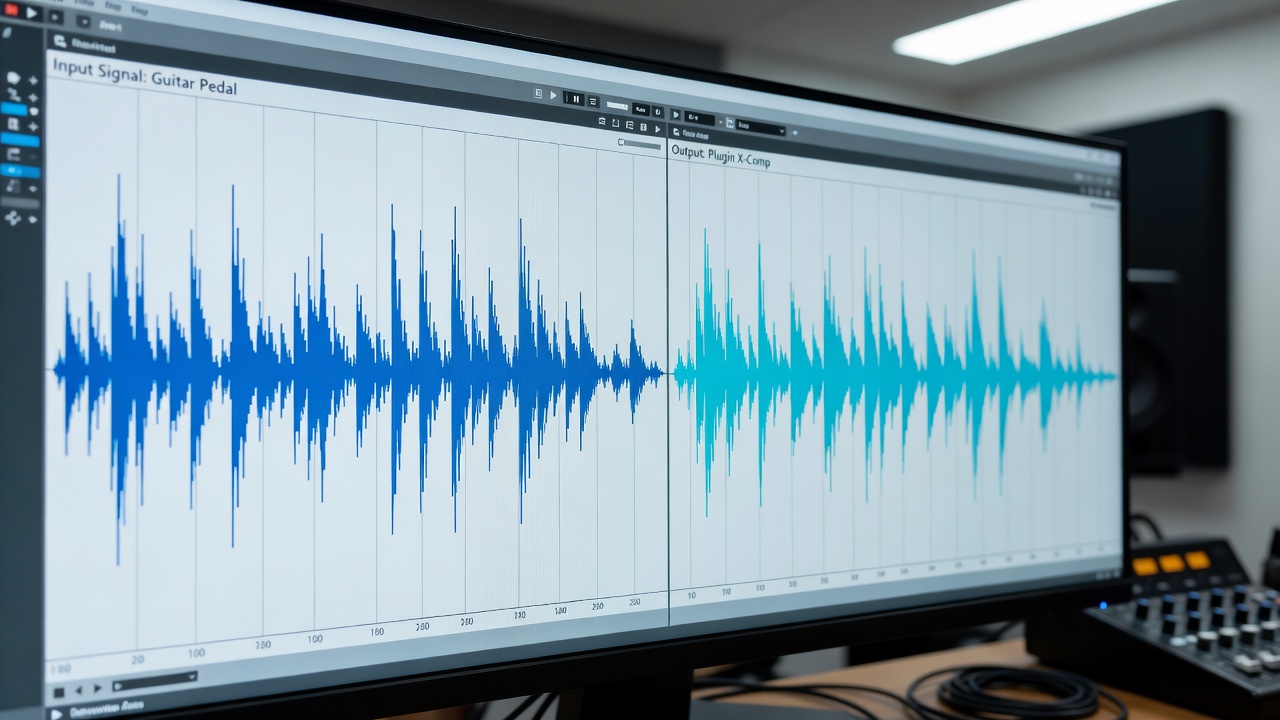
Reviewers should also test pedals in parallel chains, splitting the signal so one path remains dry while the other processes effects. This technique uncovers phase issues and helps quantify how much a pedal alters the fundamental tone.
Advanced Calibration Techniques
Calibrate monitors using pink noise and an SPL meter to achieve flat response at the listening position. Set interface gain staging so peaks remain around -6 dBFS. Load reference plugins with known curves to maintain consistency across sessions. Regular recalibration prevents drift that could skew review conclusions. Measure room frequency response with free analysis tools and apply gentle corrective EQ only after confirming the monitors themselves are linear.
Always allow equipment to warm up for at least fifteen minutes before critical listening. Check cable integrity and connector cleanliness weekly, as minor oxidation can introduce noise that masquerades as pedal character.
Common Pitfalls to Avoid
- Skipping gain staging, which introduces unwanted distortion.
- Using uncalibrated monitors that color the sound.
- Ignoring latency compensation in the DAW during plugin comparisons.
- Testing only at one volume level instead of multiple realistic playing volumes.
- Failing to blind-test yourself by randomizing file order before final judgments.
- Neglecting to compare results across different guitars and pickup configurations.
Documenting and Analyzing Results
Keep a standardized template for each review that records date, temperature, humidity, and all equipment serial numbers. Use spectral analysis plugins to visualize frequency content and confirm subjective impressions with objective data. Store raw files in an organized folder structure so future updates or reader questions can be addressed quickly. When publishing, include both audio examples and waveform screenshots to let readers verify your findings independently.
FAQ: Troubleshooting Latency and Monitor Feedback
How do I reduce round-trip latency during live monitoring?
Lower buffer sizes in your interface control panel and enable direct monitoring where available. Use ASIO or Core Audio drivers for best results.
What causes monitor feedback during pedal tests?
Feedback often stems from high monitor levels combined with open mics or poor room isolation. Reduce output gain and add acoustic treatment.
Can plugins accurately replace hardware in reviews?
Plugins provide useful references but should never fully substitute physical pedals in final assessments. Always include hardware-only captures.
For further reading on audio interfaces and plugin integration, visit Focusrite and Sound on Sound. Additional monitor calibration guidance is available at Neumann.
Conclusion
This 2026 workflow delivers professional-grade pedal reviews by combining precise hardware testing with thoughtful software analysis. Apply these protocols consistently to build credibility and provide readers with actionable insights that improve their own gear decisions.
No comments yet. Be the first!