 Instrumentiverse
Introduction to Advanced Guitar Pedal Evaluation
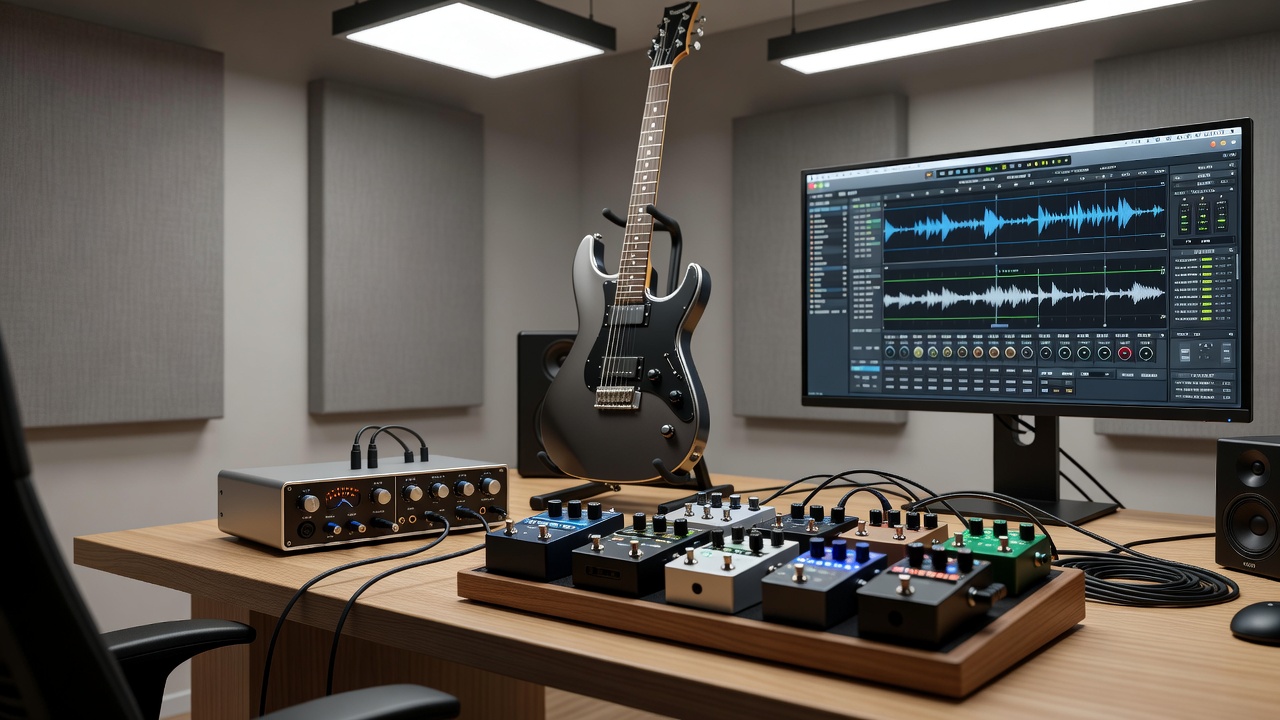
Experienced musicians and reviewers in 2026 demand more than basic listening tests when assessing guitar pedals alongside plugin integration. Sophisticated evaluation techniques ensure accurate tone assessment in professional setups, accounting for real-world variables like digital conversion and monitoring environments. This approach elevates reviews beyond simple comparisons to deliver reliable, decision-useful insights for players seeking hybrid analog-digital workflows. By integrating hardware pedals with software emulations, reviewers can uncover nuanced interactions that basic A/B tests overlook, such as how a pedal’s dynamic response changes under different plugin processing loads.
Optimizing the Signal Chain for Accurate Reviews
A well-structured signal chain forms the foundation of reliable pedal testing. Start with the guitar output connected to a high-quality audio interface input, routing through the pedal under review before entering the DAW where plugins process the signal. Position analog pedals early in the chain to preserve their character, then layer digital plugins afterward for hybrid tonal sculpting. Consistent impedance matching prevents unwanted coloration that could skew results, and reviewers should test multiple cable lengths and types to identify any high-frequency roll-off introduced by poor connections.
Real-world example: Connect a Stratocaster-style guitar directly to an interface's instrument input, insert the pedal in the effects loop if available, and monitor through studio speakers calibrated for flat response. This setup reveals how the pedal interacts with plugin emulations of classic amps without introducing artifacts. Further optimization includes using buffered bypass pedals when long cable runs are necessary and verifying ground loops with a dedicated tester. Resources from Sound on Sound provide additional guidance on maintaining signal integrity in hybrid environments.
Precise Latency Handling in Hybrid Setups
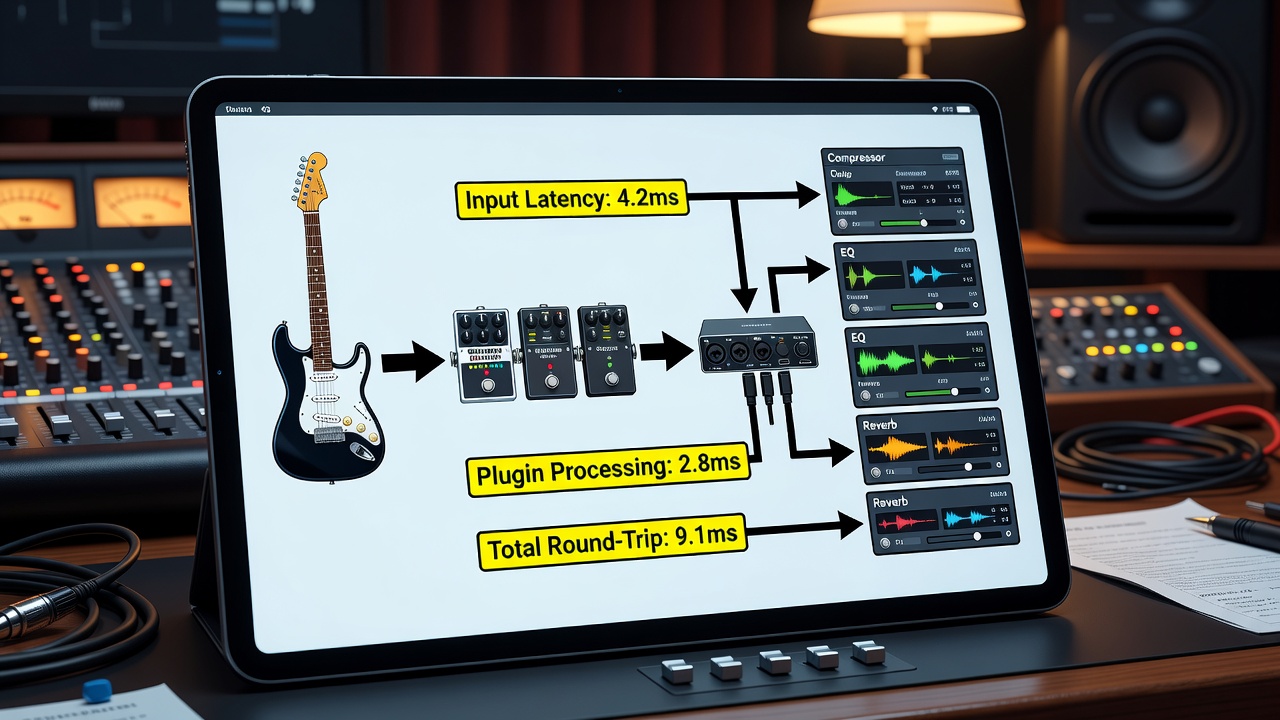
Latency can distort A/B comparisons when blending hardware pedals with software plugins. Measure round-trip latency using the audio interface's built-in tools and compensate by adjusting buffer sizes or enabling direct monitoring modes. Aim for under 5ms total latency during critical listening sessions to maintain timing accuracy, especially with time-based effects like delays. Advanced reviewers often use ASIO or Core Audio drivers configured for low-buffer operation and record test tones to quantify any delay introduced by conversion stages.
Practical steps include running a loopback test through the interface, noting the reported latency in milliseconds, and applying manual offsets in the DAW. Test latency by recording a click track through the pedal and plugin chain, then align waveforms in the DAW for phase-coherent playback. This step ensures that any perceived tone differences stem from the gear itself rather than timing offsets. Comparing results across different sample rates (44.1 kHz versus 96 kHz) highlights how higher rates can reduce perceived latency at the cost of increased CPU load.
Multi-Layered A/B Testing Workflows
Implement multi-layered A/B testing by creating parallel tracks in the DAW: one with the pedal engaged and another with equivalent plugin modeling. Blind switching via automation or a dedicated controller removes bias. Layer additional tests by varying input levels, EQ settings, and amp simulations to evaluate performance across scenarios such as clean tones, overdriven sounds, and ambient textures.
Expanded step-by-step workflow: 1) Record a consistent dry guitar DI track using a metronome at 120 BPM for timing reference. 2) Duplicate and process one version through the pedal plus plugins, capturing both wet and dry signals. 3) Process the second version using only plugins matched for gain staging. 4) Switch between versions while noting dynamic response, harmonic content, and transient attack via spectrum analysis. 5) Repeat with different guitars, pickup selections, and playing styles for comprehensive data. 6) Introduce a third layer comparing stereo versus mono outputs to assess imaging accuracy. This method uncovers subtle differences that single-pass tests miss, such as how a compressor pedal tightens transients differently than its plugin counterpart.
Monitor Calibration During Professional Reviews
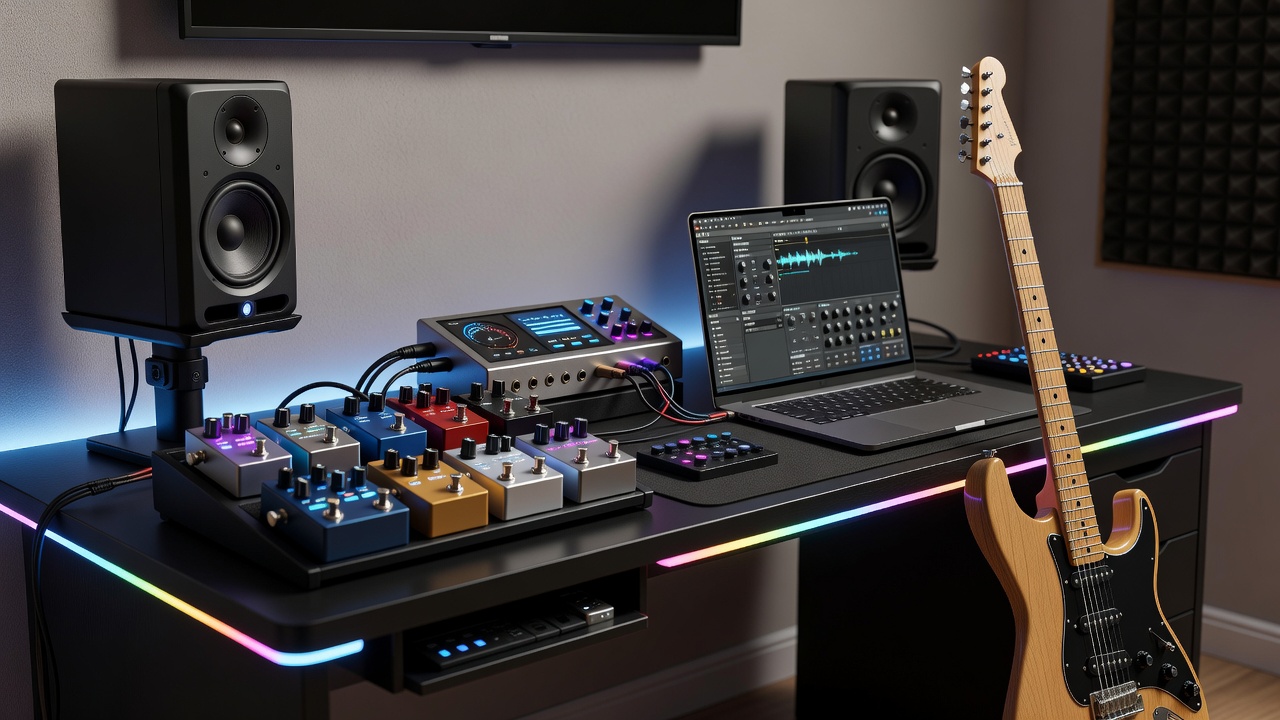
Accurate monitoring is essential for trustworthy evaluations. Calibrate studio monitors using reference tracks and pink noise generators to achieve a flat frequency response at the listening position. Position monitors at ear height in an equilateral triangle with the mixing desk, treating the room to minimize reflections that could mask pedal nuances like subtle overtones or low-end muddiness.
Example from practice: Use a calibrated measurement microphone and software like Room EQ Wizard to analyze the room response, then apply corrective EQ only if necessary. This ensures that low-end thump from a fuzz pedal or high-end sparkle from a modulation effect translates correctly without room-induced exaggeration. Reviewers should also compare results on secondary systems such as headphones and car speakers to verify translation, documenting any frequency peaks that appear consistently across environments.
Addressing Phase Issues and Common Pitfalls
Phase problems often arise in hybrid pedal-plugin chains, particularly with parallel processing or stereo effects. Check phase alignment by flipping polarity on one track and listening for improved clarity in the low-mids. Avoid pitfalls such as mismatched sample rates between hardware and software, which introduce digital artifacts, and always verify clock synchronization on the audio interface.
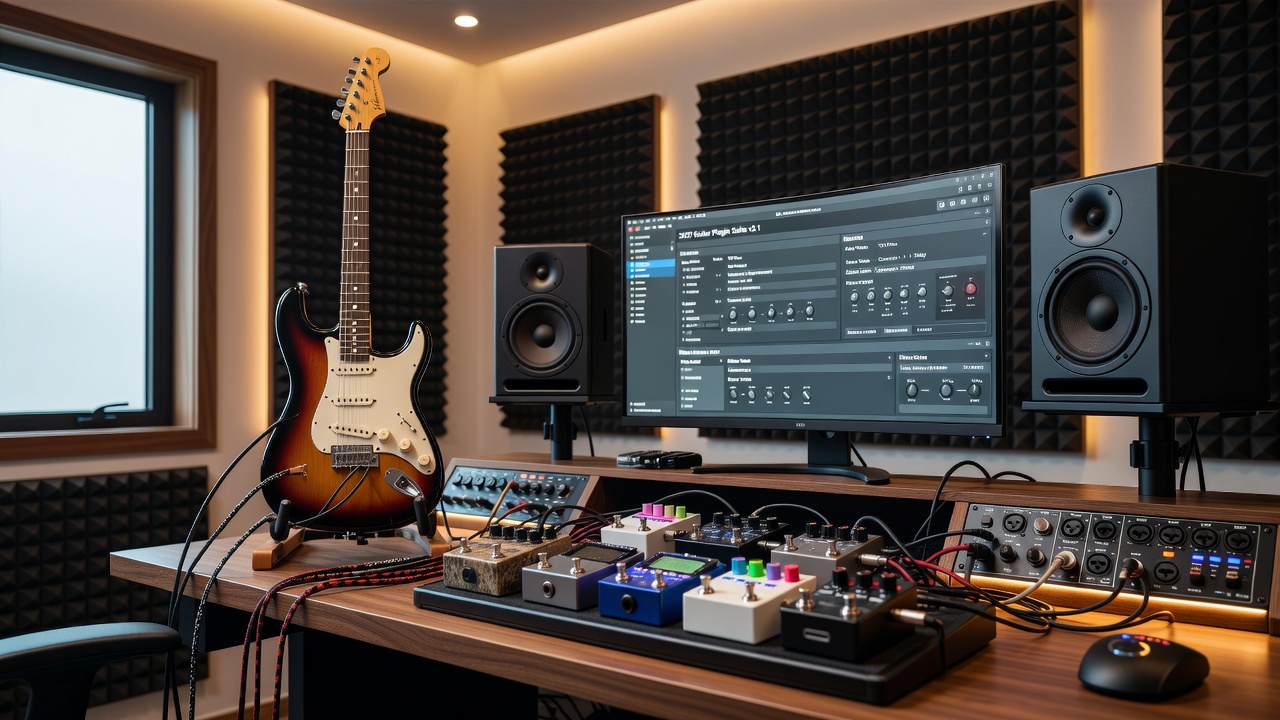
Actionable tips include using high-quality cables to reduce noise, documenting every variable in a review log, and repeating tests at the same time of day in a controlled environment. Additional pitfalls to avoid encompass overlooking pedal power supply noise that manifests as hum when plugins add gain, and failing to reset plugin parameters between tests. Consistent results come from maintaining a standardized template session that loads identical starting points for each review.
Documenting Results for Reproducible Outcomes
Thorough documentation transforms subjective impressions into objective data. Maintain a spreadsheet logging guitar model, pickup type, pedal settings, plugin versions, interface buffer size, and room temperature. Include waveform screenshots and frequency analysis graphs to support written observations. This practice allows reviewers to revisit tests months later and confirm findings remain valid under updated plugin versions.
Conclusion
Applying these advanced techniques transforms guitar pedal reviews into precise, repeatable processes that benefit the entire music community. By mastering signal optimization, latency control, and calibrated testing, reviewers deliver insights that help musicians make informed gear choices in evolving 2026 production landscapes.
FAQ: Advanced Review Challenges
- How do I handle varying guitar output levels across tests? Normalize input gain at the interface and use consistent playing dynamics with a metronome for repeatable results.
- What if plugin latency compensation alters the pedal's feel? Disable automatic compensation during initial listening and manually align tracks afterward for accurate tonal comparison.
- Can room acoustics invalidate monitor calibration? Yes, always measure and treat the space first; rely on multiple listening positions to confirm findings.
- How many A/B rounds are sufficient for confidence? Conduct at least five blind tests per configuration, noting statistical consistency in notes before finalizing conclusions.
- Which tools best support phase checking in hybrid setups? DAW built-in polarity inverters combined with correlation meters provide quick visual confirmation of alignment issues.
No comments yet. Be the first!