 Instrumentiverse
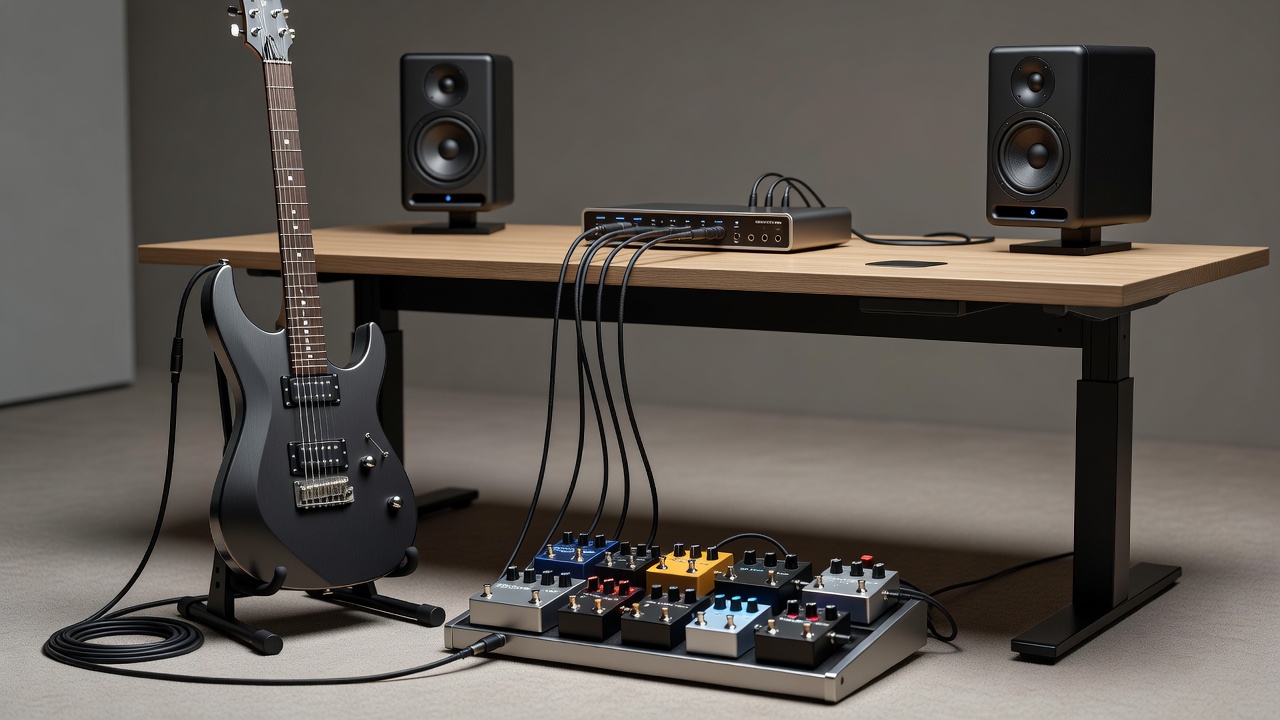
Introduction to Comprehensive 2026 Guitar Rig Reviews
Reviewing guitar pedals alongside audio interfaces and studio monitors requires a structured approach that uncovers real-world performance issues. In 2026, guitarists building hybrid analog-digital setups demand workflows that evaluate tone accuracy, latency performance, and seamless plugin integration. This guide delivers step-by-step instructions for thorough rig reviews that go beyond surface-level comparisons. The process emphasizes repeatable testing methods so readers can trust the results when selecting gear for live performance or studio recording.
Effective reviews help musicians identify gear that supports creative flow without introducing unwanted noise or delay. By focusing on practical testing, reviewers can document how pedals interact with interfaces under realistic playing conditions. Hybrid setups often combine vintage-style pedals with modern plugin chains, creating opportunities for unique tones but also risks like impedance mismatches or cumulative latency. Understanding these interactions early prevents costly mistakes during full rig assembly.
Setting Up Your Testing Environment
Begin by preparing a controlled space with consistent power sources and minimal electromagnetic interference. Position studio monitors at ear level in an equilateral triangle with your listening position. Ensure the audio interface is connected via USB-C or Thunderbolt for stable data transfer. Calibrate monitor levels using a sound pressure meter app to achieve reference listening volumes around 85 dB.
Gather essential tools including a reliable tuner, cable tester, and digital audio workstation with built-in metering. Update all device firmware before starting tests. This preparation phase reduces variables that could skew results during actual evaluations.
Selecting Test Tracks for Accurate Evaluation
Choose test tracks that represent diverse playing styles and frequency ranges. Include clean single-note lines, complex chord progressions, and high-gain riffs to stress different aspects of the signal chain. Tracks should feature both dry and processed elements to reveal how pedals color the sound before it reaches the interface. Consider using reference recordings from well-known artists in rock, blues, and metal genres to simulate real-world application.
Organize tracks by tempo and dynamic range. Slow ballads expose sustain and noise floor problems, while fast passages highlight tracking accuracy and transient response. Always normalize levels across tracks to ensure consistent comparisons. Create a playlist with at least eight tracks covering low, mid, and high frequencies. For example, a bass-heavy track tests subwoofer integration while a bright acoustic piece reveals high-end clarity from the interface converters.
Chaining Hardware with Plugins Effectively
Start by connecting your guitar to the first pedal in the chain, then route the output to the audio interface input. Use high-quality cables to minimize signal loss. On the interface side, enable direct monitoring initially to establish a baseline before introducing plugins. Proceed methodically through each stage, noting gain staging at every point to avoid clipping.
Next, load essential plugins such as amp simulators and effects within your DAW. Test both serial and parallel routing options. For instance, place a compressor plugin after a hardware overdrive pedal to tame peaks without altering the analog character. Experiment with buffer sizes to balance latency and CPU load. Focusrite interfaces often pair well with common pedalboards due to their robust preamps and low-latency drivers.
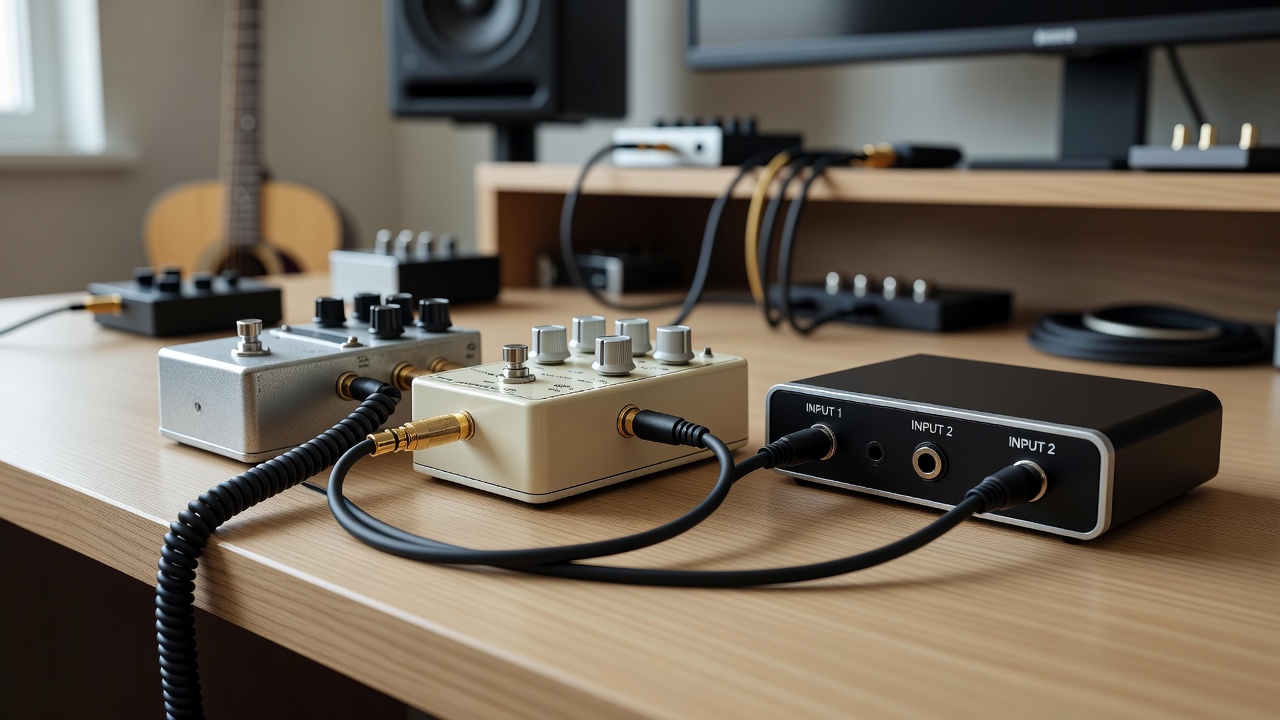
Advanced chaining might involve inserting a hardware EQ pedal mid-chain before software reverbs. Always test impedance compatibility between pedals and interface inputs. Some interfaces offer instrument-level inputs that better match pedal outputs, preserving tone integrity.
Comparing Signal Paths Side by Side
Record identical performances through multiple signal paths: direct guitar to interface, guitar through pedals only, and full hybrid chain with plugins. Use the same take length and playing intensity for fair A/B comparisons. This side-by-side approach quickly highlights differences in warmth, attack, and spatial depth.
Listen on both studio monitors and headphones to catch discrepancies in imaging and low-end response. Note any phase issues introduced by pedal order or plugin latency compensation settings. Export short clips of each path for later analysis in a waveform editor.
- Path 1: Guitar → Pedalboard → Interface input
- Path 2: Guitar → Interface → Plugin chain only
- Path 3: Guitar → Pedals → Interface → Plugins
- Path 4: Guitar → Pedals with parallel effects loop → Interface
Document differences in clarity, dynamics, and overall coherence. Side-by-side audio clips make these distinctions clear for readers. Repeat tests at different volumes to simulate live versus studio scenarios.
Evaluating Integration with Studio Monitors
After capturing signals, play back recordings through calibrated studio monitors to assess translation. Check for frequency buildup or loss that only appears on larger speakers. Adjust monitor positioning if low frequencies seem exaggerated or masked.
Compare monitor playback against headphone mixes to identify translation issues. This step ensures the reviewed rig performs consistently across playback systems that readers might use.
Documenting Results for Reproducible Reviews
Maintain detailed logs including settings for every device, room temperature, and cable types used. Capture screenshots of DAW sessions and waveform analyses. Record short audio examples at each stage for later reference. Create a simple spreadsheet template with columns for gear settings, observed tone characteristics, measured latency, and subjective notes.
Include metrics such as round-trip latency measured at standard buffer sizes. This documentation ensures your review remains objective and useful for readers replicating the setup. Share anonymized data files when possible to support community verification.
Example Gear Combinations for 2026 Testing
Consider pairing a versatile overdrive pedal with a USB-C audio interface featuring multiple inputs. Add studio monitors with flat response for accurate playback. Test integration by routing reverb plugins alongside hardware delay units to evaluate how they blend without comb filtering. One practical example uses a tube screamer-style pedal into an interface with built-in DSP effects, then adds a tape saturation plugin post-recording.
Another combination involves fuzz pedals into high-headroom interfaces, checking for unwanted clipping at the converter stage. Always verify firmware updates are current before testing. A third setup might chain a modulation pedal with an interface known for excellent MIDI integration, allowing synchronized plugin parameter changes during playback.
Common Pitfalls and How to Avoid Them
Many reviewers overlook ground loops that create hum when chaining multiple devices. Use isolation transformers or balanced connections to resolve this. Another frequent issue is ignoring sample rate mismatches between hardware and software, leading to pitch artifacts. Always confirm all components operate at 48 kHz or 96 kHz consistently.
Additional pitfalls include poor gain staging that introduces digital distortion and failing to account for temperature effects on analog pedals. Test in a temperature-controlled room and allow gear to warm up before critical listening sessions.
Frequently Asked Questions
How do I measure real latency in a hybrid setup?
Use built-in DAW tools or dedicated latency measurement software while playing a click track through the full chain. Compare round-trip times at multiple buffer settings.
What if pedals introduce noise into the interface?
Check power supplies and try different grounding schemes. High-quality shielded cables often resolve the problem. Consider using a noise gate pedal at the end of the chain.
Can I review without professional monitors?
Yes, but cross-reference with multiple listening environments including car speakers and earbuds for broader perspective. Reference tracks help maintain objectivity.
How many test tracks should I use per review?
Aim for six to ten tracks covering various styles and dynamics to ensure comprehensive coverage without overwhelming the evaluation process.
Conclusion
Following this 2026 workflow equips reviewers with reliable methods for evaluating guitar pedals, audio interfaces, and monitors together. The emphasis on test tracks, signal path comparisons, and thorough documentation produces actionable insights that help guitarists build better hybrid rigs. By expanding testing to include monitor integration and detailed logging, your reviews will stand out for their depth and practicality.
No comments yet. Be the first!