 Instrumentiverse
Introduction to Plugin Reviews with Hardware Integration
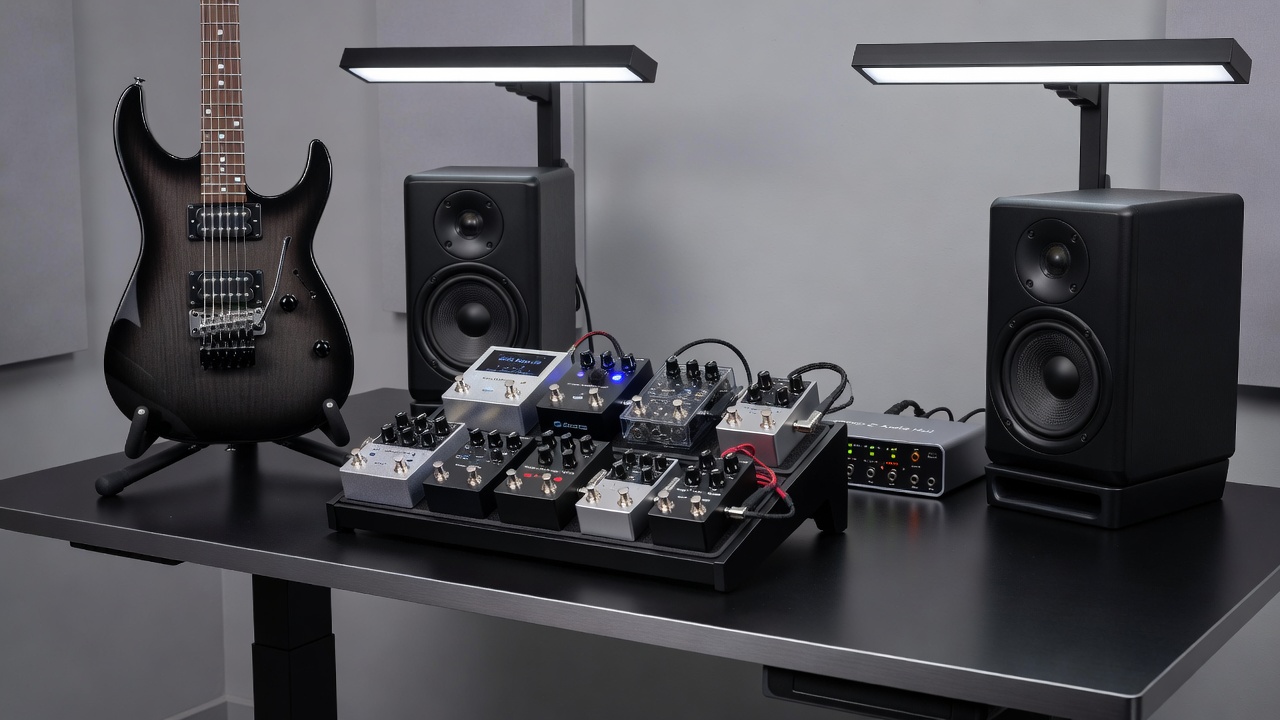
Reviewing guitar plugins effectively requires more than listening through headphones. In 2026, integrating real guitar pedal chains provides a reliable benchmark for assessing plugin accuracy, tone, and responsiveness. This approach helps both beginners and intermediate users verify how well digital emulations match hardware behavior under real playing conditions. Many guitarists find that software models can sound convincing in isolation yet fall short when placed in a full signal path that includes analog pedals and physical playing dynamics.
By combining physical pedals with software, reviewers can isolate variables such as gain staging, EQ curves, and dynamic response. The process demands a controlled test rig that includes an audio interface, studio monitors, and consistent signal paths. This method reveals nuances that purely digital comparisons often miss, including how a plugin handles real-world impedance, pickup variations, and pedal interactions. Over the past year, plugin developers have introduced more advanced modeling techniques, making hardware-based validation even more essential for accurate assessments.
Setting Up Your 2026 Test Rig
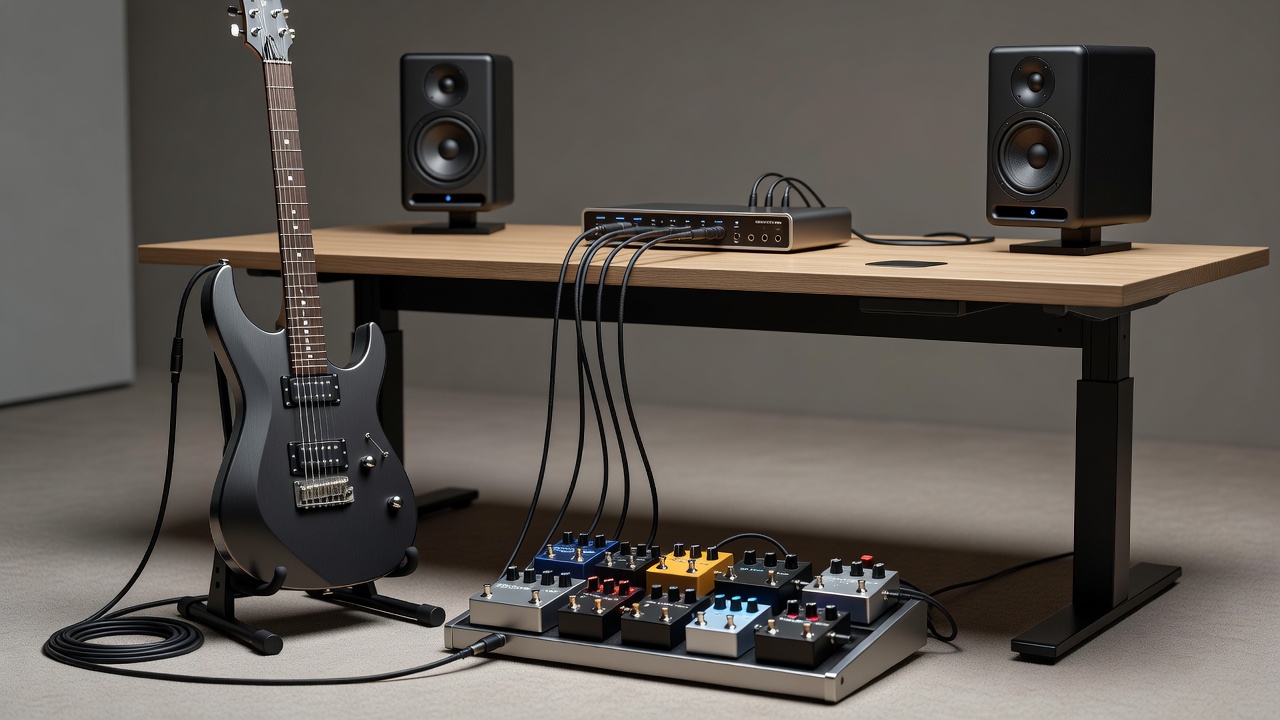
Begin with a quality audio interface featuring low-latency drivers and multiple inputs. Connect your guitar to the first pedal in the chain, then route the output to the interface. Use studio monitors for critical listening rather than relying solely on headphones. Choose an interface with excellent preamp transparency and stable drivers that support sample rates up to 96 kHz or higher without dropouts.
Recommended components include a transparent interface like those from Focusrite or Universal Audio, paired with neutral reference monitors. Ensure your DAW supports high sample rates to minimize artifacts during testing. Position monitors at ear level in a treated space to reduce reflections that could color your perception of plugin versus hardware differences. Calibrate your monitoring levels to a consistent reference so each test session starts from the same baseline.
Signal Chain Examples
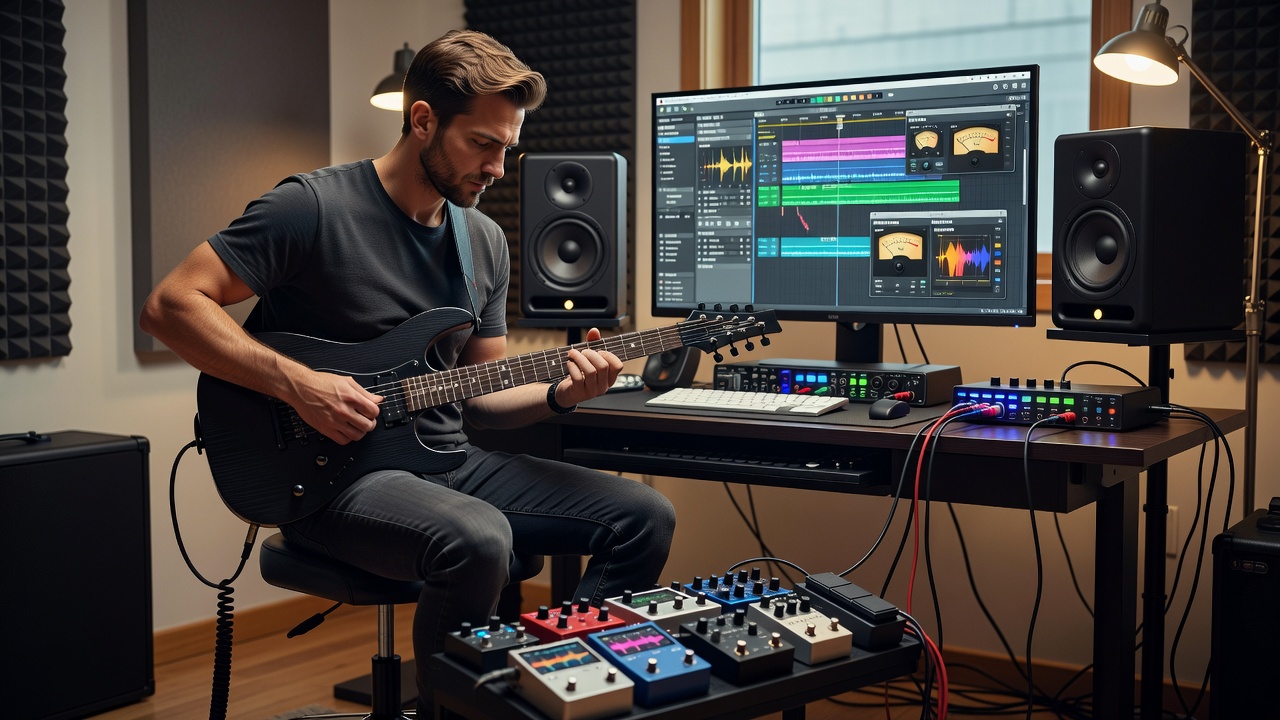
A typical integrated chain might start with a compressor pedal, followed by overdrive, modulation, delay, and reverb. For plugin evaluation, insert the plugin at the corresponding point in your DAW track and compare it directly to the hardware version. Experiment with order variations because pedal placement dramatically affects tone and dynamics.
- Chain 1: Compressor → Overdrive → Amp Simulator Plugin – Ideal for testing gain staging and sustain accuracy.
- Chain 2: Wah → Fuzz → Delay Plugin – Useful for evaluating envelope response and modulation timing.
- Chain 3: Clean Boost → Modulation → Reverb Plugin – Great for checking clarity and spatial effects in cleaner tones.
- Chain 4: Volume Pedal → Distortion → EQ Plugin – Helpful for volume-sensitive dynamics and tonal shaping tests.
Document each stage with screenshots and notes on perceived differences in attack, sustain, and harmonic content. Record short riffs at multiple tempos to capture how the chain behaves across playing styles.
A/B Comparison Techniques
Use blind A/B testing by recording identical performances through hardware and plugin paths. Switch between tracks without visual cues to reduce bias. Employ null testing by phase-inverting one signal against the other to reveal discrepancies. This technique highlights phase issues, frequency mismatches, and timing differences that might otherwise go unnoticed during casual listening.
Listen for differences in transient response and low-end tightness. Repeat tests across multiple guitars and playing styles for comprehensive data. Consider using a footswitch-controlled A/B box to toggle between paths instantly while playing, which preserves the natural feel of performance. Many reviewers also capture MIDI data from their playing to replay the exact performance through different chains, eliminating human variation.
Latency Troubleshooting
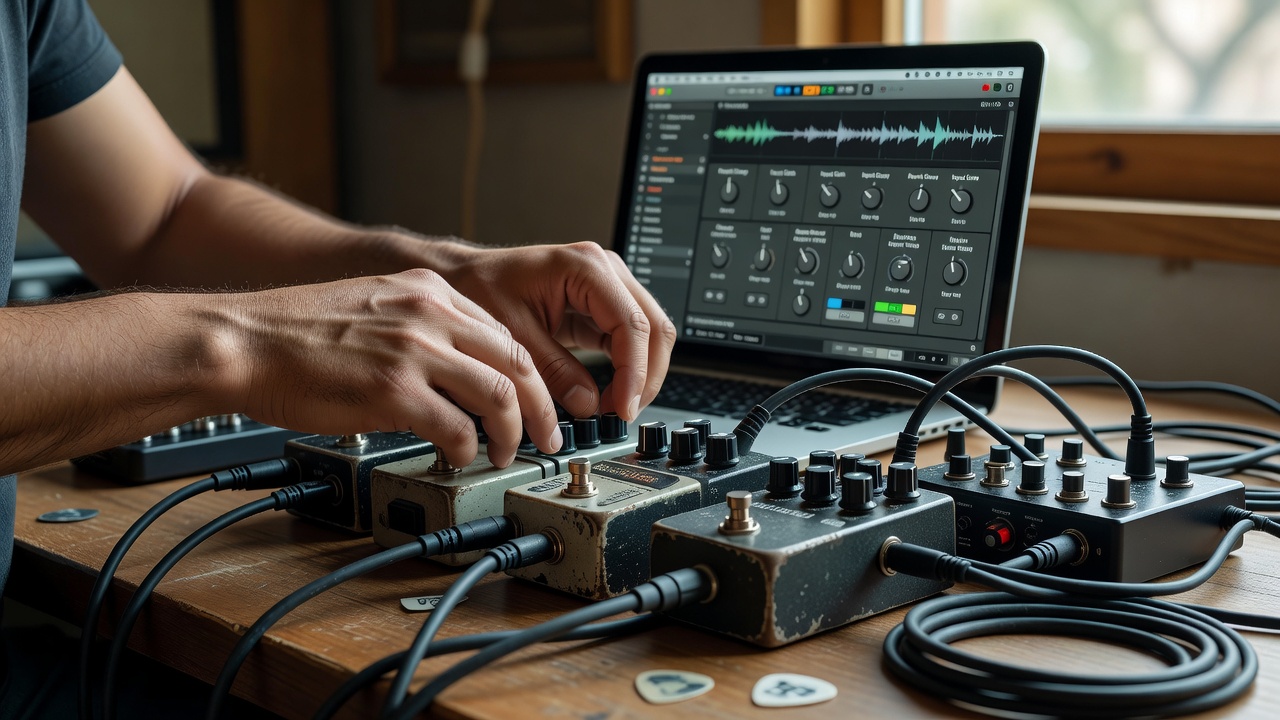
Latency can skew plugin evaluations. Set buffer sizes to the lowest stable value in your interface control panel. Enable direct monitoring where possible and use plugin delay compensation in your DAW. Test round-trip latency with a simple click track recording. Aim for under 5 ms total latency to maintain natural feel during performance.
If you notice sluggish response, check for unnecessary plugins running in the background and close other applications. Some 2026 interfaces now include built-in DSP that can offload processing and further reduce latency. Always verify that your DAW’s delay compensation is enabled before starting any comparison session.
Frequency Response Analysis
Employ spectrum analyzers to compare frequency curves between hardware and plugin outputs. Look for matching peaks in the midrange and consistent roll-off in highs and lows. Tools such as Voxengo Span or the built-in analyzers in many DAWs provide visual confirmation of what your ears detect.
Export frequency plots and overlay them for visual comparison. This objective data complements subjective listening tests. Pay special attention to the 200-500 Hz range where many guitar tones live and the upper harmonics above 5 kHz that give definition to overdrive sounds. Consistent curves across multiple test signals indicate strong plugin modeling.
Real-World Testing Scenarios
Scenario 1: Recording a full song section using only the pedal chain, then swapping in the plugin for the same performance. Compare the final mixes side by side after identical post-processing. Scenario 2: Live monitoring through the chain while capturing both paths simultaneously to evaluate real-time playability. Scenario 3: Stress testing with high-gain settings to evaluate clipping behavior and noise floor under demanding conditions. Scenario 4: Testing with different pickup types, including single-coils and humbuckers, to see how the plugin adapts to varying input signals.
Step-by-Step Workflow
- Calibrate levels across all devices using a consistent test tone.
- Record reference takes through hardware only, noting exact settings.
- Insert plugin and match input gain as closely as possible.
- Perform A/B and null tests while taking detailed notes.
- Analyze frequency data and document findings with screenshots.
- Repeat with varied signal chains and guitar types.
- Review results after a short break to avoid ear fatigue.
Common Mistakes to Avoid
Avoid mismatched gain staging between hardware and plugin. Do not rely on one guitar or one playing style. Ignore room acoustics at your own peril—treat the monitoring environment as part of the test rig. Another frequent error is comparing a plugin at default settings against a carefully dialed hardware chain; always spend time matching parameters before judging. Finally, avoid drawing conclusions from a single listening session—repeat tests over multiple days to confirm consistency.
Advanced Tips for 2026 Gear Integration
Take advantage of new plugin features such as MIDI-controlled parameter automation that can mimic expression pedal movements. Consider using a multi-output interface to send the hardware chain and plugin path to separate tracks for easier comparison. Some users also incorporate impulse responses of their actual pedalboard to further refine the digital side of the equation.
FAQ
How do I handle different pedal power requirements?
Use a dedicated isolated power supply to prevent noise and ensure consistent operation across all pedals in the chain.
What if my interface introduces unwanted coloration?
Choose an interface known for transparency or bypass its preamps by using line-level inputs where supported.
Can beginners perform these tests effectively?
Yes, start with simple chains and focus on one variable at a time before expanding to complex setups.
How many test takes should I record per chain?
At least three to five takes per configuration allows you to identify consistent patterns rather than one-off anomalies.
Should I test in mono or stereo?
Begin in mono to isolate core tone differences, then move to stereo for spatial effect evaluation.
Conclusion
Integrating guitar pedal chains into plugin reviews delivers actionable insights that purely digital tests cannot match. By following these structured workflows in 2026, you will develop reliable methods for evaluating plugin performance against real hardware references. For further reading on audio interfaces and monitoring best practices, visit Sound on Sound and Ableton. Additional guidance on professional recording techniques can be found at Universal Audio.
No comments yet. Be the first!