 Instrumentiverse
Introduction to Reviewing Studio Monitors for Guitarists
Choosing the right studio monitors is essential for guitarists who want precise tone reproduction in home studios. In 2026, with advanced audio interfaces and plugin ecosystems, evaluating monitors requires a structured approach that accounts for pedal chains, latency management, and effects like distortion and reverb. Guitar tone depends on accurate playback of low-end rumble from palm mutes, midrange bite from overdrive pedals, and sparkling highs from reverb and delay effects. Without proper monitors, recordings that sound great in your room may fall flat when played on car stereos or streaming platforms. This guide provides practical steps to review monitors effectively, ensuring your guitar recordings translate well across systems. We will cover setup, frequency analysis, plugin integration, and real-world troubleshooting to help you make informed decisions in your 2026 home studio environment.
Setting Up Your Monitoring Chain
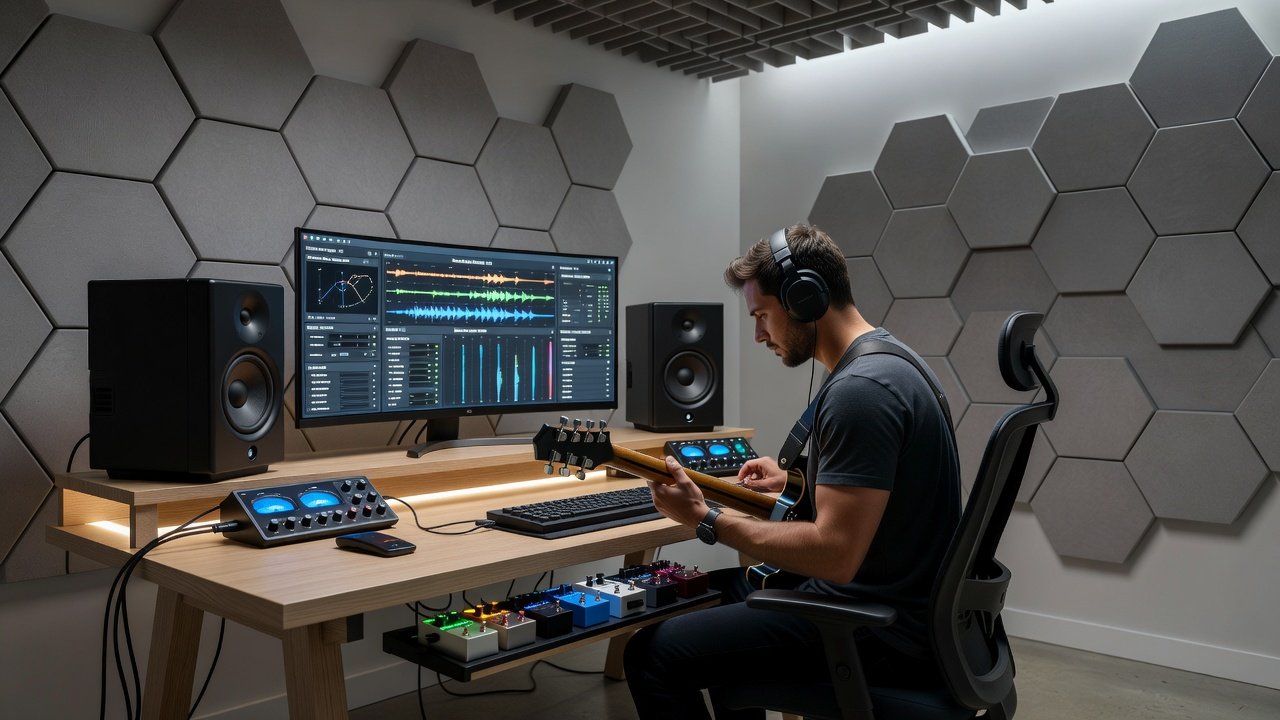
Begin by connecting your audio interface to the monitors using balanced XLR or TRS cables. Integrate your pedalboard before the interface input for real-time signal processing. Popular interfaces like those from Focusrite support low-latency monitoring that pairs well with guitar setups. Place the interface on a stable surface near your computer and run a short instrument cable from your last pedal to the interface's instrument input. Power on monitors after all connections are secure to avoid pops that could damage speakers. Position monitors at ear level in an equilateral triangle with your listening position. This setup minimizes reflections and delivers accurate imaging for guitar tracks. Consider adding basic acoustic treatment like foam panels behind the monitors to reduce early reflections that skew frequency perception during evaluation sessions.
Next, calibrate monitor levels using pink noise from your DAW. Set interface output to unity gain and adjust monitor volume knobs until the noise measures around 85 dB SPL at your listening position with a smartphone app. This consistent reference level allows repeatable comparisons across different monitor pairs without volume bias affecting your judgment of guitar tone clarity.
Evaluating Frequency Response for Guitar Tones
Frequency response is critical when testing monitors for guitar. Look for flat response curves between 50Hz and 20kHz to capture low-end from bass guitars and high-end sparkle from effects. Play sustained power chords through a clean channel first to assess bass extension without boominess. Then switch to high-gain settings with distortion pedals engaged and listen for midrange congestion that can mask note definition. Monitors with a dip around 200-400 Hz may thin out your core guitar tone, while those with excessive 3-5 kHz peaks can make pick attack harsh and fatiguing over long mixing sessions.
Compare monitors by playing reference tracks with heavy distortion. Monitors with boosted mids may color your tone unnaturally, while neutral options reveal true pedal and plugin interactions. Use a spectrum analyzer plugin to visually confirm frequency balance while listening. For reverb-heavy passages, note how well the monitors resolve decay tails without smearing or losing stereo width. This step-by-step frequency check ensures your chosen monitors handle the dynamic range of electric guitar signals accurately in 2026 recording scenarios.
Audio Engineering Society standards offer guidance on monitor performance metrics.
Real-World Testing with Popular Plugins
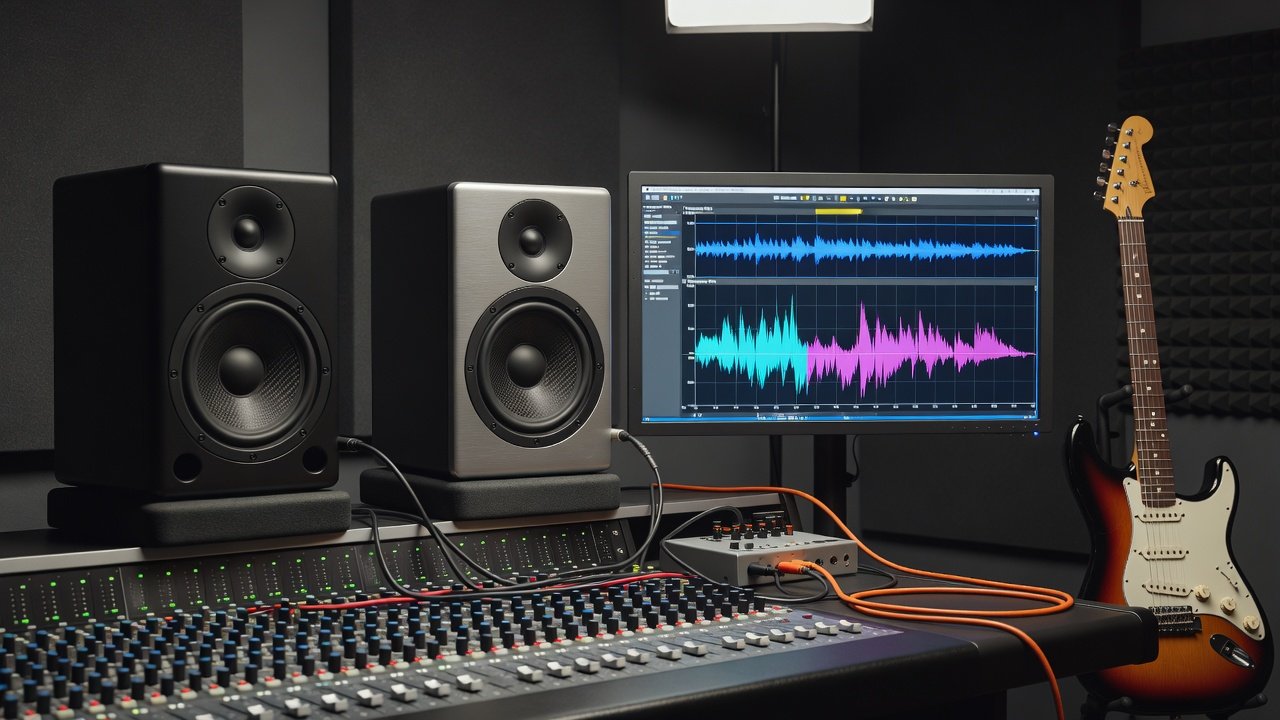
Use plugins such as Guitar Rig or Amplitube to simulate amp tones during monitor evaluation. Load a clean DI guitar track and toggle between monitors to assess reverb tails and delay accuracy. Record multiple takes with different pedal settings, including fuzz, modulation, and time-based effects, then import them into your session for blind A/B listening. Pay attention to how each monitor portrays plugin-generated stereo fields, especially when using ping-pong delays or wide chorus effects that spread across the soundstage.
Side-by-side tests reveal how well each monitor handles stereo imaging from plugin effects. Record short phrases with overdrive pedals engaged and listen for clarity in note separation. Test at both moderate and low volumes to check if bass response remains consistent or rolls off prematurely. This reveals whether the monitors will support detailed mixing decisions when your guitar sits alongside drums and vocals in a full production. Repeat tests over several days to account for changes in room temperature and humidity that subtly affect speaker performance.
Workflow Tips for Balancing Output and Latency
Adjust buffer sizes in your DAW to 128 samples for minimal latency while monitoring through plugins. Balance monitor output levels to match interface headphone levels for seamless A/B comparisons. Enable direct monitoring on your interface during live pedal playing to avoid timing issues. This ensures accurate assessment of monitor performance without plugin delay interference. When using amp simulation plugins, route your guitar through the interface's DSP if available, or freeze tracks after recording to maintain playback stability during long evaluation sessions.
Another practical tip involves creating custom monitor profiles in your interface software. Save level and EQ settings for different guitar tones so you can quickly switch between clean and distorted reference material. This streamlines the review process and highlights how well monitors translate subtle changes in pedal gain staging or plugin parameter tweaks without constant manual adjustments.
Side-by-Side Monitor Assessments
Test models from brands like Yamaha and Adam in the same room. Note differences in bass response for palm-muted riffs and treble detail for clean arpeggios. Set up a scoring system covering transient response, imaging precision, and overall tonal neutrality. Play the same DI guitar loop through each pair while switching via a monitor controller to eliminate variables. Document observations immediately after each test to capture fresh impressions before memory fades.
Include real-world guitar examples such as single-coil neck pickup cleans versus humbucker bridge overdrive to stress-test the monitors across tonal extremes. This comparative method helps identify which monitors best preserve the attack and sustain characteristics unique to your playing style and gear chain.
Common Mistakes to Avoid
- Ignoring room acoustics when positioning monitors, leading to inaccurate bass perception
- Skipping phase alignment checks with guitar DI signals that can cause comb filtering in stereo fields
- Over-relying on software EQ instead of monitor accuracy during initial tone evaluation
- Testing only at high volumes, missing low-level detail critical for reverb and delay effects
- Neglecting to compare against commercial reference tracks from similar guitar genres
FAQ: Addressing Guitar Tone Mismatches
Q: Why does my guitar tone sound different on monitors versus headphones?
A: Monitors interact with room acoustics, revealing issues headphones mask. Adjust placement and use reference tracks from Focusrite resources for calibration guidance.
Q: How do plugins affect monitor evaluation?
A: Plugins add processing that monitors must reproduce faithfully. Test with bypassed and active plugins to isolate hardware performance from software coloration.
Q: What 2026 gear enhances monitor reviews?
A: Updated interfaces with improved converters help isolate monitor performance from conversion artifacts. Pair with current plugin suites for comprehensive testing.
Q: How often should I recalibrate my monitoring setup?
A: Perform basic level checks monthly and full frequency sweeps quarterly to maintain consistency as equipment ages and room conditions change.
Conclusion
Thorough review of studio monitors empowers guitarists to achieve consistent, professional results. Apply these methods in your 2026 home studio for tones that translate reliably across playback systems. With careful setup, frequency testing, plugin integration, and workflow optimization, you can select monitors that faithfully represent your pedal and plugin chain for years of accurate guitar recording.
No comments yet. Be the first!