 Instrumentiverse
Introduction to Advanced Plugin Integration
Intermediate music producers in 2026 face increasing demands for seamless workflow integration when combining digital plugins with analog gear like guitar pedals, audio interfaces, and studio monitors. This guide focuses on achieving professional-grade tones through optimized setups rather than basic product picks. As home studios become more sophisticated, understanding how these elements interact can dramatically improve mix quality and creative efficiency. The goal is to create a hybrid environment where analog warmth from pedals complements the precision of digital plugins, all monitored accurately through high-quality studio monitors.
Effective integration starts with understanding the full signal path. Plugins process audio digitally after the interface converts analog signals, while pedals introduce analog warmth before conversion. Studio monitors then reproduce the final output accurately, making proper calibration essential. Producers often overlook how small adjustments in gain staging or routing can lead to significant improvements in clarity and depth. By mastering these connections, you can achieve tones that translate well across different listening environments, from club systems to headphones.
Building Optimal Signal Chain Setups
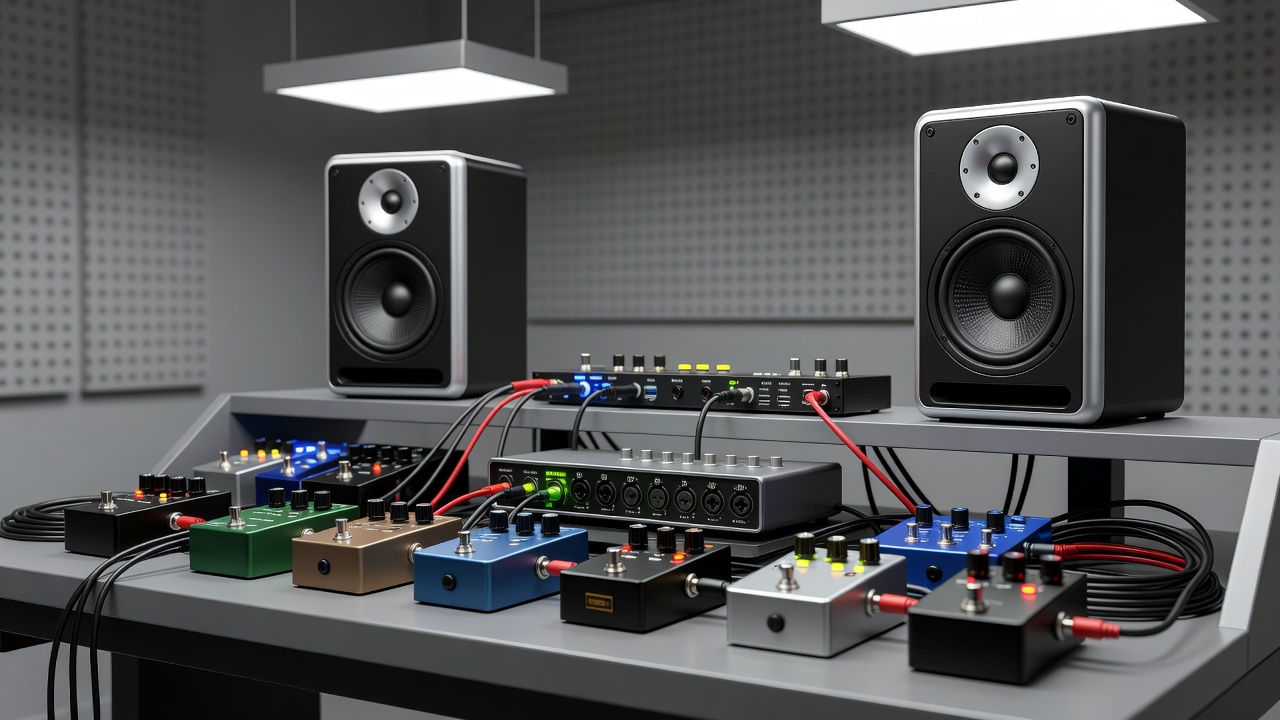
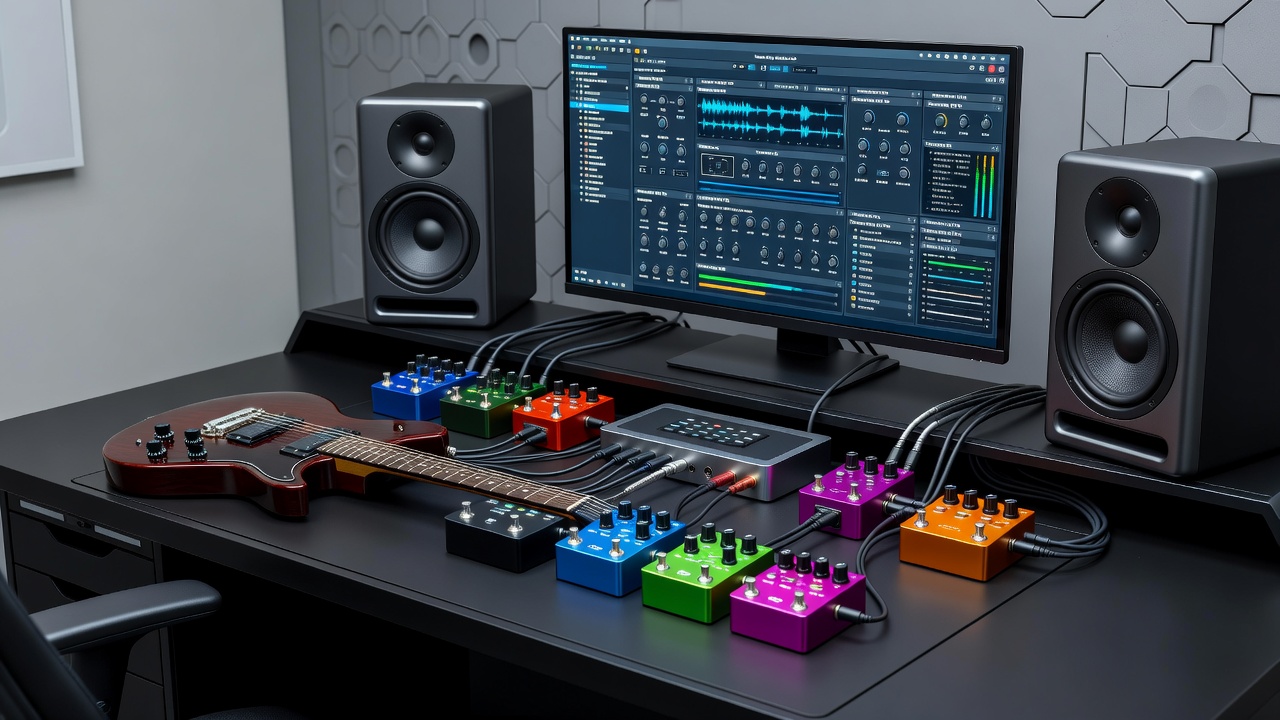
A typical advanced signal chain begins with the guitar or instrument feeding into pedals for initial tone shaping. From there, the signal routes to an audio interface for analog-to-digital conversion. Plugins handle further processing within a DAW, and the result outputs to studio monitors for monitoring. Variations exist depending on the instrument; for example, bass players might prioritize low-end preservation by inserting an optical compressor pedal early in the chain before digital EQ plugins take over.
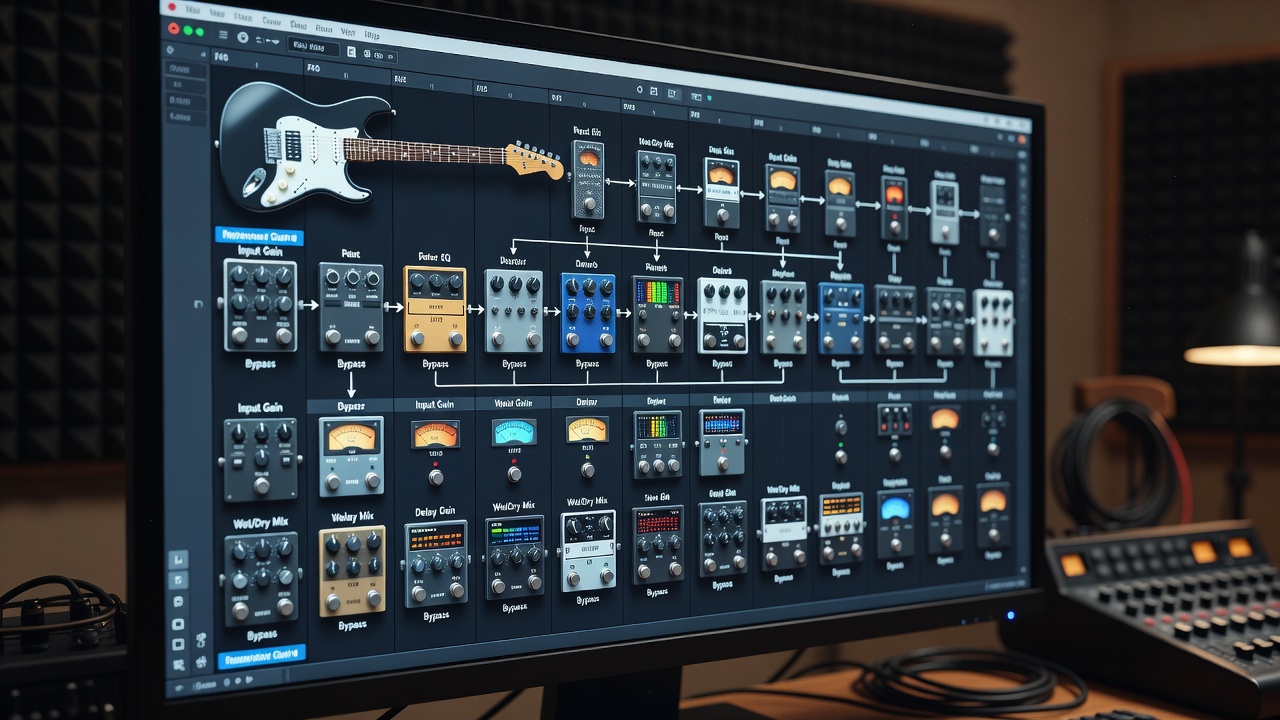
Step-by-step setup example: Connect guitar to overdrive pedal, then to interface input. In the DAW, insert amp simulation plugins followed by EQ and compression. Route the master bus to monitor outputs. This chain minimizes unnecessary conversions while preserving signal integrity. For more complex setups, incorporate a patchbay to allow quick rerouting without unplugging cables. Another variation involves using a multi-effects pedal unit as a central hub, sending wet and dry signals separately to the interface for parallel processing in the DAW.
For hybrid workflows, use effects loops on interfaces to reintroduce analog pedals post-plugin processing. This allows creative layering, such as digital reverb from a plugin blended with analog delay from a pedal. Always test impedance matching between pedals and interface inputs to avoid signal loss or unwanted coloration. Resources like Sound on Sound provide in-depth articles on signal flow principles that apply directly here.
Real-World Plugin Examples and Settings
Consider Neural DSP plugins for amp modeling. Load a high-gain preset on the plugin with gain at 6.5, bass at 4.8, and presence at 7.2 for modern metal tones. Pair this with a tube screamer-style pedal set to drive level 3 and tone knob at noon. Adjust the plugin's noise gate threshold to -45 dB to clean up any excess hum from the analog stage.
Another example uses FabFilter Pro-Q 3 for corrective EQ after interface input. Apply a high-pass filter at 80 Hz with 12 dB/octave slope, then a dynamic cut at 250 Hz to tame muddiness. Follow with Waves CLA-76 compressor on fast attack for tight rhythm tracks. For vocal integration in guitar-focused sessions, add a de-esser plugin post-compression with a threshold of -20 dB around 6 kHz.
Additional example: Use Valhalla Room for spatial effects on a send track. Set decay time to 2.8 seconds, mix at 25%, and high-cut at 8 kHz. This pairs well with a modulation pedal like a chorus unit set to moderate depth and rate, creating lush textures without overwhelming the core tone. These settings integrate smoothly when monitor levels are matched to -12 dBFS average, ensuring accurate translation across playback systems. Experiment by recording short loops and comparing plugin-only versus hybrid versions to hear the differences in harmonic content.
Latency Troubleshooting Methods
Latency issues arise from buffer sizes, plugin processing, and interface drivers. Start by setting ASIO buffer to 128 samples on Windows or Core Audio equivalent on Mac for a balance between responsiveness and stability. Monitor your CPU load meter in the DAW to ensure it stays below 60% during tracking sessions.
Identify culprits by bypassing plugins one by one. Use low-latency monitoring modes on interfaces during tracking, then switch to full plugin processing for mixing. Tools like RTL Utility help measure round-trip latency precisely. If direct monitoring is unavailable, reduce plugin instances on input tracks and move heavy effects to auxiliary buses.
Common fix: Freeze tracks with heavy plugins or use offline bounce for final renders. This maintains workflow speed without compromising quality. Additional steps include updating interface firmware, disabling unnecessary background processes, and using plugin delay compensation features built into most modern DAWs. For live performance integration, consider dedicated low-latency hardware like the Universal Audio Apollo series, which offloads processing to DSP chips. Test your setup with a metronome click track to quantify any perceived delay and adjust accordingly.
Recommended Gear Pairings and Comparisons
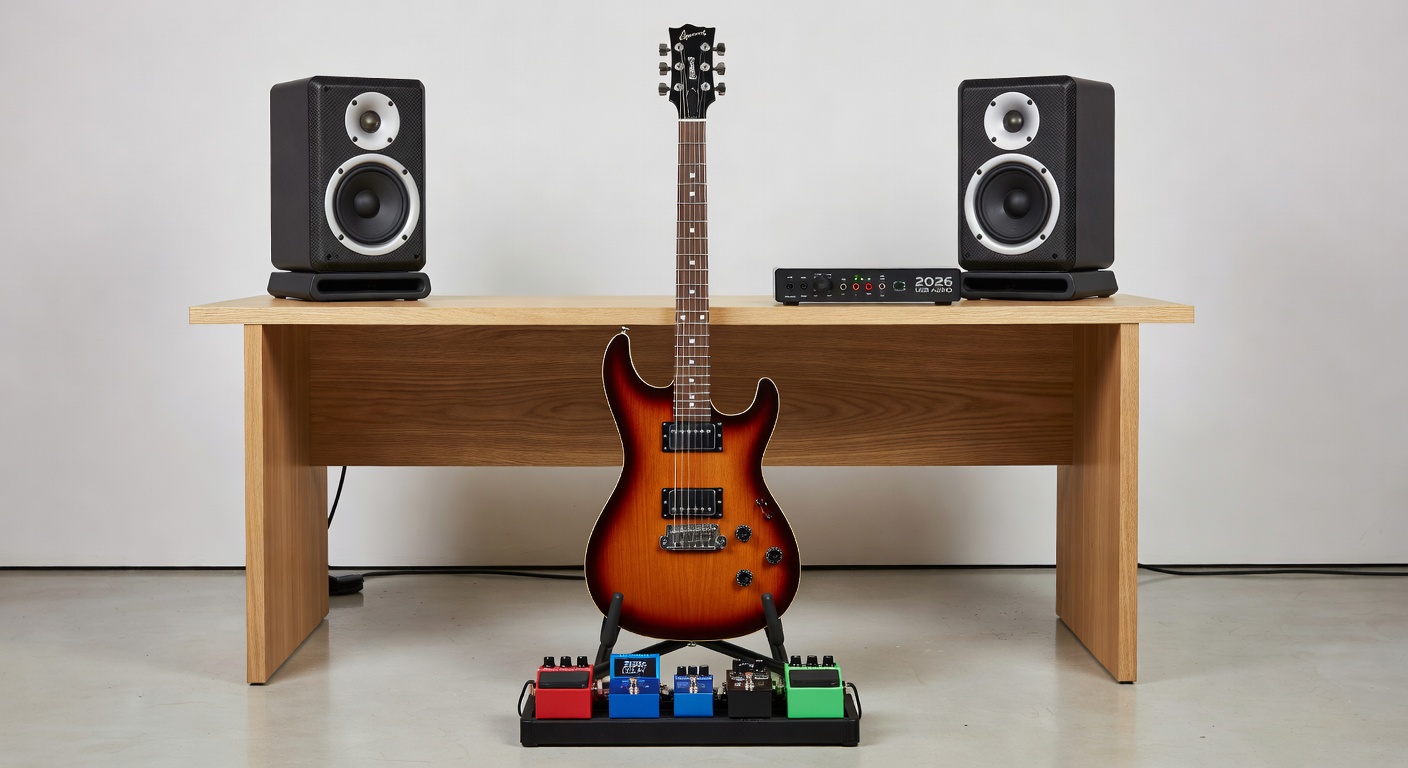
Pair Focusrite Scarlett interfaces with Yamaha HS monitors for transparent monitoring that reveals plugin details accurately. For pedals, combine Strymon Timeline delay with plugin-based modulation from Eventide. Compare this to using a fully digital chain with only plugins: the hybrid approach often adds subtle saturation and dynamic response that pure software emulation struggles to replicate exactly.
Side-by-side audio comparisons highlight differences: Analog pedal warmth adds harmonic richness versus purely digital plugin sterility. Test by recording identical riffs through each path and A/B listening on calibrated monitors. Another pairing involves the Audient iD14 interface with Adam Audio monitors, which excels in midrange detail for acoustic guitar work when paired with subtle overdrive pedals.
Before-and-after tips include soloing the processed track at low volumes to check clarity, then comparing to reference tracks from professional releases. Explore Focusrite's official resources for interface-specific integration guides that complement these pairings.
Practical Workflow Optimization
- Calibrate monitors using pink noise and an SPL meter targeting 85 dB at listening position.
- Organize plugin chains with folders in your DAW to group related effects.
- Document settings in a session template for repeatable results across projects.
- Experiment with parallel processing routes to blend dry pedal signal with wet plugin output.
- Utilize MIDI controllers to automate plugin parameters in real time alongside pedal expression inputs.
- Regularly update all plugin versions and DAW software to access improved integration features and bug fixes.
Advanced Techniques for Tone Shaping
Beyond basic chains, explore mid-side processing in plugins to widen the stereo image after mono pedal input. Apply multiband compression selectively on frequency ranges affected by pedal gain stages. For guitarists incorporating synth elements, route a separate interface input for direct synth signals and blend via plugin automation lanes.
These techniques require careful gain staging to prevent clipping at any stage. Reference tracks from artists in your genre can guide decisions on overall loudness and tonal balance.
FAQ: Common Integration Challenges
How do I reduce noise in hybrid setups? Use balanced cables between pedals and interface, and engage pad switches on inputs when levels are hot.
What buffer size works best for live plugin monitoring? Experiment starting at 256 samples, adjusting based on your CPU and interface capabilities.
Can I integrate multiple pedals with plugin chains? Yes, via effects send/return loops or multi-input interfaces for independent processing paths.
How do I handle phase issues between analog and digital paths? Use plugin phase inversion tools and test with a phase correlation meter during mixing.
What if my monitors color the sound too much? Invest in room treatment like bass traps and absorbers, then fine-tune with monitor EQ plugins.
Conclusion
Mastering plugin integration with studio monitors, pedals, and interfaces elevates home studio output to professional standards. Apply these techniques consistently to refine your workflow and tonal results. Continued experimentation with the methods outlined will yield increasingly polished productions over time.
No comments yet. Be the first!