 Instrumentiverse
Introduction to Essential Guitar Gear in 2026
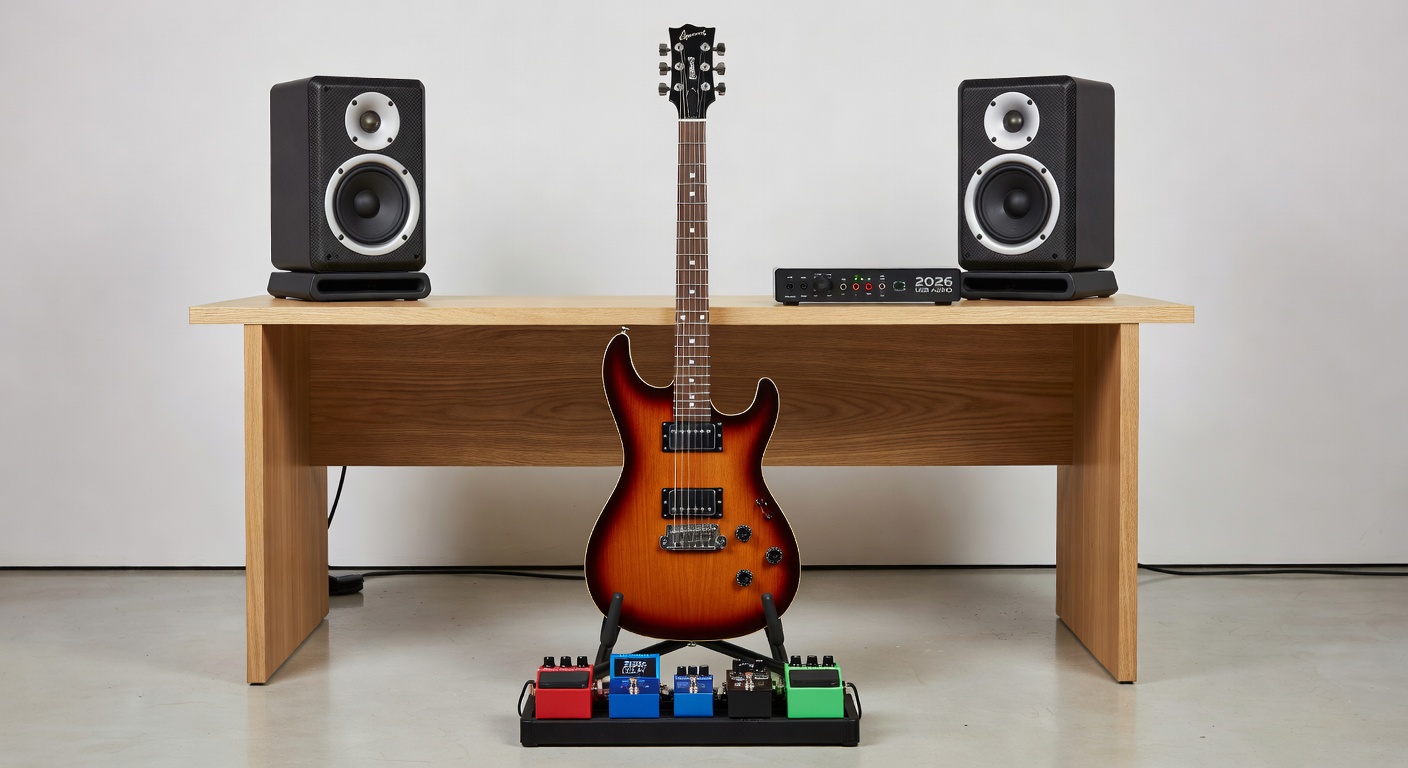
Starting your journey with electric guitar in 2026 means navigating an exciting range of gear designed for home musicians. This guide focuses on three core categories: guitar pedals for tone shaping, audio interfaces for recording, and studio monitors for accurate playback. Whether you're building your first setup or upgrading, understanding compatibility, sound quality, and ease of use helps avoid costly mistakes and creates a foundation for years of creative exploration.
Modern home studios benefit from affordable digital tools that integrate seamlessly with software plugins. Beginners often struggle with mismatched equipment, leading to poor sound or connectivity issues. This article provides clear comparisons and actionable steps to create a reliable rig that grows with your skills. From selecting the right effects chain to configuring low-latency recording environments, every detail matters for achieving professional-sounding results at home.
Understanding Guitar Pedals for Beginners
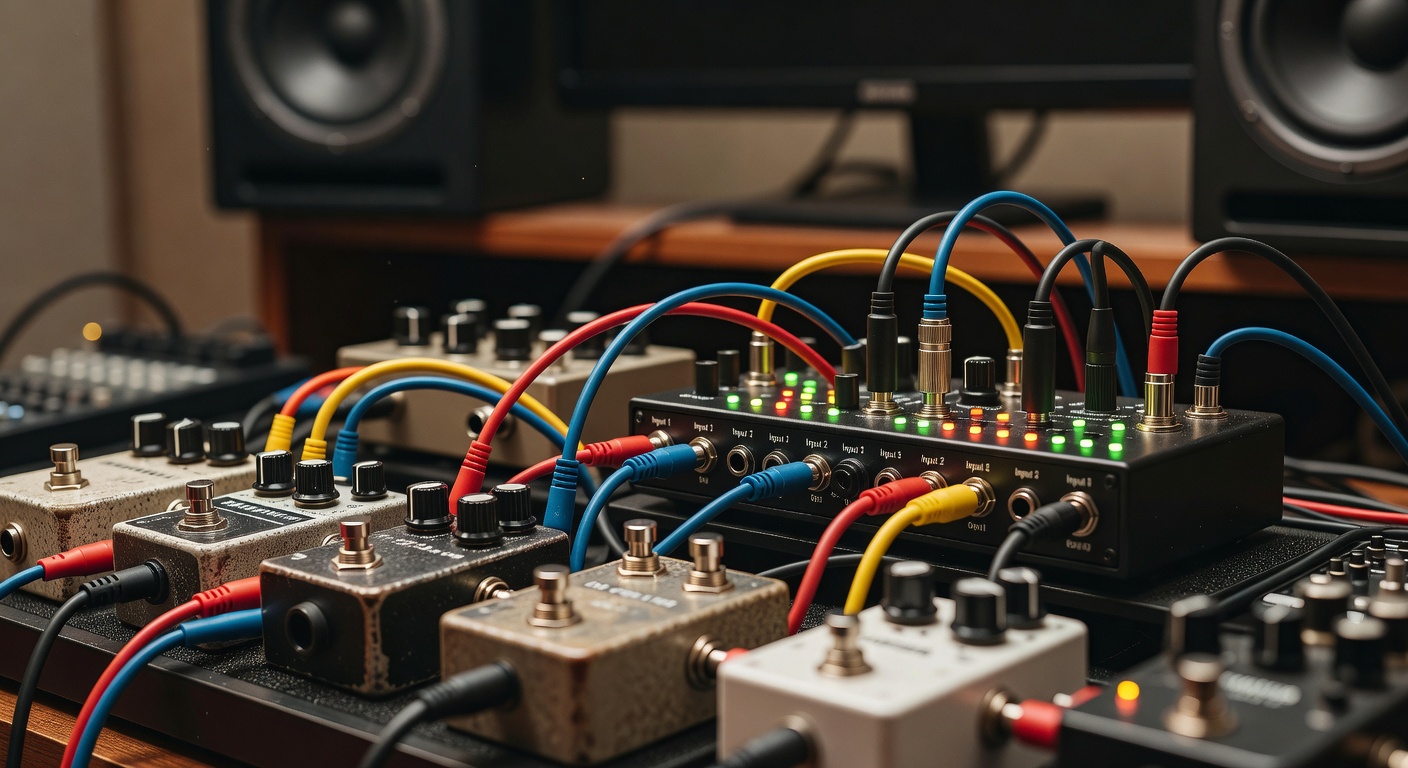
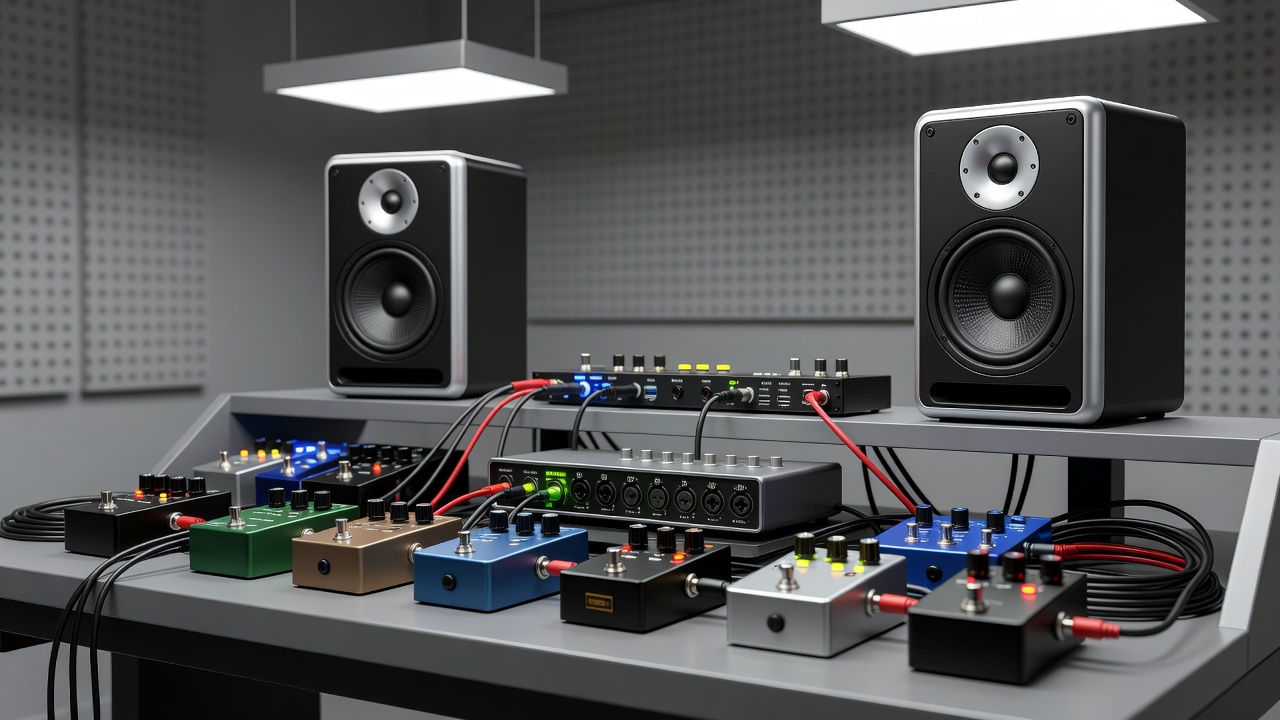
Guitar pedals alter your instrument's sound through effects like distortion, delay, and modulation. For newcomers, starting with a simple multi-effects unit offers versatility without overwhelming complexity. Key factors include pedalboard size, power requirements, true bypass switching to maintain signal integrity, and the ability to chain multiple units without noise buildup.
Entry-level options typically feature intuitive controls and preset libraries that let you experiment quickly. Compare analog pedals for warm, organic tones against digital models that provide expansive options including amp simulations and looping capabilities. Integration with plugins becomes easier when pedals support MIDI or USB connectivity, allowing real-time control in your DAW. Real-world examples include starting with a compressor pedal to even out dynamics followed by an overdrive for grit, then adding a delay for space and depth in your playing.
Selecting the Right Audio Interface
An audio interface converts your guitar's analog signal into digital data for computer recording. Look for models with high-quality preamps, low-latency monitoring, and sufficient inputs for future expansion. USB-C connections dominate 2026 setups for speed and reliability while supporting higher sample rates and bit depths for cleaner recordings.
Popular beginner choices include compact units from trusted brands that support direct monitoring to eliminate delay during tracking. Consider phantom power if expanding to microphones later and check for bundled software that includes virtual instruments or effects. Focusrite offers excellent entry points known for clean preamps and intuitive design that simplifies the learning curve for new users.
Choosing Studio Monitors for Accurate Listening
Studio monitors deliver flat, uncolored sound essential for mixing decisions. Unlike consumer speakers, they reveal flaws in your recordings so you can make better adjustments. Beginners should prioritize nearfield models sized for desktop use, with balanced frequency response across lows, mids, and highs to ensure mixes translate well to other playback systems.
Active monitors with built-in amplification simplify setup by reducing the need for external power amps. Compare ported designs for enhanced bass extension against sealed options that deliver tighter low-end control and faster transient response. Placement matters greatly: position them at ear level in an equilateral triangle with your listening position while keeping them away from walls to reduce unwanted reflections. Adding basic acoustic treatment like foam panels further improves clarity.
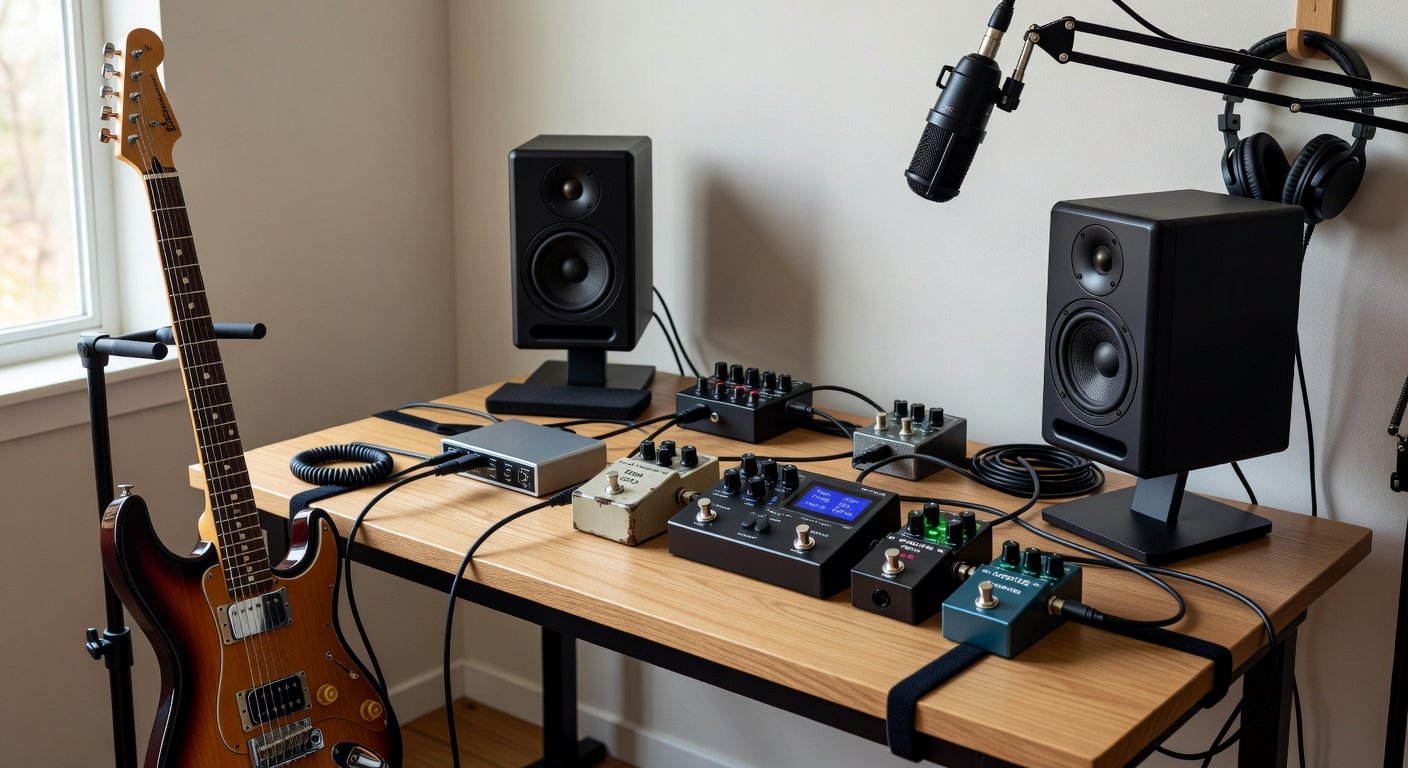
Practical Setup Steps for Your Home Studio
- Connect your guitar to the first pedal in the chain using quality instrument cables to preserve tone and reduce interference.
- Route the final pedal output to the audio interface's dedicated instrument input, ensuring proper gain staging from the start.
- Link the interface to your computer via USB-C and install any necessary drivers or control software provided by the manufacturer.
- Position studio monitors symmetrically on isolation pads or stands to minimize vibrations and achieve balanced stereo imaging.
- Configure your DAW to recognize the interface as the primary audio device and adjust buffer sizes for an optimal balance between latency and system stability.
- Test the full signal path by playing through pedals while monitoring through the speakers, making incremental adjustments to levels.
Integrating Hardware with Plugins
Plugins extend hardware capabilities through virtual effects, amp simulations, and mixing tools. Many interfaces come with plugin bundles that pair naturally with physical pedals. Experiment with signal routing by placing time-based effects like reverb and delay in your DAW for maximum flexibility while keeping drive and dynamics pedals in the analog chain for tactile responsiveness.
Real-world examples include using a simple overdrive pedal before the interface to add analog warmth and then layering digital modulation plugins afterward for complex textures. This hybrid approach balances the immediacy of hardware with the editing precision of software. Always check compatibility between your pedal's MIDI capabilities and plugin parameters to create synchronized workflows that enhance creativity.
Common Pitfalls and How to Avoid Them
- Ignoring impedance matching, which can cause tone loss or weak signal—always verify guitar output levels against interface input specifications before recording.
- Overloading pedalboards with too many effects early on; begin with three or four essentials and expand only after mastering each one.
- Placing monitors directly against walls or in room corners without acoustic treatment, resulting in inaccurate bass response and poor mix translation.
- Neglecting regular software and firmware updates that improve plugin compatibility, stability, and new feature access over time.
- Using low-quality cables throughout the chain, which introduces noise and degrades overall sound quality in both recording and playback stages.
Optimizing Sound Quality and Workflow
Beyond basic connections, focus on room acoustics by experimenting with monitor angles and adding inexpensive bass traps if low frequencies feel muddy. For pedals, organize your board by effect type—dynamics first, then gain, modulation, and time-based effects last—to maintain logical signal flow. When integrating plugins, use your interface's direct monitoring feature during initial tracking before switching to full plugin processing for overdubs and mixing.
FAQ
How do I maintain guitar pedals and interfaces?
Regularly clean potentiometers with appropriate contact cleaner and store pedals in dry, dust-free environments. Update interface firmware through the manufacturer's software to ensure ongoing compatibility with new operating systems and plugins.
Can I use these components with different DAWs?
Yes, most modern interfaces and MIDI-capable pedals work across major platforms like Ableton Live, Logic Pro, and Pro Tools via standard ASIO or Core Audio drivers and universal MIDI protocols.
What if my setup produces unwanted noise?
Check cable shielding, eliminate ground loops with isolators if needed, and optimize gain staging by starting with all levels low before gradually increasing while monitoring for hiss or hum.
How should beginners approach expanding their gear over time?
Focus first on core signal path quality before adding specialized pedals or higher-end monitors. Prioritize learning one piece of equipment thoroughly before introducing new variables to your workflow.
Conclusion
Building a 2026 guitar rig around quality pedals, interfaces, and monitors sets a strong foundation for long-term growth as a musician. Focus on compatibility, thoughtful placement, and gradual expansion to create an inspiring space that supports both practice and recording. With these insights, beginners can make informed decisions, avoid common frustrations, and enjoy a productive home studio experience that evolves alongside their musical development.
No comments yet. Be the first!