 Instrumentiverse
Introduction to Accurate Guitar Pedal Reviews
Reviewing guitar pedals effectively requires a controlled environment where sound reproduction is as neutral and transparent as possible. Audio interfaces and studio monitors provide this foundation, allowing guitarists and producers to evaluate tone, dynamics, and latency without the coloration of consumer speakers or amps. This guide covers practical techniques for setting up your signal chain, selecting test material, and documenting findings for online sharing. In today's digital landscape, where gear reviews influence purchasing decisions worldwide, accuracy matters more than ever. Readers expect honest assessments backed by clear methodology rather than vague impressions.
Whether you are a beginner reviewer or an experienced producer, these methods help create trustworthy content that readers can rely on when making purchasing decisions. By the end of this article you will understand how to build repeatable testing processes that highlight a pedal's true character across different musical contexts.
Choosing the Right Audio Interface and Studio Monitors
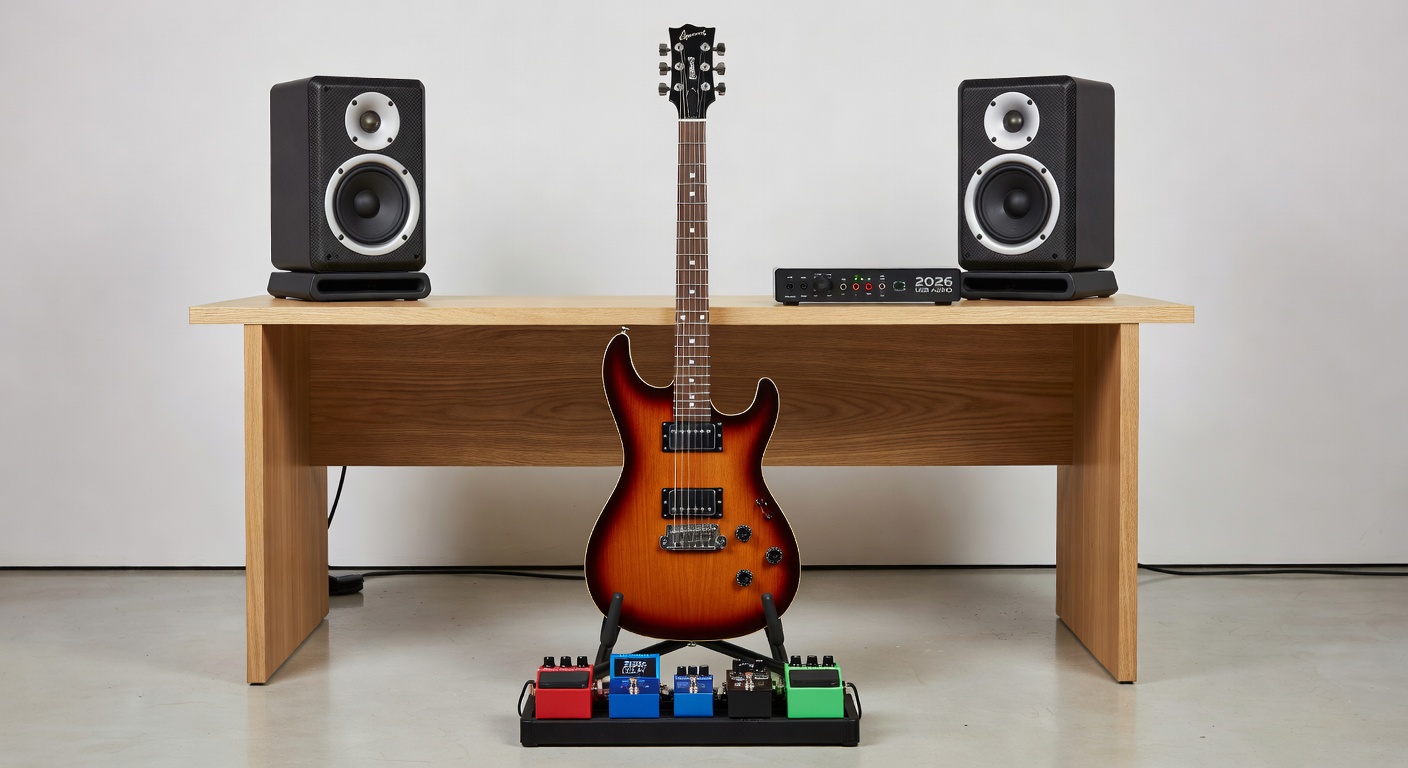
Selecting appropriate gear starts the review process on solid ground. Look for audio interfaces with high-quality instrument inputs that handle guitar signals cleanly without introducing noise. Features such as zero-latency monitoring and multiple outputs prove useful when routing signals to both monitors and additional recording tracks. Popular choices often include models with onboard DSP for effects, but for pure testing stick to neutral signal paths.
Studio monitors should be active nearfield designs with flat frequency response. Position them correctly on stands or isolation pads to reduce vibrations. Consider room acoustics as well; even modest treatment like bass traps and absorption panels improves accuracy dramatically. Test your monitoring setup with reference tracks before inserting any pedals to establish a baseline sound.
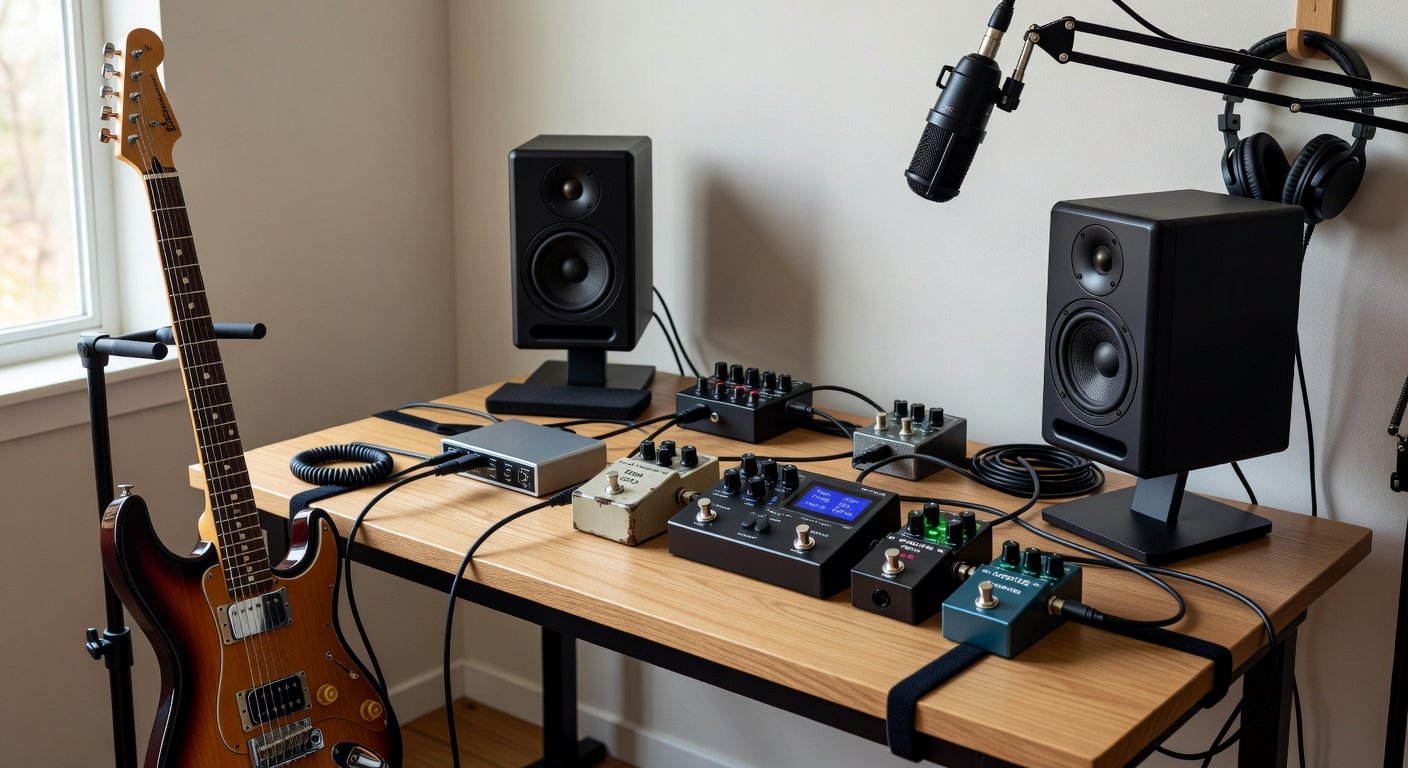
Setting Up Your Signal Chain Correctly
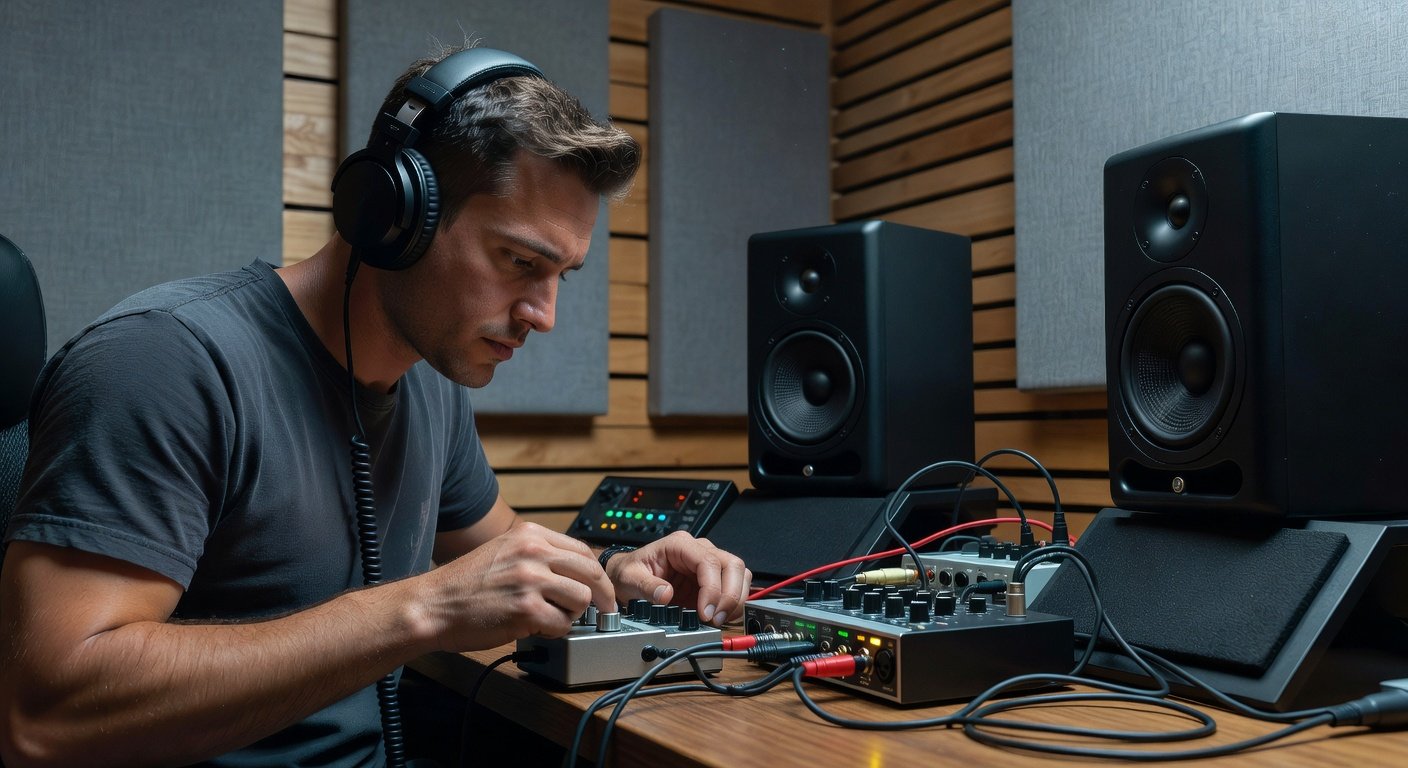
The foundation of any reliable review starts with proper connections. Begin by routing your guitar into a high-quality audio interface with sufficient headroom and low-noise preamps. Connect the interface outputs to a pair of studio monitors positioned at ear level in an equilateral triangle formation. Always use balanced cables such as TRS or XLR to minimize interference from power lines or other electronics in your space.
For direct monitoring, enable the interface’s direct monitoring feature during initial tracking, then switch to software monitoring when evaluating effects. Place your pedal in the chain between the guitar and interface input, or use the interface’s instrument input for the most accurate impedance matching. Experiment with buffer sizes in your DAW to balance latency and CPU load. A typical starting point is 128 samples, but adjust based on your system performance during extended listening sessions.
Sound on Sound offers excellent resources on signal flow best practices that apply directly to pedal testing. Double-check all connections each time you swap pedals to avoid grounding issues that can color your results.
Selecting Test Signals and Reference Tracks
Choose a variety of test signals to reveal different pedal characteristics. Clean single-note lines highlight clarity and note definition, while chords expose harmonic stacking and potential muddiness. Include dynamic playing such as palm-muted riffs and volume swells to assess response to touch. Record short phrases at different volumes and pick attacks to capture how the pedal behaves under real playing conditions.
Reference tracks from well-recorded albums provide context. Load short loops of familiar music into your DAW and compare how the pedal alters the overall mix. This approach reveals whether a drive pedal cuts through or a modulation effect sits naturally in a stereo field. Create a dedicated playlist of test material covering rock, blues, jazz, and ambient styles so your reviews remain relevant to diverse audiences.
Evaluating Tone, Dynamics, and Latency
Listen critically for tonal balance across the frequency spectrum. Note any unwanted boost in lows that can muddy the sound or harsh highs that cause listener fatigue. Pay attention to midrange clarity since this range often determines whether a pedal sounds musical or harsh in a full band mix. Dynamics testing involves playing at various intensities to ensure the pedal responds musically rather than compressing unpredictably.
Latency becomes noticeable when monitoring through software. Measure round-trip latency in your DAW settings and aim for under 10 milliseconds for real-time feel. Many modern interfaces achieve this with proper buffer settings. Record the same phrase multiple times with the pedal engaged and bypassed, then zoom in on the waveforms to check for timing discrepancies that might affect perceived groove.
A/B Comparison Methods and Real-World Examples
Perform blind A/B tests by recording the same phrase with and without the pedal engaged. Use identical settings across multiple takes and switch quickly between versions. This method removes bias and highlights true sonic differences. Label files clearly and listen on different systems later to confirm consistency.
For example, comparing two popular overdrive pedals side-by-side often reveals one offers more midrange focus while the other provides tighter bass response. Try the same approach with delay pedals by testing slapback settings against longer ambient repeats. Real-world testing might include running a fuzz pedal into a clean amp simulation to see how it interacts with gain staging in hybrid setups.
Incorporating Plugin Reviews for Hybrid Setups
Many modern reviewers combine hardware pedals with software plugins. Route your interface output through a DAW and insert modeled amp or cabinet plugins after the pedal. This hybrid workflow lets you evaluate how analog pedals interact with digital processing. Start with simple plugin chains and gradually add EQ or compression to simulate live band scenarios.
Test latency compensation features and ensure plugin delay does not affect timing when recording multiple layers. Hybrid reviews appeal to home producers who want both tactile hardware and flexible software options. Document any phase issues that arise when blending direct and processed signals so readers understand potential pitfalls.
Documenting Findings for Online Sharing
Structure your reviews with clear sections covering build quality, sound examples, pros, cons, and final verdict. Include before-and-after audio files hosted on platforms like SoundCloud. Use consistent listening levels and mention your exact interface and monitor model for transparency. Readers appreciate when reviewers disclose room treatment and monitoring levels, as these factors influence perceived sound.
Create comparison charts or timestamped notes within your video or written post. This level of detail builds credibility and encourages engagement from fellow musicians seeking specific advice.
Common Mistakes to Avoid During Reviews
- Skipping proper gain staging, which leads to distorted or overly clean results unrelated to the pedal itself.
- Relying solely on one reference track instead of varied musical examples.
- Ignoring room acoustics and treating monitor placement as an afterthought.
- Failing to reset all settings between tests, causing carryover from previous configurations.
FAQ: Common Troubleshooting Issues
- Why does my pedal sound different through monitors than headphones? Studio monitors reveal room interactions and low-frequency accuracy that headphones often mask. Always cross-reference both listening methods.
- How do I reduce ground hum in my setup? Use a power conditioner and ensure all devices share the same ground reference. Try different outlet configurations if hum persists.
- What buffer size should I use for pedal testing? Start at 128 samples and adjust based on your computer’s performance while monitoring latency. Lower buffers reduce delay but increase CPU strain.
- How long should each test take? Spend at least fifteen minutes per setting to allow your ears to adjust and notice subtle changes.
Conclusion
By combining a properly calibrated audio interface and studio monitors with disciplined listening habits, you can produce guitar pedal reviews that stand the test of time. These techniques ensure your assessments remain objective and valuable to the guitar community in 2026 and beyond. Consistent methodology turns subjective opinions into reliable guidance that helps others make informed choices about their gear.
No comments yet. Be the first!