 Instrumentiverse
Introduction to Guitar Pedal and Audio Interface Integration
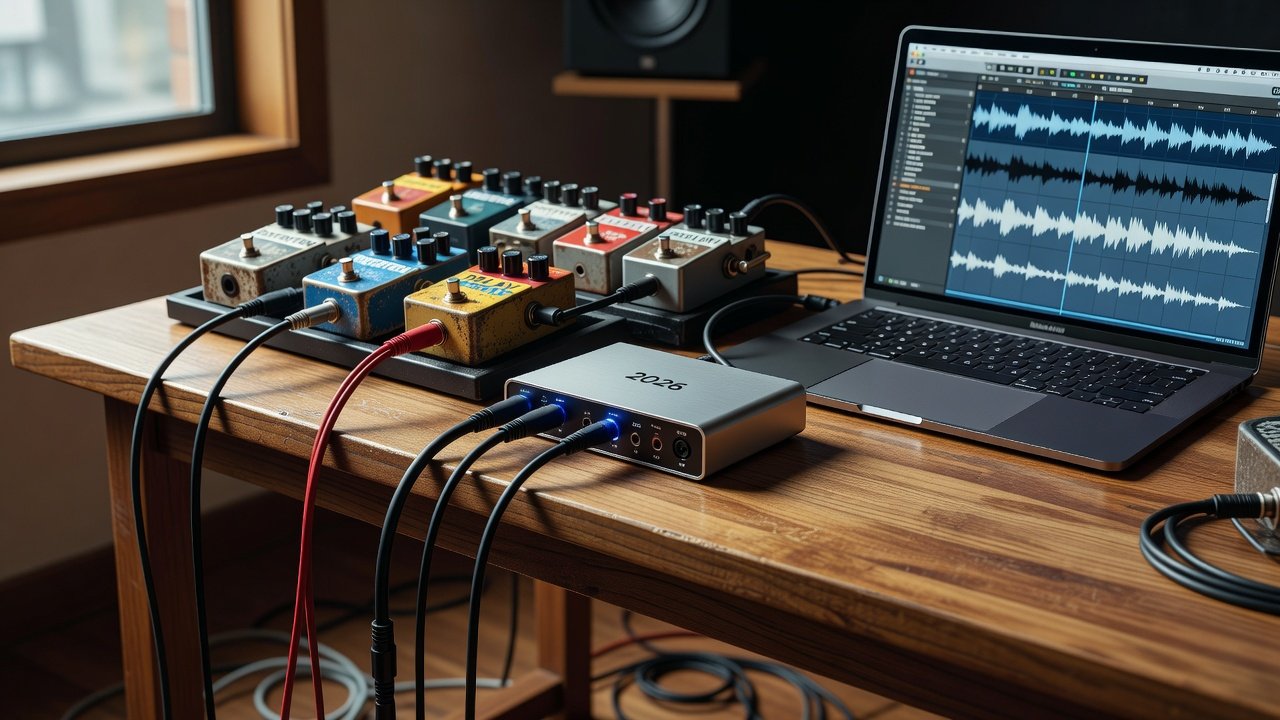
Modern guitarists increasingly rely on audio interfaces to record and monitor their pedal chains in home studios. However, tone degradation often occurs due to mismatches in signal flow, timing, or electrical characteristics. This guide explores practical diagnostics for common issues like latency, signal loss, and impedance problems using real 2026 gear examples. Understanding these interactions helps musicians maintain the integrity of their analog pedal tones while leveraging digital recording tools. In 2026, interfaces have evolved with better preamps and lower noise floors, yet challenges persist when integrating stompboxes designed primarily for amplifier inputs.
Whether you are tracking direct or using amp sim plugins, proper setup prevents the loss of dynamics and harmonic richness that define great guitar tone. This article breaks down each potential problem area with actionable tests and real-world comparisons.
Understanding Signal Flow Basics
Before diving into troubleshooting, it is essential to map the signal path. A typical chain starts with the guitar output feeding into pedals, then into the interface's instrument input. From there, the signal enters your DAW where plugins and monitoring occur. Any break in impedance matching or level staging can introduce unwanted filtering or noise. For instance, running a fuzz pedal straight into a line-level input often results in weak output and altered frequency response.
Common Tone Degradation Problems
Pedals designed for direct amp connection can suffer when routed through interfaces. Issues include dull highs, reduced dynamics, or unwanted noise. These stem from how interfaces handle instrument-level signals versus line-level expectations. Players frequently report that their favorite overdrive loses its edge or that modulation effects sound thin after passing through the converter stage.
Latency Issues in Real-Time Monitoring
Latency disrupts playing feel, especially with time-based pedals like delays. Modern interfaces mitigate this through direct monitoring or low-buffer settings. Test by recording a dry guitar track and comparing playback timing to live monitoring. In practice, buffer sizes above 128 samples at 48kHz often create noticeable delay that throws off rhythmic playing when using a delay pedal set to dotted eighth notes.
Step-by-Step Diagnostics for Signal Loss
Start by checking cable integrity and gain staging. Use a signal generator app to send a test tone through your pedal chain into the interface. Measure output levels at each stage to isolate drop-offs. Popular 2026 interfaces like the Focusrite Scarlett series offer input gain controls that help preserve signal strength from pedals such as the Strymon Timeline. Next, bypass individual pedals one by one while monitoring peak levels in your DAW. If levels jump dramatically after removing one unit, that pedal may require a buffer or level adjustment. Always document your settings so you can replicate successful configurations later.
Addressing Impedance Mismatches
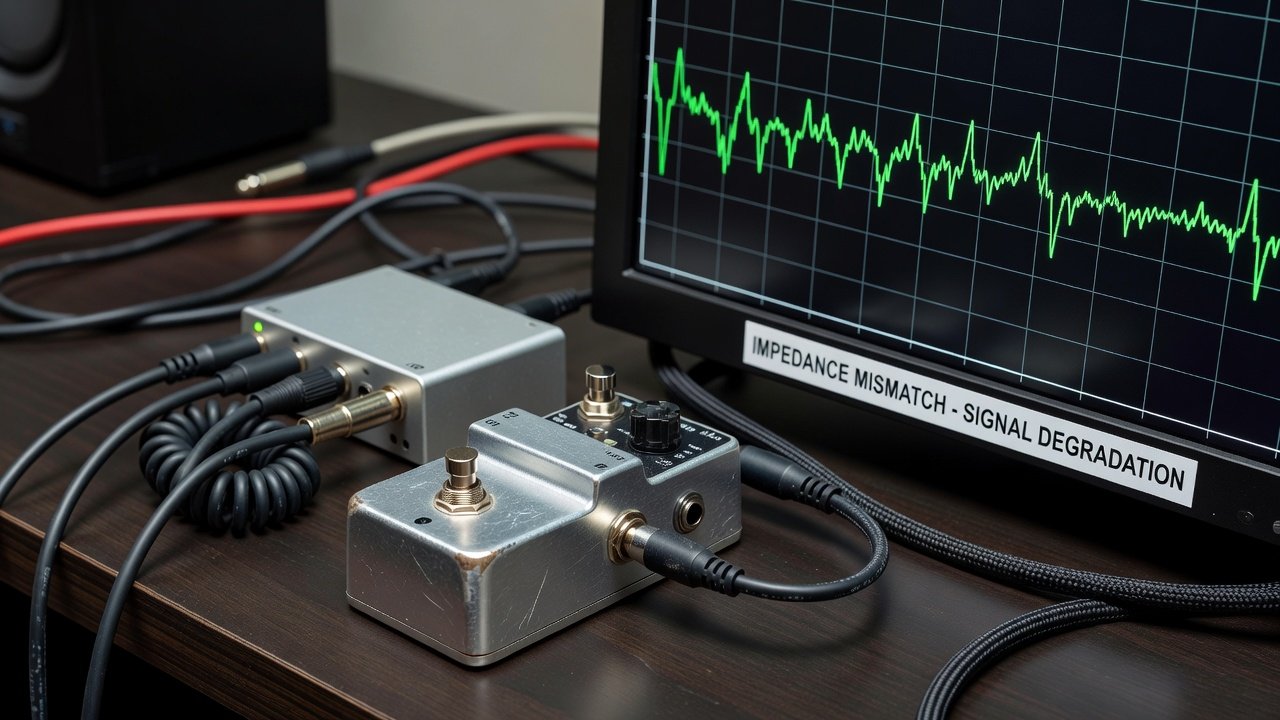
Impedance mismatches cause tone sucking, particularly with passive pedals. Interfaces with high-impedance inputs better match guitar and pedal outputs. For active pedals, line-level inputs on interfaces like Universal Audio Apollo prevent overload. A practical test involves swapping between Hi-Z and line inputs while listening for changes in brightness and sustain. Many guitarists add a dedicated buffer pedal at the beginning of the chain to stabilize impedance before the signal reaches the interface.
Focusrite provides detailed impedance specifications on their site for matching setups. Similarly, consulting manufacturer resources from Universal Audio helps clarify recommended input types for different pedal categories.
Budget USB vs Thunderbolt Interface Comparisons
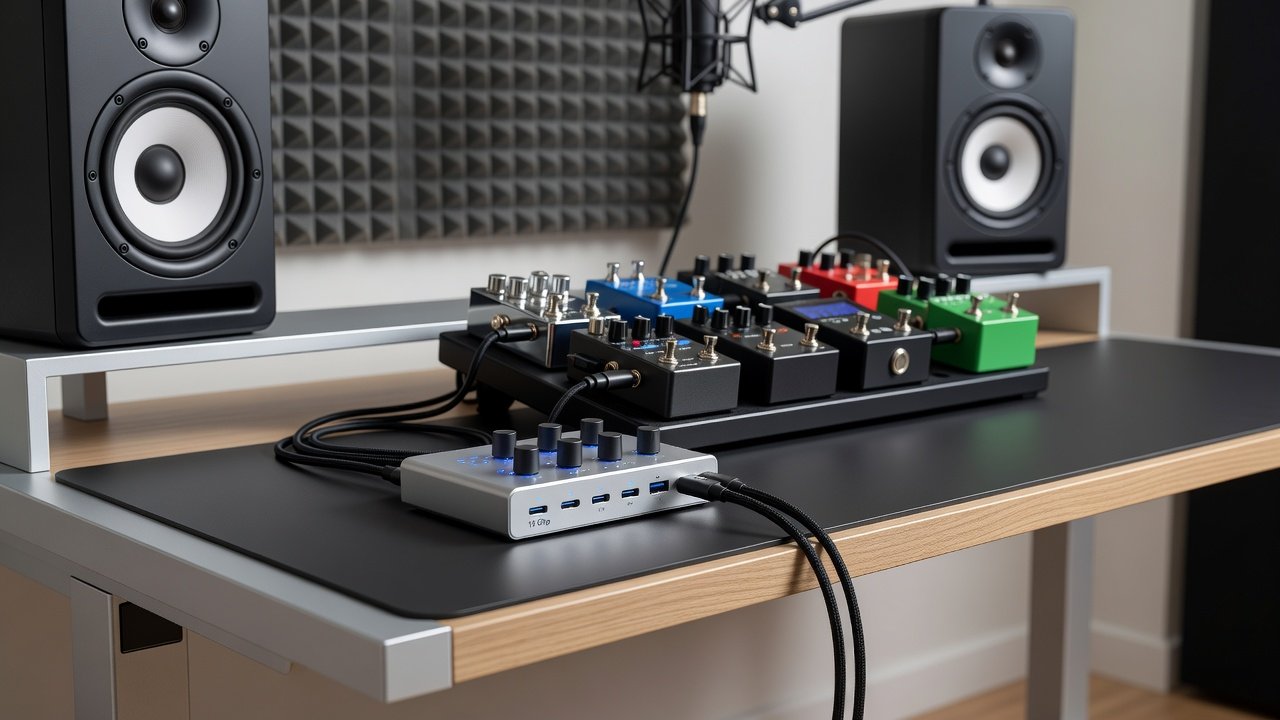
USB interfaces offer affordability and broad compatibility but may introduce higher latency with complex pedal chains. Thunderbolt models deliver lower round-trip latency, ideal for low-latency plugin monitoring alongside pedals. For example, a budget USB unit might require buffer adjustments when using an Eventide H9, while Thunderbolt options maintain tighter timing for live monitoring. In 2026, Thunderbolt 4 connections on interfaces from brands like Apollo provide round-trip latency figures low enough to support amp sim plugins without noticeable lag. USB-C interfaces have improved but still benefit from optimized driver settings and direct monitoring features. When choosing, consider your DAW workflow: Thunderbolt excels in professional tracking sessions, whereas USB suffices for simpler home recordings with fewer simultaneous effects.
Integrating Studio Monitors and Plugins
After fixing interface issues, route your signal through studio monitors to verify restored tone. Use reference plugins for A/B testing against known good recordings. This confirms whether the problem was hardware or software related. Load a high-quality IR loader or amp sim after the interface input and compare the monitored sound to the direct analog path. Many producers also insert a utility plugin to visualize frequency response before and after changes, making subtle tone shifts easier to identify.
Practical Tips for Home Studio Setup
- Always use shielded instrument cables between pedals and interface to minimize RF interference.
- Enable direct monitoring on your interface for zero-latency checks before committing to a recorded track.
- Calibrate input levels to peak around -12dBFS to avoid clipping while preserving headroom for dynamic playing.
- Test pedal bypass states to isolate active circuitry effects on the overall signal.
- Experiment with sample rates of 48kHz or 96kHz depending on your computer’s processing power and plugin load.
- Keep firmware updated on both pedals and interfaces, as 2026 updates often include improved clock stability.
Mistakes to Avoid When Troubleshooting
One frequent error is assuming the interface is at fault without first verifying pedal power supplies and cable quality. Another is neglecting to disable onboard effects or amp modeling within the interface when testing pure analog paths. Always isolate variables methodically rather than changing multiple settings simultaneously.
FAQ: Reader-Submitted Issues
How do I fix muffled tone from my overdrive pedal?
Check interface input impedance and try a buffer pedal before the chain. Adjust preamp gain to restore clarity and ensure the pedal is not being loaded down by a low-impedance input.
Why does my delay pedal sound out of time?
Reduce interface buffer size or switch to direct monitoring. Thunderbolt connections often resolve timing discrepancies that USB setups exacerbate under heavy plugin loads.
Can I use multiple pedals with a single interface input?
Yes, but maintain proper gain staging across the chain and consider adding a line mixer if signal levels become inconsistent between effects.
Quick Setup Checklists for Home Studios
- Connect pedal output to interface Hi-Z input using a quality instrument cable.
- Set interface to 48kHz sample rate for balanced performance with most DAWs.
- Engage direct monitoring and play through studio monitors to confirm immediate tone.
- Record test tracks and compare with plugin references or previous recordings.
- Verify all connections are secure before final takes and label cable runs for future sessions.
- Run a noise floor test with all pedals engaged but no playing to catch ground loop issues early.
Following these steps ensures reliable tone when blending guitar pedals with contemporary audio interfaces. Consistent testing and documentation turn frustrating tone problems into predictable, solvable workflows.
No comments yet. Be the first!