 Instrumentiverse
Introduction to Custom Guitar Rigs in 2026
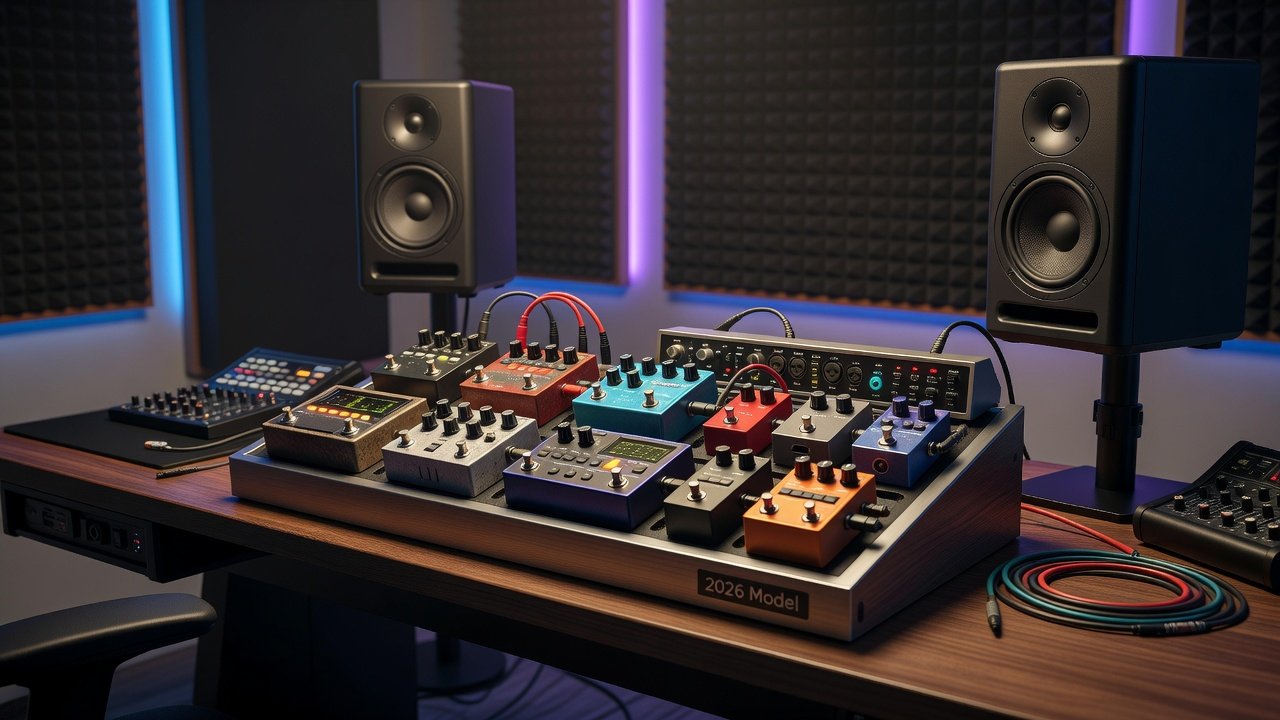
Building a personalized guitar rig in 2026 goes far beyond stacking popular pedals or choosing the latest interface. Musicians now prioritize seamless integration between guitar pedals, audio interfaces, and studio monitors to achieve consistent, professional tone across recording and live environments. This approach emphasizes creative customization, allowing players to tailor signal paths for unique sonic signatures while ensuring hardware compatibility and optimal workflow. The search for hands-on reviews often stems from frustration with generic comparisons. Instead, focus on real compatibility checks, signal chain refinements, and methodical testing protocols that deliver measurable improvements in clarity and dynamics. In today’s landscape, guitarists are moving away from off-the-shelf solutions toward rigs that reflect their individual playing styles and recording needs.
Successful customization requires understanding how each component interacts within the full signal path. From the moment your guitar’s output leaves the instrument to the final sound reproduced by studio monitors, every link in the chain influences the end result. This article explores practical strategies for evaluating and refining these connections, providing concrete examples that go beyond surface-level advice.
Component Compatibility Checks
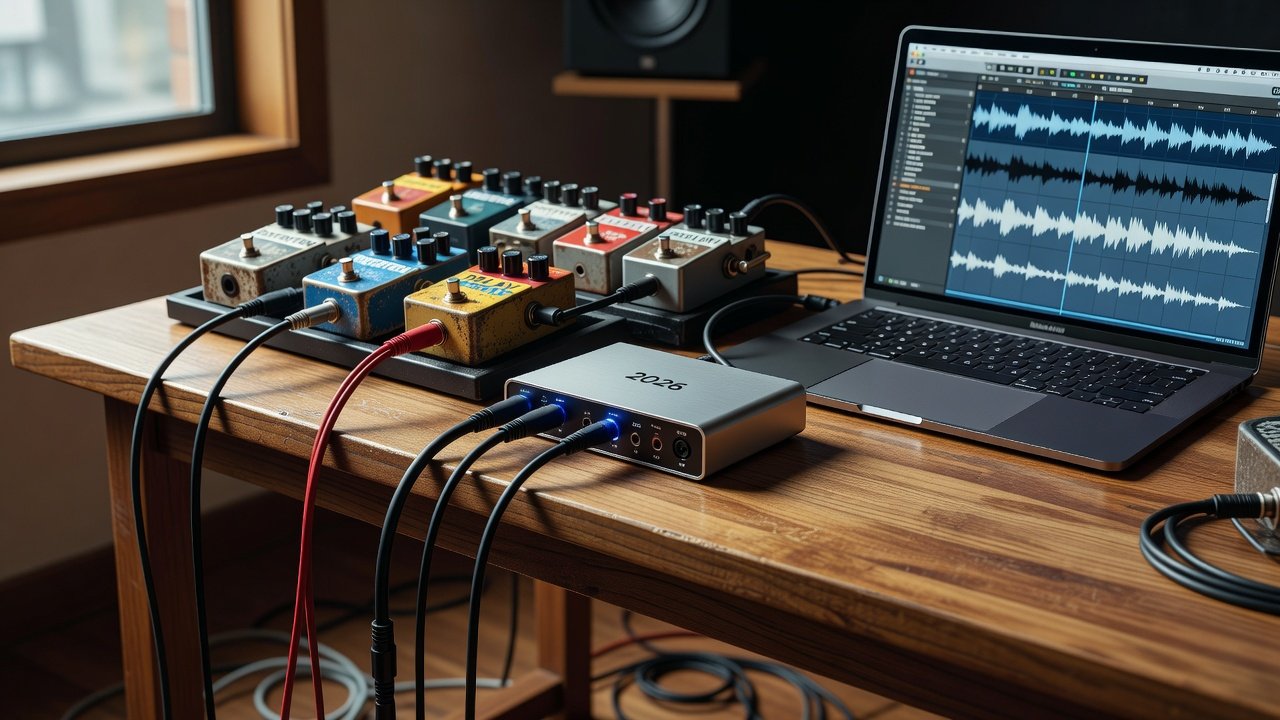
Before assembling any rig, verify electrical and digital compatibility. Guitar pedals typically output instrument-level signals, while audio interfaces expect line-level inputs or feature dedicated Hi-Z instrument inputs. Mismatches can introduce noise or loss of high-end frequencies. Key checks include impedance matching, power requirements, and digital protocol support such as USB-C or Thunderbolt. For example, pairing analog overdrive pedals with an interface that includes high-quality preamps preserves the pedal’s character. Always test for ground loops using balanced cables where possible.
Additional considerations involve firmware updates for digital interfaces and ensuring pedal power supplies match voltage and current demands. Many modern interfaces include onboard DSP that can interact with pedal effects in unexpected ways, so running preliminary tests with a simple clean signal helps identify potential conflicts early. Players should also examine connector types, from 1/4-inch TS to XLR, and consider adapter quality to avoid introducing unwanted capacitance or signal degradation.
Signal Chain Optimization
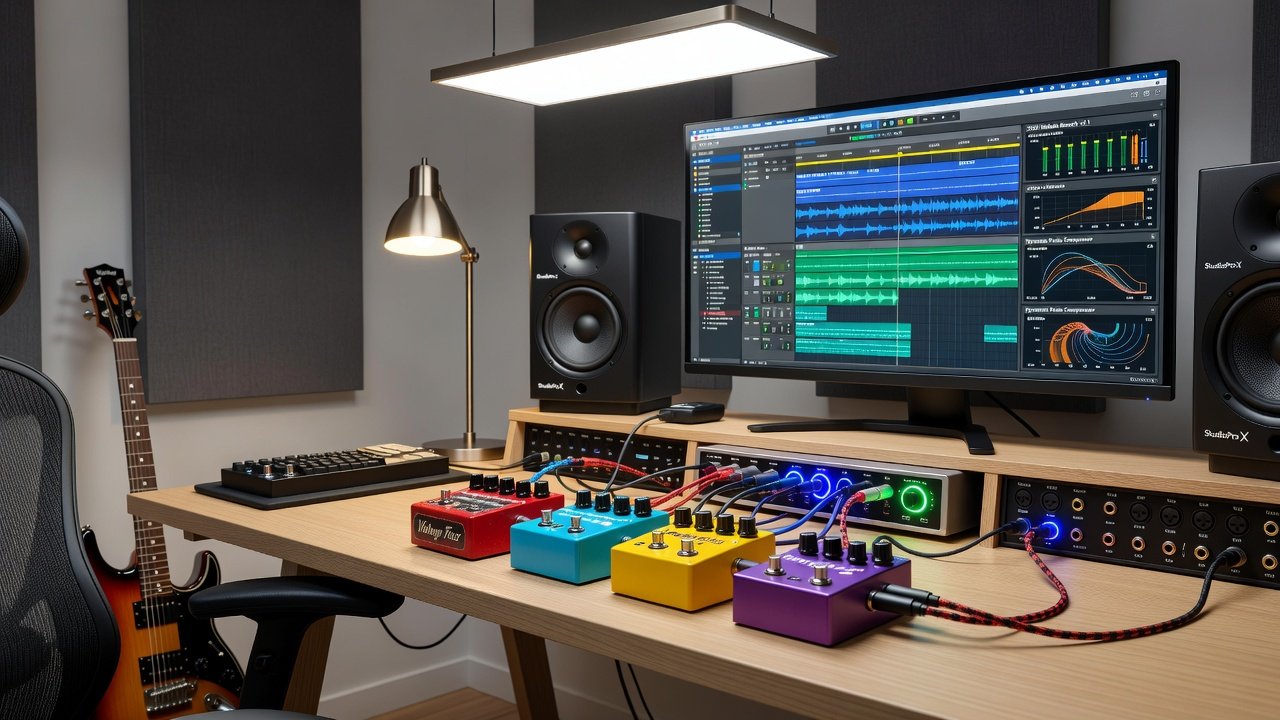
Optimizing the signal chain starts with pedal order and routing. Traditional chains place dynamics and filters first, followed by modulation and time-based effects. In 2026 rigs, many players insert an interface early in the chain via effects loops to capture dry signals for re-amping later. Studio monitors must reproduce the full frequency spectrum accurately. Position them in an equilateral triangle with the listening position and calibrate levels using pink noise. This setup reveals issues in pedal settings that might otherwise go unnoticed on headphones.
Further optimization includes experimenting with parallel processing paths and using interfaces with multiple outputs to send different effect blends to separate monitor pairs. Cable management plays a critical role here; high-quality, low-capacitance cables maintain signal integrity over longer runs. Sound on Sound offers extensive resources on signal flow best practices that apply directly to hybrid analog-digital rigs. Another useful reference is Pro Sound Web, which covers real-world studio integration techniques for guitarists seeking consistent tone.
A/B Testing Protocols Using Plugins
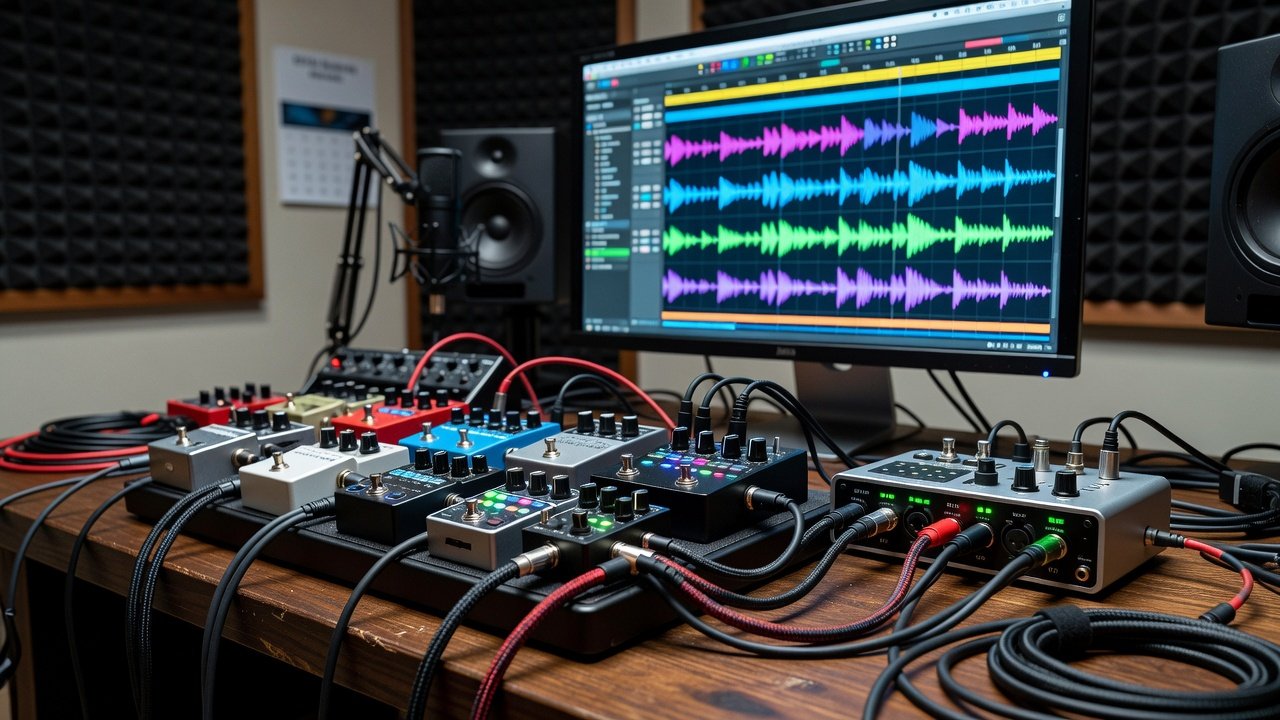
A/B testing provides objective data for rig decisions. Route your guitar through the pedalboard into the interface, then record identical takes with and without specific pedals engaged. Use DAW plugins to simulate monitor responses or apply reference tracks for tonal comparison. Protocols include blind listening sessions where you randomize plugin bypass states and score elements like clarity, sustain, and stereo imaging. This method removes bias and highlights subtle improvements from cable quality or buffer settings.
Advanced testing can incorporate spectrum analyzers and phase correlation meters within the DAW to quantify changes introduced by each pedal. Record multiple takes at different buffer sizes to evaluate latency impact on feel. Comparing results against commercial reference tracks helps align your rig with professional standards without relying solely on subjective impressions.
Real-World Build Examples
Consider a blues-rock player’s 2026 rig: a Klon-style overdrive into a Strymon Volante for delay, feeding a Universal Audio interface with onboard DSP. The chain continues to nearfield monitors with built-in room correction. This configuration allows direct monitoring while capturing both wet and dry tracks for flexible mixing. Another example involves ambient guitarists using multiple parallel pedal loops routed through an interface with multi-channel outputs. Each loop feeds separate monitor pairs, enabling spatial experimentation during composition. Sound sample references are typically hosted on manufacturer sites or community forums, where users share raw WAV files demonstrating the exact chain used.
A third build might feature a jazz guitarist combining a compressor pedal with a tube preamp interface before reaching active studio monitors. The setup emphasizes clean headroom and subtle harmonic enhancement, with A/B tests confirming the ideal pedal placement for dynamic response.
Advanced Customization Strategies
Beyond basic integration, advanced users explore MIDI control for real-time parameter changes across pedals and interfaces. Mapping expression pedals to interface plugin parameters opens new creative avenues during performance or recording sessions. Room acoustics also factor heavily into monitor performance; adding acoustic treatment panels behind monitors can dramatically improve translation of pedal tones to final mixes.
Experimenting with different clock sources for digital interfaces ensures phase coherence when multiple devices are linked. Players often maintain detailed logs of settings and test results, allowing systematic refinement over time rather than random adjustments.
Troubleshooting Common Issues
Even well-planned rigs encounter problems. Start by isolating each component: bypass the pedalboard entirely and test the direct guitar-to-interface connection. Then reintroduce elements one at a time while monitoring for noise or tone loss. Software conflicts can arise when interfaces share drivers with other audio devices, so dedicating a computer profile for music production helps maintain stability.
FAQ: Common Setup Pitfalls
- How do I eliminate hum in my pedal-to-interface connection? Use shielded cables and ensure all devices share the same power circuit. Add a noise gate pedal if needed.
- What monitor placement works best for small studios? Maintain at least 1 meter from walls and angle speakers toward the mix position at ear height.
- Can I use guitar pedals with USB interfaces lacking Hi-Z inputs? Yes, but employ a dedicated DI box or active preamp to match levels correctly.
- How often should I recalibrate my rig? Perform A/B tests monthly or after any hardware change to maintain consistency.
- What role does firmware play in 2026 interfaces? Regular updates often improve compatibility with newer pedals and reduce latency during monitoring.
Additional guidance on audio engineering standards appears at Audio Engineering Society, providing technical papers useful for deeper rig troubleshooting.
Conclusion
Custom rig building in 2026 rewards methodical testing and creative experimentation. By focusing on compatibility, optimized signal paths, and rigorous A/B protocols, musicians achieve tones that feel personal and professional. Explore these principles with your own gear to unlock new expressive possibilities and build a setup that truly serves your artistic vision.
No comments yet. Be the first!